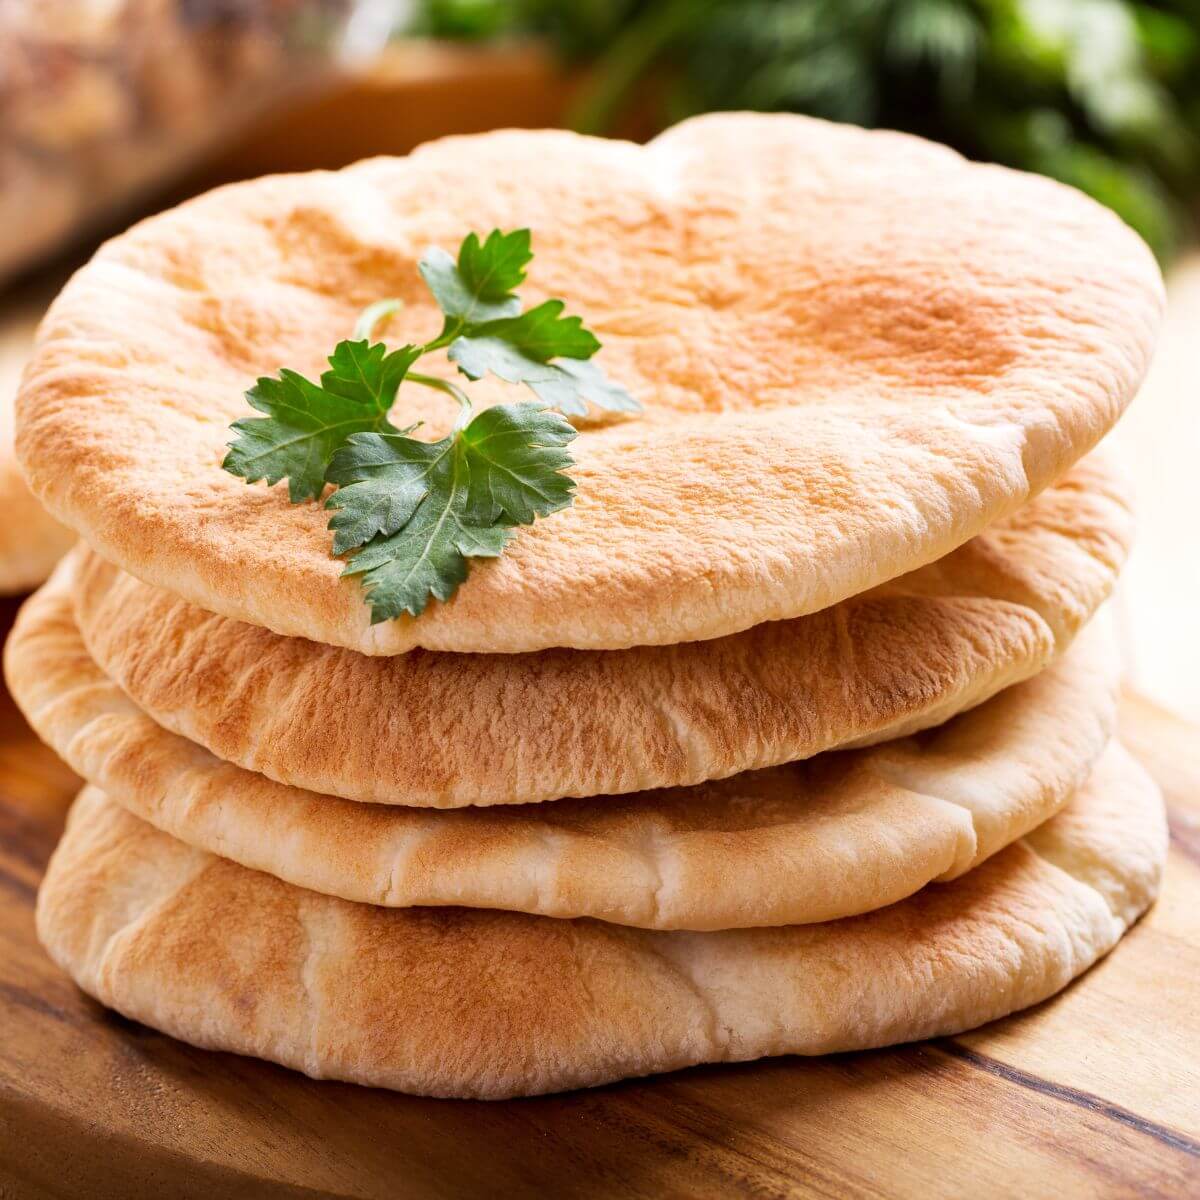

Pita bread is one of those recipes that turns a totally ordinary everyday meal into something that feels festive. When you bake them yourself in the airfryer, you get warm, airy pockets with a lightly crisp crust and a glossy, steamy inside that holds the filling without falling apart. The difference between homemade and store-bought is huge – and it rarely takes me more than half an hour of work from start to warm breads on the cutting board.

Advertisement: The page displays ads and contains advertising links (affiliate links). See our advertisers here.
Today I use them as a side bread for a quick salad with chicken and a crème fraîche dressing, but they’re just as good for the mezze table, falafel or simply torn apart and dipped in hummus. The airfryer gives them exactly that air-pressure difference that makes them puff up into perfect pockets in just a few minutes.
Estimated reading time: 4 minutes
Table of Contents:
Why I love pita bread in the airfryer
What drew me to the airfryer the first time with pita dough was the intense bottom heat. A traditional oven needs to reach 250 degrees to give the pita the thermal shock that opens the pocket, and even then it requires a baking stone to succeed every time. The airfryer concentrates the heat in a small space and hits the pita from all sides in seconds – and that gives me consistently puffed breads without a baking stone, extra coins or steam containers.
The difference between homemade and store-bought pita
Store-bought pita breads from the chilled aisle are often a bit chewy and heavy in flavor, because they’re baked too gently and stored in airtight bags. Homemade pita has a nutty grain flavor from the wheat, a light crisp outer layer and a soft, steamy inside. When you use the airfryer, you also avoid them becoming dry, because the cooking time is so short that they never have time to lose the moisture.
My kitchen test of pita bread
I’ve tested pita bread in my Cosori Dual Blaze at 210 °C, and 7-8 minutes per batch hits exactly the point where the crust is lightly golden and the pocket is still soft enough to bend without breaking. If you have a Philips XXL, you can bake two at a time on the rack, but give them good spacing so the air can move around each one. I’ve also tried 200 °C for 9 minutes, but that gives a slightly paler surface and a less dramatic puff. Compared to the oven, which requires 12-14 minutes at 250 °C, the airfryer saves both time and energy.
The most important finding in my tests: the pita must be rolled out completely evenly to about 3-4 mm thickness. If it’s too thick, the steam doesn’t make it to form a pocket; if it’s too thin, the surface bursts and you get a flat chip instead of a bread. A light brush of oil on top makes the crust get that beautiful, glossy sheen without becoming chewy.
Let the dough rest at least 30 minutes after rolling it out. It’s the simplest trick I’ve learned to ensure that the pocket opens every time.
Tips and tricks from the author: Morten Jensen
The typical mistakes and how to avoid them
The mistake I see most often is that people skip the resting time after rolling out, which makes the gluten structure too tight to form a pocket – let the pita rest 20-30 minutes under a damp tea towel before baking, and the difference is measurable. Another classic is too low a temperature, which gives a flat, hard bread without a puff; stay above 200 °C and preheat the airfryer 3 minutes so the dough meets direct heat. Finally, many people put too many pitas in the basket at once, which slows the air circulation – bake at most two at a time in most airfryer models, otherwise you risk them steaming each other soft.
How to serve pita bread
The warm pita breads are a perfect carrier for hearty dishes, and I prefer them filled or alongside something fresh and creamy:
- Pan-fried chicken in strips with a simple salad and a crème fraîche dressing with lemon and garlic
- Falafel, pickled red onions and hummus with a dollop of tahini dressing
- Mezze table with tzatziki, olives, feta cream and marinated vegetables
- Smoked salmon with cucumber, dill and a light caper cream
- Lamb with pomegranate, mint and yogurt dressing
Storage and reheating
Pita bread stays softest if you wrap them in a clean tea towel as soon as they’ve cooled. In an airtight cloth they keep for a day at room temperature. If they need to keep longer, I zip them in bags and freeze them; thaw them at room temperature for an hour and warm them 90 seconds at 180 °C in the airfryer, and they puff up again as if just baked.
It’s one of those recipes that quickly becomes part of the household routine – both because it’s simple, and because you notice a noticeable quality difference every time you taste them freshly baked.
The most common cause is too low a temperature or too thick a rollout. Make sure the airfryer is preheated, keep the temperature at at least 210 °C, and roll the dough out to 3-4 mm. Another common mistake is lack of resting time; let the dough rest 20-30 minutes after rolling out, so the gluten relaxes and the pocket can form.
In most airfryers you can bake two at a time, if you give them good spacing so the air can circulate freely. In large models like the Philips XXL you can possibly squeeze in three, but I prefer two at a time myself to ensure that all of them puff properly and get the same crispness.
Yes, homemade pita is excellent for the freezer. Let them cool completely, lay them flat in a freezer bag and freeze for up to three months. Thaw them at room temperature and warm them 90 seconds at 180 °C in the airfryer, and they’ll taste freshly baked again.
Recipe

Pita bread in the airfryer
Cooking Guide
Keep the screen on and follow the recipe step by step while you cook.
Step 1:
Avoid the screen turning off while you cook.
Step 2:
Start the guide and follow the recipe one step at a time.
Cost of the dish
Prices may vary depending on where you shop.
Our estimate is based on average food prices for the current year 2026.
Estimated price for the whole dish:
Airfryer size
All our recipes are tested in a Philips Airfryer 2000 Series NA230/00 – 6.2 L
Does the recipe fit my Airfryer?
If you’re unsure, you can always reduce by one serving in the recipe, or click the 0.5x button.
You can also Ask the AI Chef
It’s easy! Just press the Ask the AI Chef button you see at the bottom.
Shopping list
Ingredients
Pita bread
- 300 g wheat flour
- 1 tsp salt

- 1 tsp sugar
- 7 g dry yeast (1 sachet)
- 2 tbsp olive oil
- 175 ml lukewarm water
Spiced chicken and salad
- 400 g chicken breast
- 1 tbsp olive oil
- 1 tsp paprika
- 1 tsp cumin
- 0.5 tsp salt (freshly ground)
- 0.25 tsp pepper (friskkværnet)
- 150 g cucumber
- 200 g tomatoes (small)
- 1 pcs red onion (iceberg or romaine)
- 100 g lettuce leaves (18 %)
Crème fraîche dressing
- 200 g crème fraîche (pressed)
- 1 clove garlic (presset)
- 1 tsp lemon juice
- 0.5 tsp salt (parsley or dill, chopped)
- 1 tbsp fresh herbs (persille eller dild, hakket)
How to make it
Preparing the dough
- Mix 300 g wheat flour, 1 tsp salt, 1 tsp sugar and 7 g dry yeast in a large mixing bowl.

- Add 2 tbsp olive oil and 175 ml lukewarm water. Knead the dough for 5-7 minutes, until it is smooth and elastic.
- Leave the dough to rise covered in a warm place for 1 hour, or until it has doubled in size.
Cooking the chicken
- Preheat the airfryer to 200 °C fan.
- Cut 400 g chicken breast into cubes of about 2 cm. Toss them in 1 tbsp olive oil, 1 tsp paprika, 1 tsp cumin, 0.5 tsp salt and 0.25 tsp pepper, so the spices coat them all over.
- Place the chicken in a single layer in the airfryer basket and cook for 10-12 minutes, until the core temperature reaches 75 °C. Shake the basket halfway through, so the cubes brown evenly.
Baking the pita bread
- Knock the air out of the dough and divide it into 8 equal pieces. Roll each piece out into a circle of about 15 cm in diameter.
- Bake the pita breads in the airfryer at 200 °C fan, 2-3 pieces at a time for 4-5 minutes, until they are golden and puffed up. Keep the finished breads warm under a clean tea towel.
Plating
- Cut 150 g cucumber and 200 g tomatoes into cubes and finely chop 1 pcs red onion. Rinse 100 g lettuce leaves and tear into bite-sized pieces.
- Stir 200 g crème fraîche together with 1 clove garlic, 1 tsp lemon juice, 0.5 tsp salt and 1 tbsp fresh herbs into a creamy dressing.
- Cut the pita breads in half, open them gently and fill with salad, spiced chicken and a good dollop of dressing. Serve immediately while the breads are still warm.
Our notes for the recipe
To make the pita breads puff up properly, the airfryer must be thoroughly preheated, and the dough must not be too dry. Place only 2-3 breads at a time, so they have room to rise freely. Variation:
Swap the chicken for grilled halloumi, spiced lamb or falafel. Replace the crème fraîche dressing with tzatziki or hummus for a more Mediterranean touch. Serving:
Serve the pita breads immediately while they are still warm. Pair them with chips from the airfryer or a fresh tabbouleh on the side, if you like. Portion size:
If your airfryer is smaller, you can bake the pita breads and cook the chicken in several batches.
Your notes for the recipe
Nutrition per serving (Guideline)
Important about shelf life and nutrition
Nutrition per serving (guideline): Calculations are based on data from the United States Department of Agriculture (USDA). Shelf life (guideline): Shelf life data is provided, as far as possible, by public institutions, including national food authorities. Our information is therefore only indicative, and it is your responsibility to obtain and calculate accurate information about shelf life and nutrition for all recipes on airfryerkogebogen.dk
Easily share the recipe with others:
Via email or on Facebook
Open the recipe on your phone
Scan the QR code with your phone and get the recipe directly on your mobile while you cook.

Author
Airfryerkogebogen.dk