

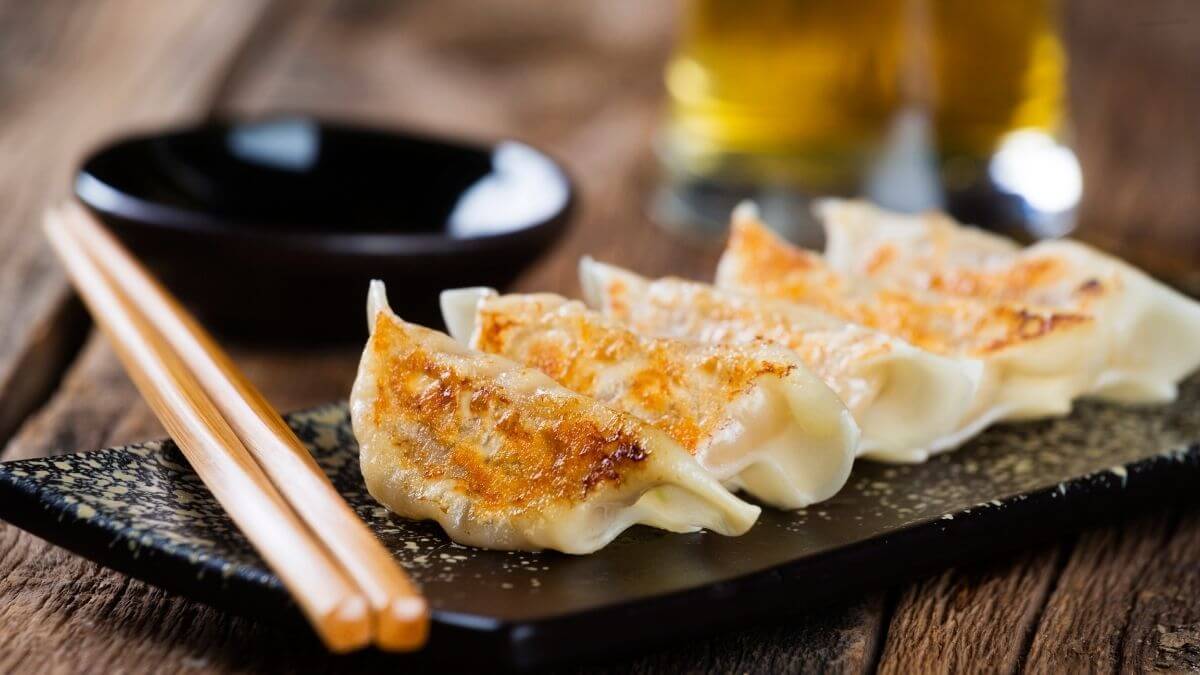
Gyoza are small Japanese dumplings with a juicy filling of ground meat and finely chopped cabbage, and their signature feature is the golden, crispy bottom combined with the soft, steamed top. Traditionally they’re pan-fried first, then water is poured in to finish steaming them with the lid on. In the air fryer you get the same texture contrast — crispy bottom, juicy filling — in under 10 minutes and without oil splatter on the stovetop.

Advertisement: The page displays ads and contains advertising links (affiliate links). See our advertisers here.
The technique works with both handmade dumplings from the Asian market and frozen gyoza from the supermarket. The result is more consistent than in a pan, because the hot air distributes evenly around them and gives all sides a golden color.
Estimated reading time: 5 minutes
Table of contents:
Why I love gyoza in the air fryer
The classic pan-and-steam method requires attention and sometimes gives uneven color from one side to the other. The air fryer eliminates that challenge: you put the gyoza in, set the timer, and eight to ten minutes later they’re golden all over. The bottom turns crispy while the filling stays juicy — with no risk of burnt spots or undercooked centers.
The difference between the air fryer and the pan
In a pan, only the bottom has direct contact with the heat, and the rest cooks via steam. In the air fryer, hot air circulates around, so the entire surface of the dumpling takes on color, not just the bottom. That gives a more even crispiness, and you avoid the problem of the filling still being cold inside if the steam didn’t get enough time.
My kitchen test of gyoza
I tested gyoza in my Cosori Dual Blaze at 375 °F (190 °C), and 8–10 minutes is the sweet spot for both freshly filled and frozen ones. For the fresh ones I brushed them with a combination of sesame oil and a drop of water before cooking — that gives the bottom its golden color without drying out. For the frozen ones I skipped the brushing and gave them a full 10 minutes at the same temperature.
Compared to the traditional pan-fried version I saved about five minutes, and the color was more consistent all around. The most important discovery: place them with good spacing in the basket — otherwise they stick to the sides and lose the crispy surface where they touch.
Place the gyoza with good spacing in the basket and brush them lightly with oil before cooking. That one small detail is what makes the difference between soft gyoza and truly crispy ones.
Tips and tricks from the author: Morten Jensen
The typical mistakes and how to avoid them
The most common mistake is overcrowding the basket — then the gyoza stick together and turn out soft instead of crispy. Always place them with small gaps between, and do two batches if you want a lot. Another classic is skipping the oil brush: without a thin layer of oil, the outer dough turns dry and paper-like instead of golden brown and crispy. Finally the temperature — too much heat burns the bottom before the filling heats through. Stick to 375 °F (190 °C) as your standard, and give frozen ones an extra minute or two instead of cranking up the heat.
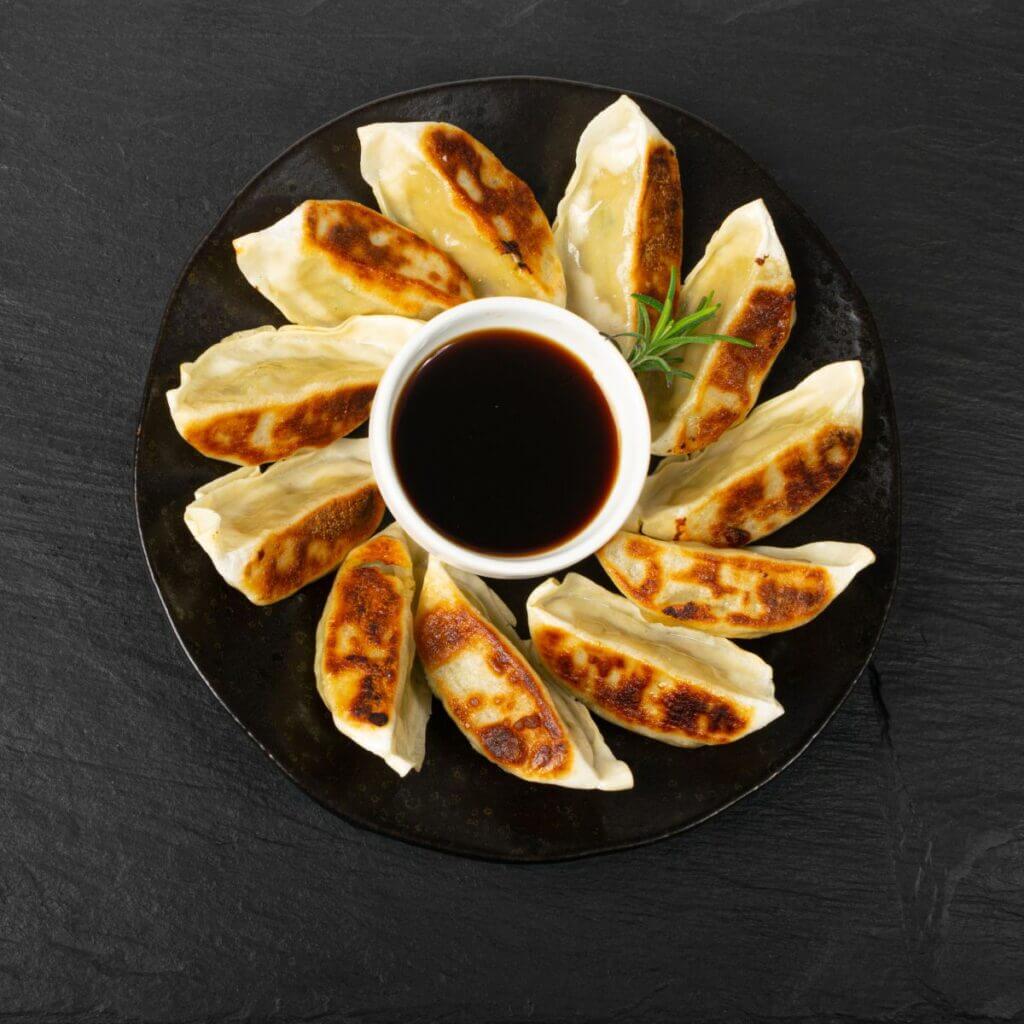
How to serve gyoza
Gyoza are rarely a solo meal — they shine as an appetizer, lunch, or part of a larger Asian dinner. These sides pair classically:
- Soy-vinegar dip with a drop of sesame oil and finely chopped scallions
- A bowl of steamed jasmine rice with furikake
- Crispy edamame with flaky sea salt
- A simple Asian salad with cucumber, sesame, and rice vinegar
- Miso soup as a starter
Storage and reheating
Cooked gyoza can be stored in the refrigerator for up to two days in an airtight container. Reheat them for 3–4 minutes at 350 °F (180 °C) in the air fryer — the crispy bottom comes back. Frozen, uncooked gyoza can go straight from the freezer into the air fryer; give them 10 minutes at 375 °F (190 °C) without thawing. It’s one of the best meal-prep solutions for quick weeknight dinners.
Once you get used to the timing and the spacing in the basket, gyoza in the air fryer are one of the fastest and most satisfying meals to make. The crispy layer around the juicy filling is exactly what makes them worth coming back to over and over.
FAQ
Yes, frozen gyoza can go straight from the freezer into the air fryer. Cook them at 375 °F (190 °C) for 10 minutes — no thawing, no extra steps.
They’re probably too close together. Place them with 1–2 cm of space between, so the hot air can circulate around and keep them from sticking to each other.
Yes, a thin layer of sesame oil or regular cooking oil is decisive for the golden, crispy surface. Without oil, the dough turns dry and paper-like.
Recipe
Gyoza in the air fryer
Cooking Guide
Keep the screen on and follow the recipe step by step while you cook.
Step 1:
Avoid the screen turning off while you cook.
Step 2:
Start the guide and follow the recipe one step at a time.
Cost of the dish
Prices may vary depending on where you shop.
Our estimate is based on average food prices for the current year 2026.
Estimated price for the whole dish:
Airfryer size
All our recipes are tested in a Philips Airfryer 2000 Series NA230/00 – 6.2 L
Does the recipe fit my Airfryer?
If you’re unsure, you can always reduce by one serving in the recipe, or click the 0.5x button.
You can also Ask the AI Chef
It’s easy! Just press the Ask the AI Chef button you see at the bottom.
Recommended equipment
- 1 Air fryer
- 1 Cutting board
- 1 Knife
- 1 Bowl - For the filling
- 1 Brush - For water and oil
Shopping list
Ingredients
Filling
- 400 g ground pork
- 200 g pointed cabbage (Finely chopped)
- 3 pcs spring onions (Finely chopped)
- 2 clove garlic (Finely chopped)
- 1 tbsp fresh ginger (Finely grated)
- 2 tbsp soy sauce
- 1 tbsp sesame oil
- 1 tsp sugar
- 1 tsp salt

- 0.5 tsp black pepper (Freshly ground)
Wrapping
- 30 pcs gyoza wrappers (Round dumpling discs, available in Asian supermarkets)
- 1 dl water (For sealing)
For the air fryer
- 2 tbsp neutral oil (For brushing)
Dipping sauce
- 3 tbsp soy sauce
- 2 tbsp rice vinegar
- 1 tsp sesame oil
- 0.5 tsp chili flakes (Optional)
How to make it
Preparation
- Place 200 g pointed cabbage and 3 pcs spring onions in a bowl, sprinkle with a little 1 tsp salt and let sit for 5 minutes. Then squeeze the liquid out thoroughly.

- Mix the cabbage with 400 g ground pork, 2 clove garlic, 1 tbsp fresh ginger, 2 tbsp soy sauce, 1 tbsp sesame oil, 1 tsp sugar and 0.5 tsp black pepper. Knead the filling thoroughly so it becomes slightly sticky.
- Take one 30 pcs gyoza wrappers at a time, place a tablespoon of filling in the center, brush the edge with 1 dl water and fold into a half-moon. Press the edge together with small pleats so the gyoza seals tightly. Repeat with the rest of the wrappers and filling.
Cooking in the air fryer
- Preheat the air fryer to 180 °C convection.
- Brush the gyozas lightly with 2 tbsp neutral oil on both sides so they become crispy during cooking.
- Place the gyozas in a single layer in the air fryer basket without them touching. Cook at 180 °C for 8-10 minutes, until golden and crispy. Shake the basket or carefully turn the gyozas halfway through.
Serving
- While the gyozas are cooking, stir together the dipping sauce from 3 tbsp soy sauce, 2 tbsp rice vinegar, 1 tsp sesame oil and 0.5 tsp chili flakes.
- Serve the gyozas hot straight from the air fryer with the dipping sauce on the side. Garnish if you like with extra spring onions and sesame seeds.
Our notes for the recipe
To achieve the classic gyoza texture with a crispy base and soft top, make sure the gyozas lie in a single layer without touching. A thin layer of oil is the key to crispness — but avoid over-oiling, as they can become greasy. Variation:
The filling can be varied with chicken, prawns or a vegetarian version with shiitake mushrooms and tofu. For extra flavor you can add a splash of sake or mirin to the filling. Serving:
Serve as a starter, snack or as part of a larger Asian tapas platter. Pairs well with steamed rice, miso soup or a fresh Asian salad. Portion size:
If your air fryer is smaller, you can cook the gyozas in two batches. Keep the first portion warm in the oven at 80 °C while you cook the rest.
Your notes for the recipe
Nutrition per serving (Guideline)
Important about shelf life and nutrition
Nutrition per serving (guideline): Calculations are based on data from the United States Department of Agriculture (USDA). Shelf life (guideline): Shelf life data is provided, as far as possible, by public institutions, including national food authorities. Our information is therefore only indicative, and it is your responsibility to obtain and calculate accurate information about shelf life and nutrition for all recipes on airfryerkogebogen.dk
Easily share the recipe with others:
Via email or on Facebook
Open the recipe on your phone
Scan the QR code with your phone and get the recipe directly on your mobile while you cook.

Author
Airfryerkogebogen.dk