

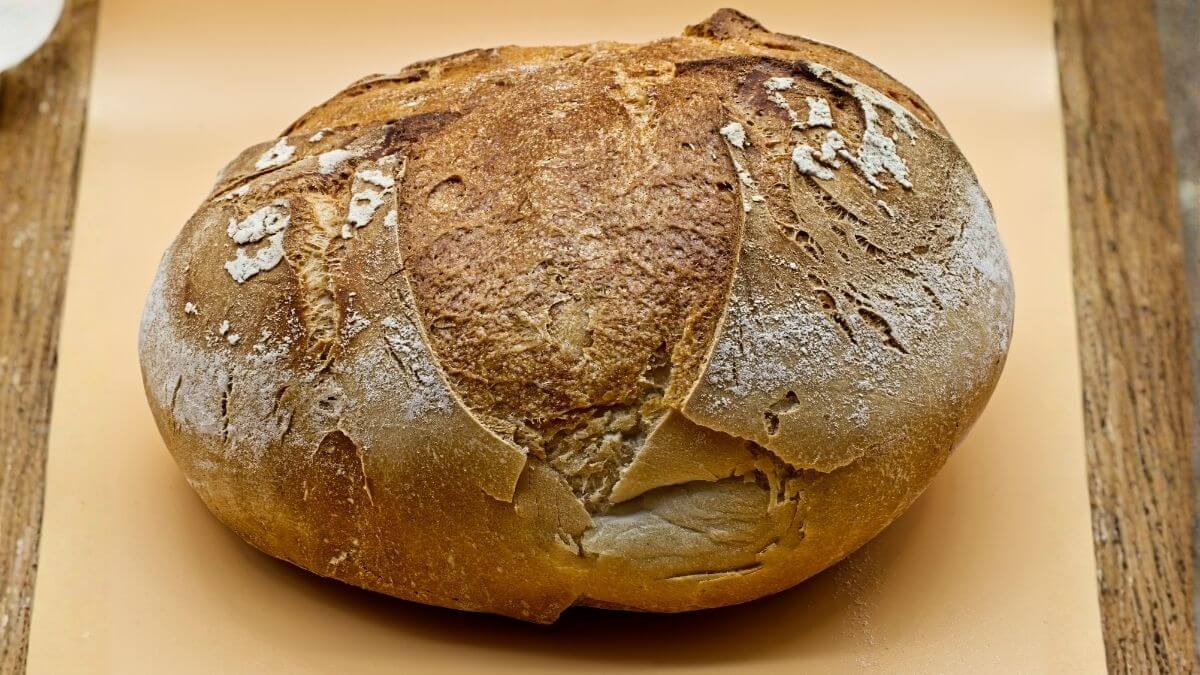
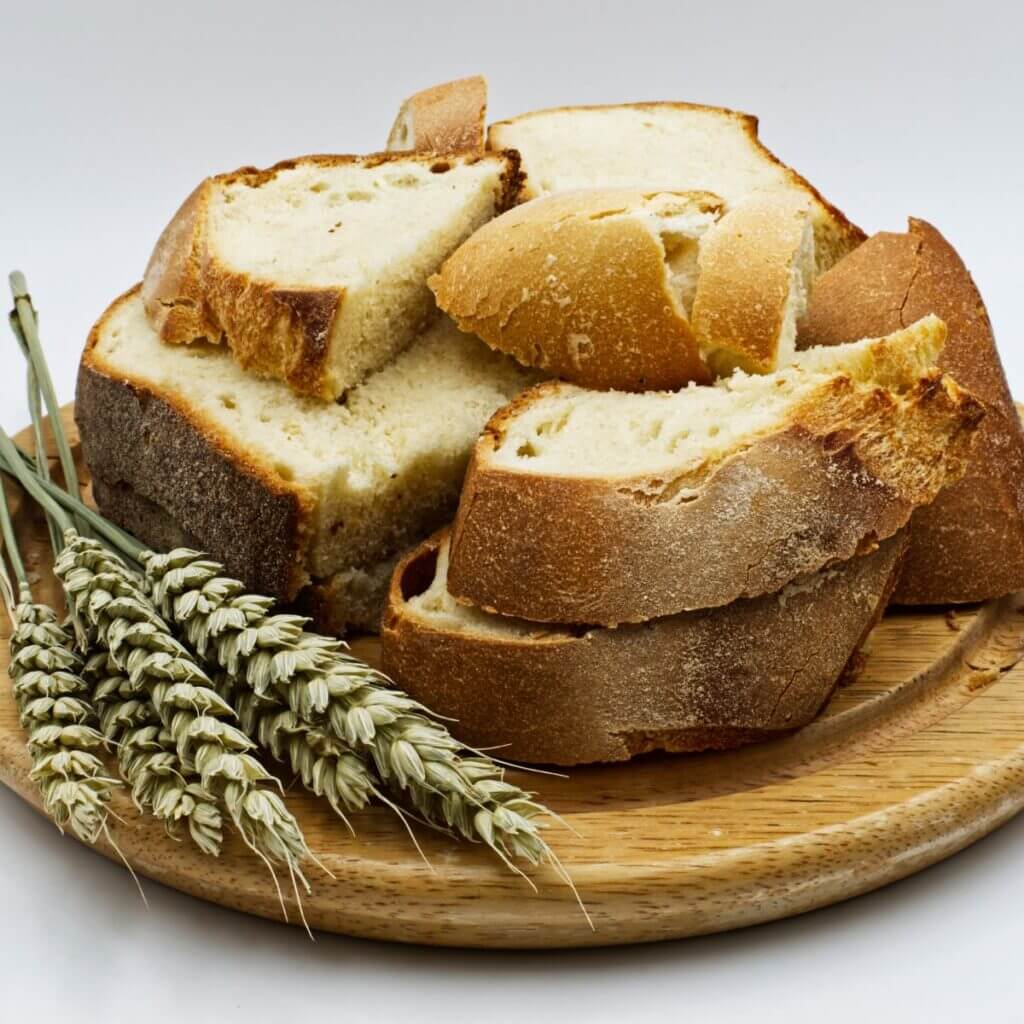
Pane pugliese is the Italian country bread that turns a perfectly ordinary meal into a small Mediterranean feast. A dark, crisp crust that cracks when you slice into it, an airy crumb full of irregular holes, and a faintly tangy flavour from the long cold ferment. It smells of a stone oven and Sunday morning — and in your airfryer you finish it in under an hour of active time.

Advertisement: The page displays ads and contains advertising links (affiliate links). See our advertisers here.
The secret lies in the combination of a long, cold ferment and the intense heat from the circulating air of the airfryer. You need neither a stone oven nor years of baking experience. A bowl, a small baking tin that fits in the basket, and one simple steam trick are all it takes to get a result most people won’t believe came out of an airfryer.
Estimated reading time: 5 minutes
Table of Contents:
Why I love pane pugliese in the airfryer
The first bread I ever baked in my airfryer was a plain wheat roll. Since then I’ve moved on to the more ambitious Italian country breads, and pane pugliese wins every single time. The result tastes as if it came from a small family bakery on the road to Bari, but with an airfryer on the kitchen counter doing the heavy lifting.
The concentrated heat and the strong air circulation actually reproduce much of the character of stone-oven bread in a way I can’t get from an ordinary domestic oven. The crust turns darker, the crumb more open, and the whole bake is faster.
The difference between airfryer and conventional oven for Italian country bread
A traditional domestic oven loses a lot of heat every time you open the door, and the airflow is weak. The airfryer is the exact opposite: compact, strong convection and almost no heat loss. That gives you a bread with a clearer oven spring — the moment when the dough grows explosively in the first few minutes — and a crust that is crispier and a touch more caramelised. In return you have to be a little more careful with temperature — the airfryer hits harder and faster, so what works at 220 °C in the oven typically has to drop to 180-200 °C in the airfryer.
My kitchen test of pane pugliese
I’ve tested pane pugliese many times in my Philips XXL, because it has room for an 18 cm round baking tin tall enough for the bread to rise properly. The sweet spot I’ve landed on is 200 °C for the first 15 minutes with a sheet of baking parchment draped loosely over the top to trap the steam, then 180 °C for 18-22 minutes with the parchment removed so the crust browns nicely. The core temperature of the bread should hit 96-98 °C — any lower and the middle stays gummy.
Compared with a regular oven at 220 °C for 35-40 minutes, the airfryer saves you about a quarter of the time and gives a darker, crunchier crust. The difference is most noticeable the day after, when the airfryer version keeps its crumb airy for longer than the oven version.
Mix up a biga the night before — it’s the single most effective upgrade you can give your pane pugliese. You do no extra work on the actual bake day, but the flavour jumps a whole league.
Tips and tricks from the author: Morten Jensen
The typical mistakes and how to avoid them
The first mistake people make is skipping the long ferment. Pane pugliese thrives on a long, cold fermentation — at least 8 hours in the fridge — and turns out flat and bland if you try a quick rise on the counter. This isn’t a bread you make on a whim; it’s a bread you plan a day ahead.
The second classic is forgetting the steam at the start. Italian country bread needs moist heat in the first few minutes so the crumb can explode upward and the crust stays soft long enough to grow. If you skip the parchment lid or an oven-safe dish with a lid, you get a hard, dry crust far too early, and the crumb ends up dense and tight rather than airy.
The third mistake is overfilling the tin. Pane pugliese rises significantly during the bake — plan for an 18 cm tin to be at most half full before the proof, leaving room for the doubling that’s coming. If the dough pushes up against the air intake of the airfryer, the top burns and the bottom stays under-baked.
How to serve pane pugliese
The bread tastes best lukewarm or on the day it’s baked, when the crust still crackles. It pairs particularly well with Italian-inspired meals, especially alongside:
- A good olive-oil dip with flaky salt and freshly ground black pepper
- Bruschetta with marinated tomatoes, garlic and basil
- An antipasti board with prosciutto, mozzarella and marinated olives
- Rich Italian stews you can dunk it into
- A classic caprese salad with a big slice of bread on the side
Storage and reheating
Pane pugliese keeps best for 2-3 days in a paper bag or tea towel at room temperature — never in plastic, that softens the crust. If you have leftover bread, slice it and freeze it straight away. Reheat it straight from the freezer in the airfryer at 160 °C for 3-4 minutes and you’ll get an almost-fresh crust back. Older bread is also perfect for croutons, panzanella or ribollita — in those dishes it actually tastes better than freshly baked.
Pane pugliese demands time, but not work. It’s a recipe where nature and your airfryer do most of the job, while you handle weighing, a quick knead and the waiting. The result is a bread that turns an ordinary day into a small Italian Mediterranean feast, with no plane ticket required.
FAQ
Use plain wheat flour (type “00” or strong bread flour) topped up with 15-20% durum semolina if you have it. Spelt changes the character markedly and gives a completely different bread. For authentic pane pugliese, wheat flour combined with a little semolina is the right profile.
At least 8 hours, ideally 18-24 hours for the deepest flavour. The longer the cold prove, the tangier and more complex the crumb becomes. Beyond 36 hours the dough starts to get too slack to hold shape, and the structure collapses.
An 18 cm round cake tin with a tall side (at least 8 cm) is ideal in a Philips XXL or Cosori Dual Blaze. A springform tin also works fine if you line the side with baking parchment so the dough can’t leak out at the base.
Recipe
Pane pugliese in the airfryer
Cooking Guide
Keep the screen on and follow the recipe step by step while you cook.
Step 1:
Avoid the screen turning off while you cook.
Step 2:
Start the guide and follow the recipe one step at a time.
Cost of the dish
Prices may vary depending on where you shop.
Our estimate is based on average food prices for the current year 2026.
Estimated price for the whole dish:
Airfryer size
All our recipes are tested in a Philips Airfryer 2000 Series NA230/00 – 6.2 L
Does the recipe fit my Airfryer?
If you’re unsure, you can always reduce by one serving in the recipe, or click the 0.5x button.
You can also Ask the AI Chef
It’s easy! Just press the Ask the AI Chef button you see at the bottom.
Recommended equipment
- 1 Air fryer
- 1 Stor røreskaal
- 1 Dough scraper
- 1 Bagepapir (til airfryer)
- 1 Kitchen towel - For covering during proofing
Shopping list
Ingredients
- 350 g plain flour (Preferably tipo 00 or regular plain flour)
- 50 g durum wheat flour (Semola rimacinata, can be replaced with plain flour)
- 300 ml water (Lukewarm, about 30 °C)
- 5 g dry yeast (Or 15 g fresh yeast)
- 8 g salt

- 1 tbsp olive oil (Preferably extra virgin)
- 1 tbsp plain flour (For dusting the surface)
How to make it
Preparation
- Stir 5 g dry yeast into 300 ml water in a large mixing bowl and let it sit for 5 minutes, until the yeast begins to foam slightly.

- Add 350 g plain flour, 50 g durum wheat flour, 8 g salt and 1 tbsp olive oil. Mix everything together into a rough, sticky dough.
- Knead the dough 8-10 minutes on a lightly floured surface (or 5-7 minutes in a stand mixer with dough hook), until it is smooth, glossy and elastic.
- Shape the dough into a ball, place it in a lightly oiled bowl, cover with a tea towel and let it rise in a warm place for 60-90 minutes, until doubled in size.
- Turn the dough out onto a lightly floured surface. Fold it gently 3-4 times over itself without kneading all the air out, and shape it into a rustic round or oblong loaf.
- Place the bread on a piece of baking paper, cover with a tea towel and let it proof for 30-45 minutes, until it has visibly risen.
- Sprinkle 1 tbsp plain flour evenly over the surface and score a cross or 2-3 diagonal cuts about 1 cm deep with a sharp knife or razor blade.
Cooking in the airfryer
- Preheat the airfryer to 200 °C on hot air for 3-4 minutes.
- Spray or brush the surface of the dough lightly with water just before baking — this gives an extra crisp and crunchy crust.
- Lift the bread with the baking paper into the airfryer basket and bake at 200 °C for 10 minutes.
- Lower the temperature to 180 °C and bake for another 18-20 minutes, until the crust is deeply golden and dark.
- Tap lightly on the bottom of the bread — if it sounds hollow, it is done. If not, give it 3-5 more minutes at 180 °C.
Serving
- Let the bread rest on a wire rack for at least 20 minutes before slicing — this allows the crumb to settle and become airy.
Our notes for the recipe
Spray or brush the surface with water just before baking. Steam during the first few minutes seals the surface and gives the characteristic crisp crust. Use baking paper in the airfryer basket — it prevents sticking and makes transfer easier. Variation:
Replace 50 g of the plain flour with wholemeal flour for a more rustic flavour, or knead 1 tbsp chopped black olives or sun-dried tomatoes into the dough for a typical Puglian variant. Serving:
Serve the bread warm with good olive oil, a little balsamic vinegar and a piece of parmesan — or as a side for pasta, soup, antipasti and Italian salads. The bread is also fantastic for bruschetta the next day. Portion size:
If your airfryer is small, you can divide the dough into two smaller loaves and bake them one after the other — they will then only need to bake for about 8 minutes at 200 °C and 14-16 minutes at 180 °C.
Your notes for the recipe
Nutrition per serving (Guideline)
Important about shelf life and nutrition
Nutrition per serving (guideline): Calculations are based on data from the United States Department of Agriculture (USDA). Shelf life (guideline): Shelf life data is provided, as far as possible, by public institutions, including national food authorities. Our information is therefore only indicative, and it is your responsibility to obtain and calculate accurate information about shelf life and nutrition for all recipes on airfryerkogebogen.dk
Easily share the recipe with others:
Via email or on Facebook
Open the recipe on your phone
Scan the QR code with your phone and get the recipe directly on your mobile while you cook.

Author
Airfryerkogebogen.dk