

Pepperoni pizza in the airfryer is the everyday quick rescue, when the craving for a little pizzeria feeling shows up, but the patience to heat the oven doesn’t. The base turns crispy and lightly caramelised, the mozzarella melts into a soft, string-pulling consistency, and the pepperoni gets those small burnt edges that make every bite intense and spicy.

Advertisement: The page displays ads and contains advertising links (affiliate links). See our advertisers here.
The secret lies in three things: choose a size that fits your airfryer basket, let the dough get a short pre-bake on its own, and place the pepperoni so the air can reach it. With those three moves in place, the airfryer beats the regular oven on both time and result.
Estimated reading time: 4 minutes
Table of Contents:
Why I love pepperoni pizza in the airfryer
Pepperoni pizza from the airfryer has a completely different character than the one from the oven. The concentrated airflow hits both the base and the top simultaneously, so you get an evenly golden base in a few minutes – often faster than an oven even manages to preheat.
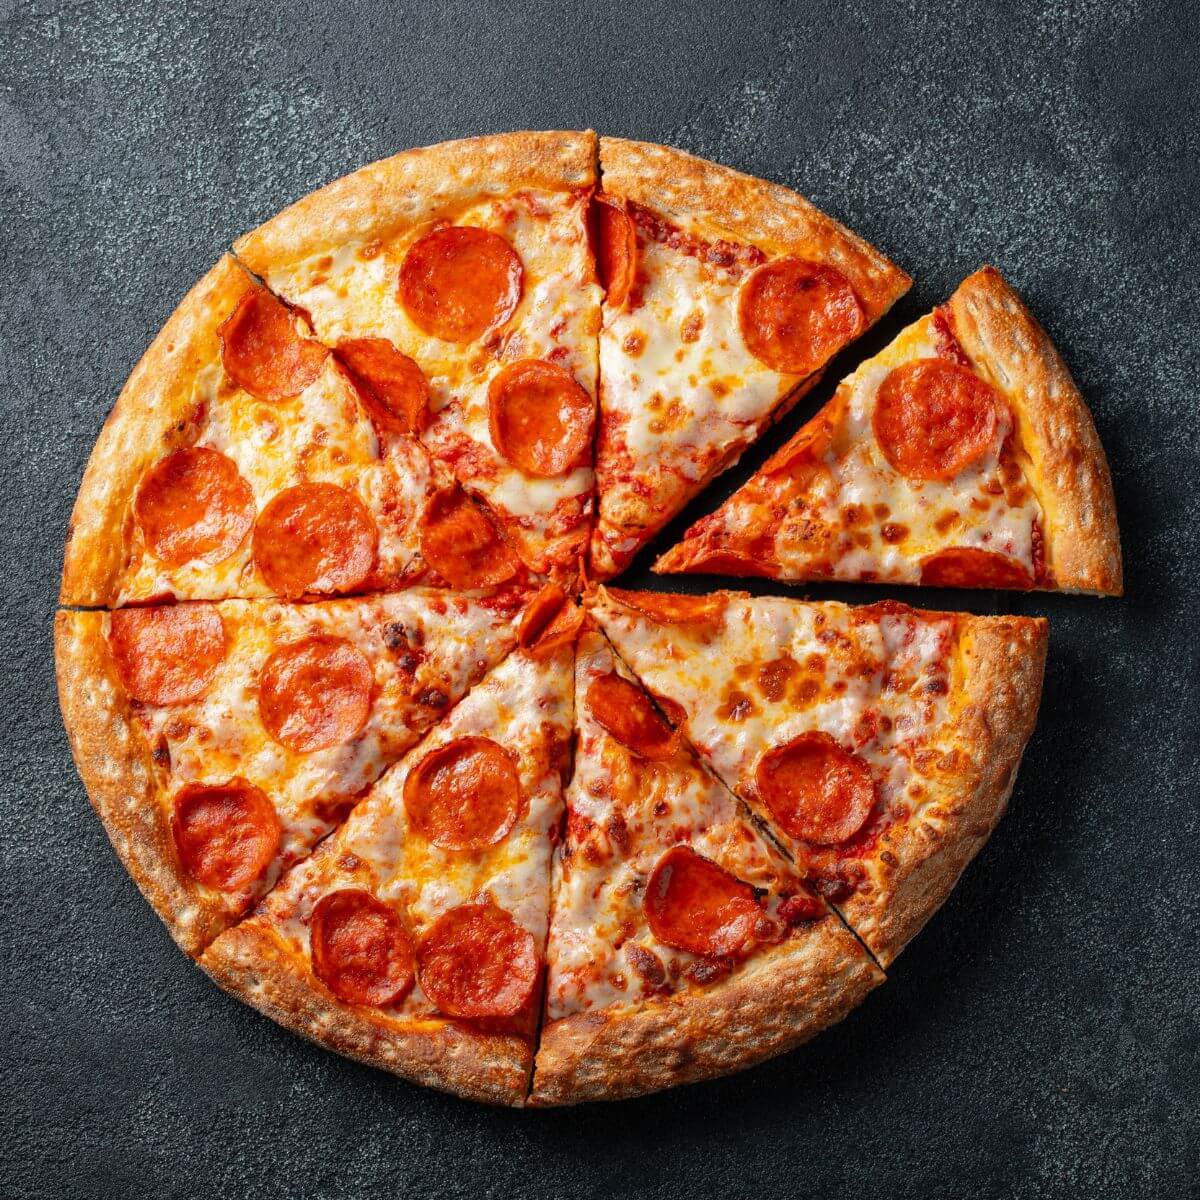
The cheese melts without burning along the edges, and the pepperoni gets those small curved cups with oily centres that pizza purists call cup-and-char. It’s the classic American pizzeria effect, and you achieve it more easily in the airfryer than on a regular baking tray.
The difference between supermarket pizza and homemade
A frozen pepperoni pizza from the counter is typically 26–28 cm, and that’s at the limit for most airfryers. With a home-rolled or halved pizza you have free rein with the topping, and the base doesn’t risk tipping over a side basket. Both approaches work fine – they just need to be handled a little differently.
My kitchen test of pepperoni pizza
I’ve put pepperoni pizza through both my Cosori Dual Blaze and a Philips XXL to see where size and air circulation make a difference. The Cosori handles a homemade 20–22 cm pizza in 8–10 minutes at 190 °C, while the Philips XXL can handle a whole supermarket pizza of 26 cm at 180 °C in 11–13 minutes. Both times the base hit the golden-brown tone on the underside around 9 minutes, and the cheese bubbled without burning at the edges. My fixed tip: always preheat 3 minutes at 200 °C before the pizza goes in.
Place the pepperoni directly on top of the cheese – not underneath. It’s the only way to get the characteristic burnt edges and the oily centre that define a real pepperoni pizza.
Tips and tricks from the author: Morten Jensen
The typical mistakes and how to avoid them
The classic beginner mistake is to throw the pizza in without checking whether it fills the basket completely. If the edge is pressed against the sides, the dough becomes rubbery and the base uneven – halve the pizza, or choose a variant that matches your basket diameter. Another classic is to overdose on cheese. Mozzarella needs air to bubble up without settling like a liquid blanket on top, so stick to 80–100 grams of grated mozzarella per 22 cm pizza, no more. The third mistake is about the pepperoni itself. If you put it under the cheese, it becomes soft and greasy instead of getting that characteristic crown of caramelised edges; put it on top, so the heat hits it directly, and each slice gets that small cup shape that makes a big difference for both taste and appearance.
How to serve pepperoni pizza
Cut the pizza into six triangles with a pizza cutter or a large chef’s knife, and serve immediately while the cheese is still pulling strings. A couple of fresh basil leaves and some chilli flakes lift both the aroma and the taste a notch:
- Fresh basil and a sprinkle of dried oregano
- Chilli flakes and a drizzle of good olive oil
- A simple green salad with lemon vinaigrette
- Garlic bread in smaller pieces or a baked potato on the side
Storage and reheating
Leftover pepperoni pizza keeps 2–3 days in the fridge in an airtight container or well wrapped in foil. Reheating is pizza’s salvation – and the airfryer clearly beats the microwave here. Place the slices in the basket at 170 °C for 3–4 minutes, so the base becomes crispy again and the cheese soft and warm. The microwave leaves the base rubbery and the cheese rubber-stretched, so avoid it if you have the choice.
Pepperoni pizza in the airfryer is one of those dishes where technique wins over time. Get the base, cheese and pepperoni to work together, and you have an everyday pizza that easily matches the one from the local pizzeria.
FAQ
It depends on your model’s basket diameter. Most airfryers handle pizzas up to 22–24 cm. In a Cosori Dual Blaze a 20–22 cm pizza fits nicely in one basket, while larger airfryers like the Philips XXL can handle up to 26 cm. Always measure the basket internally before buying pizza.
The most common cause is that the pizza sits too close to the side edges without space for air circulation. Ensure at least 1 cm of free space around the pizza, and preferably preheat the airfryer for 3 minutes at 200 °C before the pizza goes in.
Yes, it works fine. Thaw the dough overnight in the fridge, and roll it out to a size your airfryer can accommodate. Bake the dough for 2 minutes on its own at 200 °C before topping with sauce, cheese and pepperoni – it gives a noticeably crispier base.
Recipe

Pepperoni pizza in the airfryer
Cooking Guide
Keep the screen on and follow the recipe step by step while you cook.
Step 1:
Avoid the screen turning off while you cook.
Step 2:
Start the guide and follow the recipe one step at a time.
Cost of the dish
Prices may vary depending on where you shop.
Our estimate is based on average food prices for the current year 2026.
Estimated price for the whole dish:
Airfryer size
All our recipes are tested in a Philips Airfryer 2000 Series NA230/00 – 6.2 L
Does the recipe fit my Airfryer?
If you’re unsure, you can always reduce by one serving in the recipe, or click the 0.5x button.
You can also Ask the AI Chef
It’s easy! Just press the Ask the AI Chef button you see at the bottom.
Recommended equipment
- 1 Air fryer
- 1 Mixing bowl
- 1 Rolling pin
- 1 Bagepapir (til airfryer)
- 1 Brush
- 1 Cutting board
Shopping list
Ingredients
Pizza dough
- 250 g plain flour (preferably type 00)
- 1 tsp dry yeast
- 1 tsp salt

- 1 tsp sugar
- 150 ml lukewarm water
- 1 tbsp olive oil
Topping
- 150 g pizza sauce (e.g. passata with herbs)
- 200 g mozzarella (grated or in thin slices)
- 100 g pepperoni (spicy, in thin slices)
- 1 tsp dried oregano
- 1 tbsp olive oil (for brushing)
How to make it
Preparation
- Mix 250 g plain flour, 1 tsp dry yeast, 1 tsp salt and 1 tsp sugar in a mixing bowl. Add 150 ml lukewarm water and 1 tbsp olive oil and knead the dough for 5-7 minutes until it is smooth and elastic.

- Cover the bowl with a clean cloth and let the dough rise in a warm place for 60 minutes until it has doubled in size.
- Divide the dough into 4 equal pieces and roll each piece into a round pizza base about 18 cm in diameter — the size should fit your airfryer basket.
Cooking in the airfryer
- Preheat the airfryer to 200 °C convection.
- Place a piece of parchment paper cut to size of the basket in the bottom of the airfryer. Place a pizza base and spread a quarter of 150 g pizza sauce evenly over the base — leave a small edge free for the crust.
- Sprinkle a quarter of 200 g mozzarella over the sauce and spread a quarter of 100 g pepperoni on top. Sprinkle a little 1 tsp dried oregano over.
- Bake the pizza at 200 °C for 7-8 minutes until the cheese is melted and bubbling and the base is golden brown and crispy.
- Brush the crust with a little 1 tbsp olive oil immediately after baking for extra shine and flavour.
- Repeat the procedure with the three remaining pizza bases and serve immediately while the cheese is still meltingly hot.
Our notes for the recipe
For an extra crispy base, you can pre-bake the pizza base alone in the airfryer for 2 minutes at 200 °C before adding sauce and topping. This prevents the sauce from softening the base. Variation:
Swap the pepperoni for salami, chorizo or smoked sausage for another spicy variant. Add fresh basil leaves right after baking for an Italian twist, or sprinkle with chilli flakes for extra heat. Serving:
Serve the pizza straight from the airfryer with a fresh green salad with vinaigrette or a cold beer on the side. A drizzle of chilli oil at the end lifts the flavour even further. Portion size:
If your airfryer is smaller, you can make the pizzas one at a time — keep the finished ones warm in the oven at 80 °C while the others bake.
Your notes for the recipe
Nutrition per serving (Guideline)
Important about shelf life and nutrition
Nutrition per serving (guideline): Calculations are based on data from the United States Department of Agriculture (USDA). Shelf life (guideline): Shelf life data is provided, as far as possible, by public institutions, including national food authorities. Our information is therefore only indicative, and it is your responsibility to obtain and calculate accurate information about shelf life and nutrition for all recipes on airfryerkogebogen.dk
Easily share the recipe with others:
Via email or on Facebook
Open the recipe on your phone
Scan the QR code with your phone and get the recipe directly on your mobile while you cook.

Author
Airfryerkogebogen.dk