
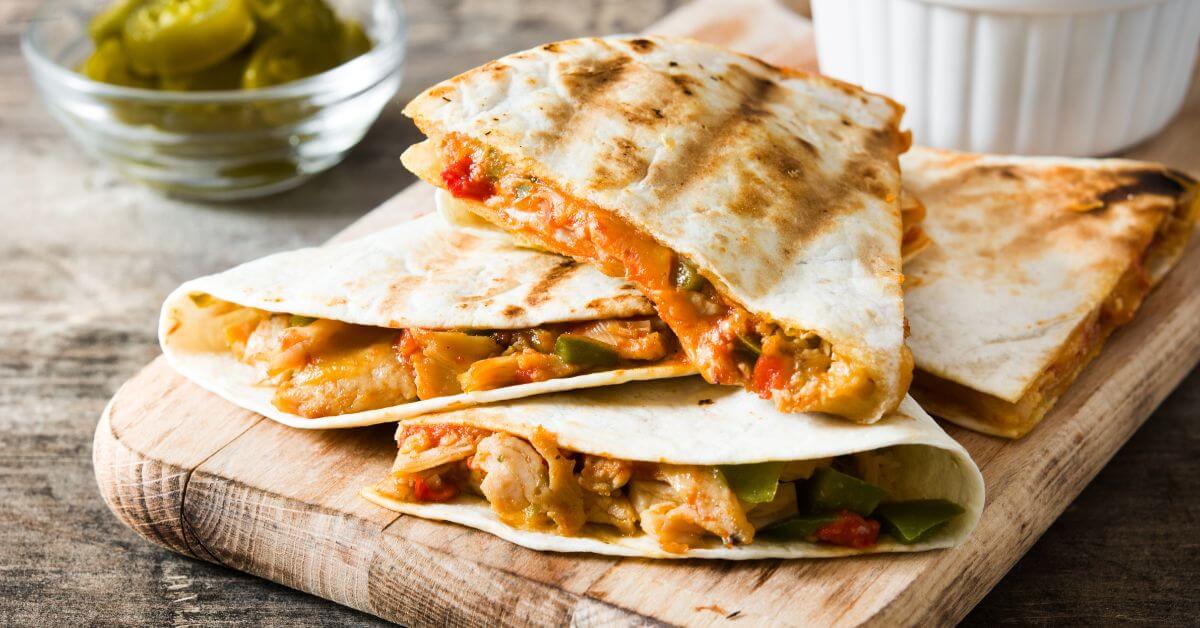
There’s something really special about a quesadilla straight from the air fryer – the crispy tortilla, the melted cheese and the spiced chicken in the middle. I’ve been experimenting with chicken quesadillas ever since I got my first air fryer a couple of years ago, and these days I make them more often than I make them in a pan. It’s faster, they turn out crispier, and I’m spared from standing there nervously flipping them while the cheese threatens to ooze out.
In this guide you’ll get my thoroughly tested method with precise temperatures, times and the little tricks that make the difference between a decent quesadilla and a really good one. I’ll also share the three mistakes I made myself in the beginning, so you can skip right past them.
Estimated reading time: 6 minutes
Table of Contents
Why I love chicken quesadillas in the air fryer
Quesadillas are almost a perfect match for the air fryer’s strengths. The hot air circulates around the tortilla and crisps up the tortilla all over – I only flip them once. The result is a crunchy surface and cheese that’s melted all the way through. I typically use wheat tortillas of around 20 cm and fill them with diced chicken seasoned with smoked paprika and cumin, grated cheddar, red pepper and a quick tomato sauce with finely chopped red onion.
For me it’s also about the pace. From the moment I get out the tortillas and chicken to the food being on the table, it takes less than an hour, and each batch spends only about 8 minutes in the air fryer. It’s the kind of quick weeknight dinner that actually tastes like you spent an hour in the kitchen.
The difference between the air fryer and the pan
In the pan I have to keep an eye on them the whole time, flipping them and risking the cheese seeping out and burning onto the surface. In the air fryer I put the quesadilla in the basket, set the time and flip it just once after 4 minutes. The air makes sure both sides turn evenly golden. The only drawback is that I can only cook one or two at a time, depending on the size of the air fryer – but it’s so quick that it’s rarely a problem.
My kitchen test of chicken quesadillas
I’ve run my quesadillas through several rounds of testing to find the best balance between crispiness and melted cheese. With too short a time, the tortilla turned out too soft and the cheese wasn’t fully melted. Then I tried 200 degrees for 8 minutes, where the surface got crispy, but the bottom was a bit too hard and almost cracker-like. My final result landed on 180 degrees for 7-8 minutes in total: 4 minutes, then I flip them carefully, followed by another 3-4 minutes. The cheese is melted through, the tortilla is golden and crunchy, and the chicken stays juicy.
In a regular oven the same thing takes 12-15 minutes at 200 degrees, and the surface never gets quite as evenly crispy. The pan version requires cooking twice, once per side, and often produces scorched patches where the cheese escapes onto the bottom. The air fryer wins clearly on both time and result.
I’ve also tested the amount of filling on the kitchen scale. Around 80-100 grams of filling per tortilla works best. Any more, and it starts to ooze out during cooking. Any less, and there’s too much dry tortilla in every bite.
Place the quesadillas on a piece of baking paper cut to fit the basket, and flip them carefully after 4 minutes. That way both sides turn golden and crispy – with no oil on the outside at all.
Tips and tricks from the author: Morten Jensen
The typical mistakes and how to avoid them
The first mistake I made myself was overfilling the tortilla. When I added more than 100 grams of filling, the cheese started to seep out and burn onto the basket. Now I stick to a generous but not over-stuffed layer, and I fold the tortilla tightly together so the filling stays in place.
The second classic mistake is putting too many quesadillas in the basket at once. It’s tempting when you want to eat quickly, but when they overlap, the hot air can’t circulate and the tortilla turns soft instead of crispy. I cook 1-2 at a time in a single layer and flip them carefully after 4 minutes – then the tortilla turns golden brown and crunchy on both sides.
The third mistake is using chicken that’s dry or unseasoned. If I use leftover cooked chicken straight away, the filling turns out bland. I always warm the chicken briefly in a pan with cumin, paprika, garlic and a splash of salsa first – it takes two minutes and lifts the flavour considerably.
How to serve chicken quesadillas
A good quesadilla deserves a few sides that lift both flavour and presentation. Here are my favourites that make the meal complete:
- Guacamole or avocado slices with a little lemon juice
- Homemade salsa or pico de gallo with fresh tomatoes
- Sour cream or Greek yoghurt stirred with lime juice and salt
- A fresh salad with coriander, red onion and tomato
- Jalapeños or a good hot sauce for those who want extra bite
Storage and reheating
Chicken quesadillas taste best straight from the air fryer, but they keep perfectly well in the fridge for a day or two. I wrap them in baking paper and put them in an airtight container, so they don’t go soft from condensation. To reheat, I give them 3-4 minutes in the air fryer at 170 degrees – that makes them almost as crispy as the day before. The microwave works too, but the tortilla turns soft, not crispy, so it’s not my preferred method.
I preheat to 180 degrees and cook the quesadillas for 7-8 minutes in total: 4 minutes, then I flip them carefully, followed by another 3-4 minutes until the tortilla is golden brown and the cheese has melted. Cook 1-2 at a time in a single layer.
No, there’s no need. The chicken is already tossed in olive oil, and the hot air crisps up the tortilla on its own at 180 degrees. Flip it carefully after 4 minutes and both sides will turn golden.
Around 80-100 grams of filling per tortilla of about 20 cm works best. More filling, and the cheese seeps out during cooking and burns on. Keep the filling a couple of centimetres from the edge so the half-moon stays closed.
With this method you’ll get a quesadilla that’s crispy on the outside, juicy on the inside, every single time – and each batch is ready in about 8 minutes. It’s one of those dishes that feels like a little luxury, even though it’s so simple to make.

Recipe
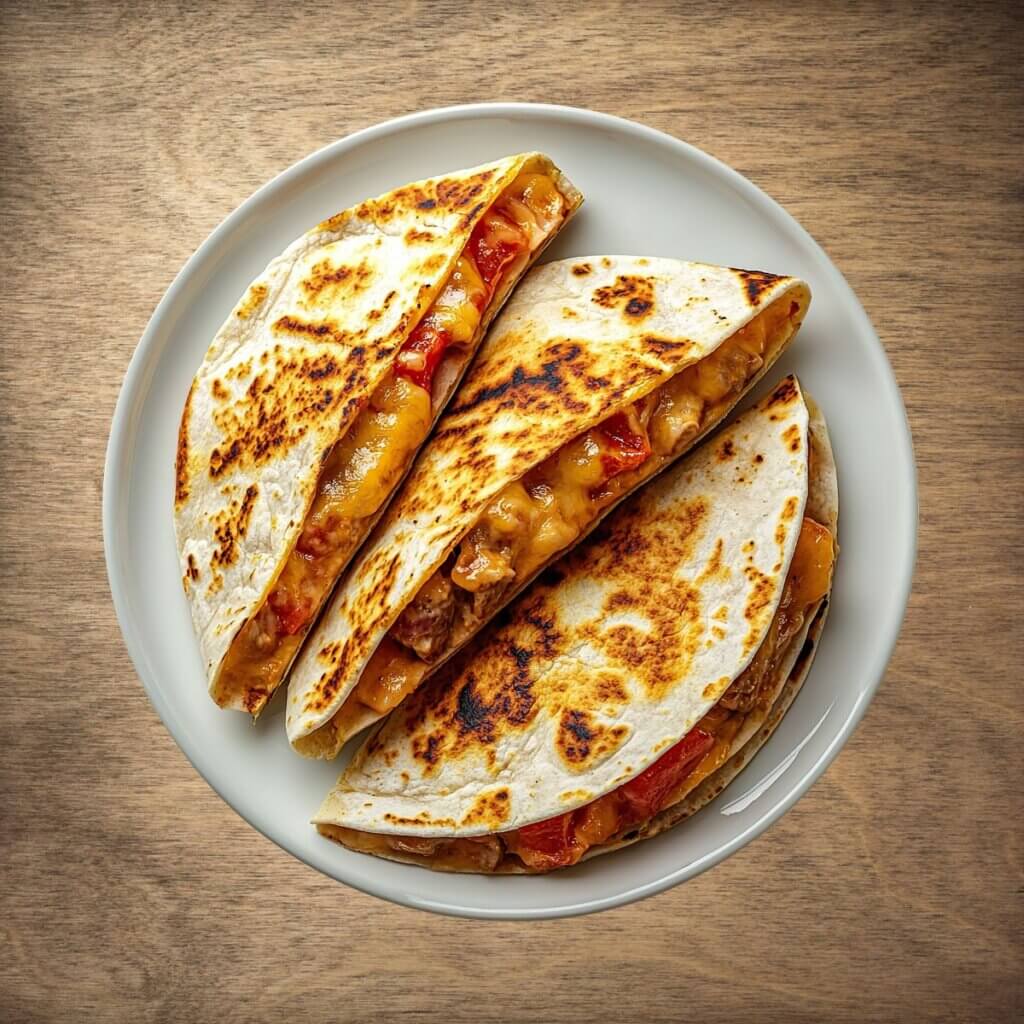
Chicken quesadillas in the air fryer
Cooking Guide
Keep the screen on and follow the recipe step by step while you cook.
Step 1:
Avoid the screen turning off while you cook.
Step 2:
Start the guide and follow the recipe one step at a time.
Cost of the dish
Prices may vary depending on where you shop.
Our estimate is based on average food prices for the current year 2026.
Estimated price for the whole dish:
Airfryer size
All our recipes are tested in a Philips Airfryer 2000 Series NA230/00 – 6.2 L
Does the recipe fit my Airfryer?
If you’re unsure, you can always reduce by one serving in the recipe, or click the 0.5x button.
You can also Ask the AI Chef
It’s easy! Just press the Ask the AI Chef button you see at the bottom.
Recommended equipment
- 1 Air fryer
- 1 Cutting board
- 1 Knife
- 1 Pan - For frying the chicken
- 1 Bowl - For mixing the filling
- 1 Parchment paper - For the air fryer basket
Shopping list
Ingredients
Chicken filling
Tomato sauce
How to make it
Preparing the filling
- Cut the 400 g chicken breast into small cubes of about 1 cm.
- Fry the chicken in a hot pan over medium-high heat for 6-8 minutes, until cooked through (core temperature 75 °C, no pink in the middle) and lightly browned. Remove from the heat and let rest.
Assembling the quesadillas
- Fold the tortilla over in the middle, so the filling sits inside a half-moon shape. Repeat with the remaining tortillas.
Cooking in the air fryer
- Preheat the air fryer to 180°C.
- Place 1-2 quesadillas at a time on a piece of baking paper cut to fit the basket, and put the paper and quesadillas into the basket together (they should lie in a single layer).
- Cook at 180 °C for 4 minutes, turn carefully and cook for another 3-4 minutes, until the tortilla is golden brown and crispy and the cheese has melted. (Check a couple of times along the way.)
- Repeat with the remaining quesadillas.
Serving
- Let the quesadillas rest for 1-2 minutes, so the cheese sets a little.
- Cut each quesadilla into 2-3 wedges and serve immediately with the rest of the tomato sauce as a dip.
Our notes for the recipe
Don’t overfill the tortilla – too much filling makes the quesadilla open up during cooking. Keep the filling within a couple of cm from the edge. Variation:
Replace the chicken with minced beef, black beans or shredded pulled pork. A dollop of guacamole or crème fraîche on top before serving lifts the dish. Serving:
Serve with a fresh salad, corn on the cob or a bowl of guacamole on the side. A cold cerveza or iced tea is the perfect match. Portion size:
If your air fryer is smaller, you can make the quesadillas in two batches for the best result – keep the finished ones warm in the oven at 80°C.
Important about shelf life and nutrition
Nutrition per serving (guideline): Calculations are based on data from the United States Department of Agriculture (USDA). Shelf life (guideline): Shelf life data is provided, as far as possible, by public institutions, including national food authorities. Our information is therefore only indicative, and it is your responsibility to obtain and calculate accurate information about shelf life and nutrition for all recipes on airfryerkogebogen.dk
Easily share the recipe with others:
Via email or on Facebook
Open the recipe on your phone
Scan the QR code with your phone and get the recipe directly on your mobile while you cook.

Author
Airfryerkogebogen.dk