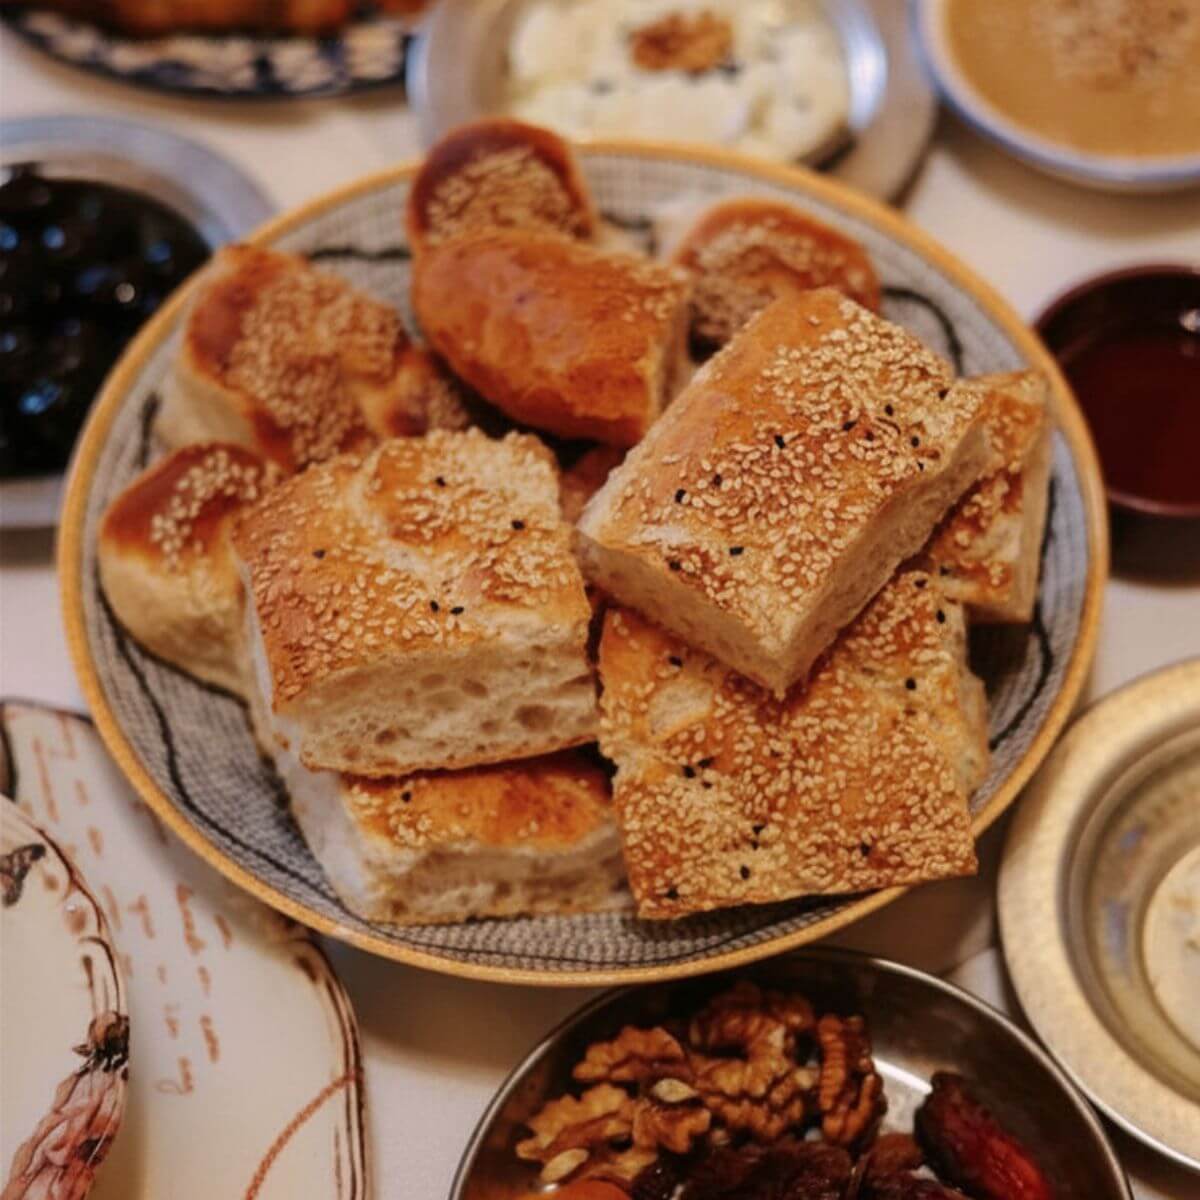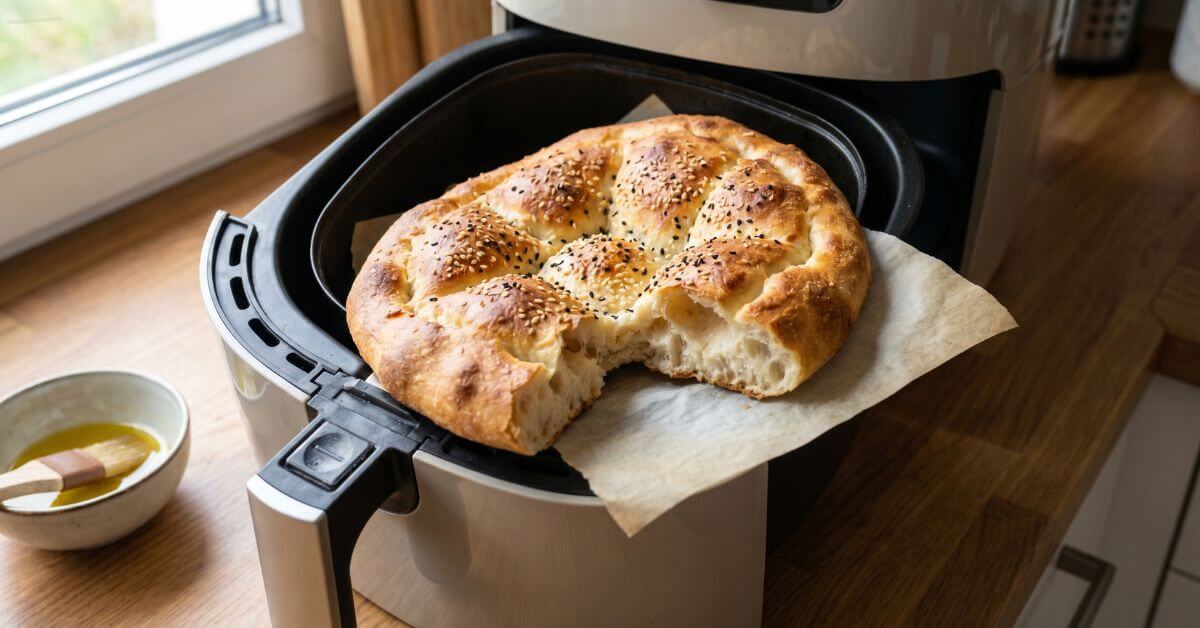
There is something really special about the smell of freshly baked bread spreading through the kitchen. The first time I tried making Turkish bread in my air fryer, I was sceptical – could it really turn out as good as in the oven? The answer completely surprised me. The result was a soft, fluffy bread with a lightly crisp crust, and the whole thing took under 15 minutes from start to finish.

Advertisement: The page displays ads and contains advertising links (affiliate links). See our advertisers here.
Now it has become a fixed part of my cooking, and I’ll show you exactly how to make Turkish Bread (Ramadan Pide).
Estimated reading time: 6 minutes
Table of Contents:
Why I love Turkish bread in the air fryer
Turkish bread, also known as pide, is one of the most versatile breads you can make at home. It is perfect for everything from breakfast with cheese and olives to dinner with grilled meat, or as a side for soups and salads. The reason I have become so hooked on making it in the air fryer comes down to three things: speed, consistency and the wonderful texture.
In an ordinary oven you typically have to wait 20-25 minutes for a similar result, and the oven also needs 10-15 minutes to preheat. With the air fryer you are up and running in no time. The intense, circulating heat gives the bread a perfectly golden-brown surface, while the inside stays soft and fluffy. It is pure magic for a bread lover like me.
My test in the kitchen
By now I have made Turkish bread in the air fryer more than 20 times, and I have tested all sorts of combinations of temperature and time to find the optimal method. My experience shows that 180°C for 8-10 minutes gives the best result for most air fryers. At 200°C the bread browned too quickly on the outside while the inside was still too dense. At 160°C it took too long and the bread turned out a little dry.
Compared with oven baking, you save around 15-20 minutes on the whole process, and the energy use is considerably lower. I have also tested both with and without oil on the surface – with a little olive oil you get a more golden-brown crust and a slightly more authentic flavour. The brushing method with egg and water gives a shinier surface if you prefer that.
Always give the dough at least 10 minutes of resting time before baking – it makes a huge difference to the fluffiness. And remember to brush with oil or egg wash for the perfect golden colour.
Tips and tricks from the author: Morten Jensen
The common mistakes and how to avoid them
One of the most common mistakes is using too much flour when you shape the bread. That gives a dry, dense texture, so go easy on the flour and instead work with lightly oiled hands. The dough is allowed to be a little sticky – that is actually a good sign that the bread will be fluffy.
Another classic mistake is overcrowding the air fryer. Turkish bread needs room to rise and get air all around it. If you cram in too many breads at once, you get uneven baking and breads that stick together. It is better to bake one or two breads at a time, depending on the size of your air fryer.
The third mistake is about temperature. Many people start with too high a heat because they are impatient. But if you bake at 200°C or above, you risk burning the surface while the middle is still raw. Start at 180°C and turn it up for the last couple of minutes if you want a crisper crust.
How to serve Turkish bread
Turkish bread is incredibly versatile and goes with almost anything. For breakfast it is perfect with feta, olives, tomatoes and cucumber – the classic Turkish breakfast that has also become popular here. You can also tear it into pieces and dip it in labneh or hummus.
For lunch it works brilliantly as a base for a kind of Turkish pizza, where you put minced meat, vegetables and cheese on top before baking. For dinner it is the perfect side for grilled dishes, kebabs or as bread for a hot soup. The soft inside soaks up all the good flavours.
Storage and reheating
Freshly baked Turkish bread of course tastes best on the same day, but you can easily keep it in a plastic bag at room temperature for 2-3 days. Avoid the fridge, as it makes the bread dry and chewy more quickly. For longer storage you can freeze the bread for up to 3 months – wrap it well in freezer bags first.
Reheating in the air fryer is my preferred method. Give the bread 2-3 minutes at 160°C and it tastes almost freshly baked again. You can also spray a little water on the surface before reheating to get a softer crust. The microwave is quick, but the texture does not turn out quite as good.
FAQ
Yes, you certainly can. Shop-bought pizza dough from the chiller works fine as a quick solution. It will not be quite as fluffy as homemade dough with yeast, but the result is still good and saves time.
I recommend it, as it makes it easier to lift the bread out and keeps your air fryer clean. Use perforated baking paper so the air can still circulate properly around the bread.
There can be several reasons. Check that your yeast is not too old, that the water was not too hot (above 40°C kills the yeast), and that the dough has had enough time to rise. Give it at least 30-45 minutes in a warm place.
Turkish bread in the air fryer has truly become a favourite in my kitchen, and I hope you will give it a try. With the right tips and a little practice, you get a result that matches the best from your local bakery – and in a fraction of the time. Enjoy the baking!

Recipe
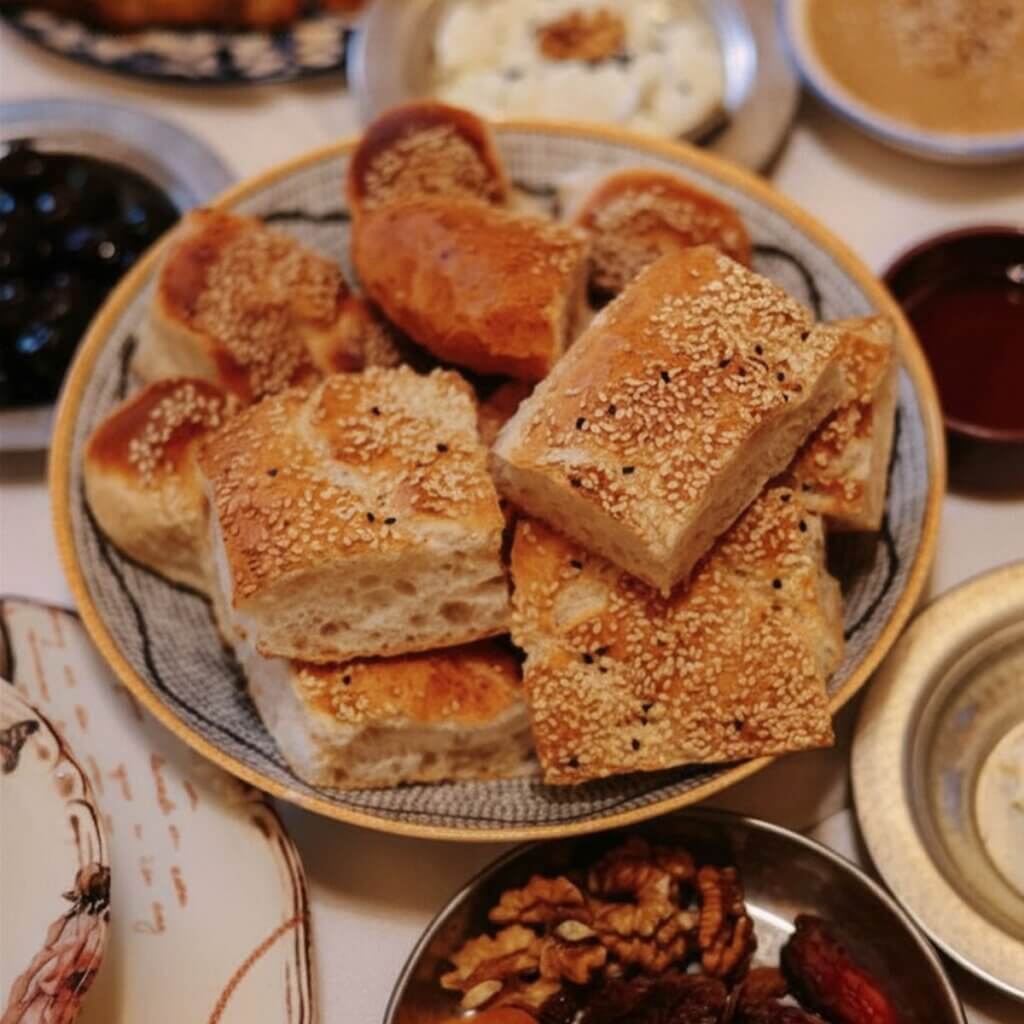
Turkish Bread (Ramadan Pide) in the Air Fryer
Cooking Guide
Keep the screen on and follow the recipe step by step while you cook.
Step 1:
Avoid the screen turning off while you cook.
Step 2:
Start the guide and follow the recipe one step at a time.
Cost of the dish
Prices may vary depending on where you shop.
Our estimate is based on average food prices for the current year 2026.
Estimated price for the whole dish:
Airfryer size
All our recipes are tested in a Philips Airfryer 2000 Series NA230/00 – 6.2 L
Does the recipe fit my Airfryer?
If you’re unsure, you can always reduce by one serving in the recipe, or click the 0.5x button.
You can also Ask the AI Chef
It’s easy! Just press the Ask the AI Chef button you see at the bottom.
Shopping list
Ingredients
Dough
- 3.5 dl lukewarm water
- 1 tsp sugar
- 7 g dried yeast (1 sachet)
- 500 g wheat flour (Tipo 00 or plain)
- 1 tsp salt

- 2 tbsp olive oil

Brushing
- 1 pcs egg yolk
- 2 tbsp plain yoghurt
- 1 tsp oil (Neutral)
Topping
- 1 tbsp sesame seeds
- 1 tbsp nigella seeds (Black sesame can also be used)
How to make it
Dough
- Mix 3.5 dl lukewarm water with 1 tsp sugar and 7 g dried yeast in a large mixing bowl. Leave for 5-10 minutes, until the yeast is bubbling and active.
- Add 500 g wheat flour, 1 tsp salt and 2 tbsp olive oil. Knead the dough for 8-10 minutes, until it is smooth, supple and comes away from the sides of the bowl.
- Cover the bowl with a damp tea towel and let the dough rise in a warm place for about 60 minutes, until it has doubled in size.
Shaping
- Turn the dough out onto a lightly floured surface and knock it back briefly. Divide it into 4 equal pieces (about 215 g each).
- Shape each piece into a smooth ball, then gently press them flat into round breads about 1.5-2 cm high and around 14 cm in diameter, so they fit in your air fryer.
Brushing and pattern
- Whisk 1 pcs egg yolk, 2 tbsp plain yoghurt and 1 tsp oil together in a small bowl.
- Press the classic pide pattern into the breads with your fingertips: first a circle about 1 cm from the edge, then a diamond pattern inside the circle.
- Brush the pide thoroughly with the egg mixture and sprinkle 1 tbsp sesame seeds and 1 tbsp nigella seeds evenly over the top.
Cooking in the air fryer
- Preheat the air fryer to 180 °C on the fan setting.
- Place 1-2 pide at a time in the air fryer on a piece of baking paper – depending on the size of your basket. They should sit in a single layer without touching each other or the sides of the basket.
- Bake for 12-14 minutes, until the breads are golden brown and sound hollow when you tap lightly on the base. (Check them a couple of times along the way.)Start the online kitchen timer here
- Take the pide out and let them cool on a wire rack while you bake the rest.
Our notes for the recipe
The dough should be soft and supple – add a little more lukewarm water if it seems dry, or a little more flour if it sticks too much. Let the dough rise in a warm spot without draughts for the best result. Variation:
Sprinkle the breads with poppy seeds, sunflower seeds or crumbled feta before baking for a different flavour. You can also use black sesame together with the light seeds. Serving:
Perfect for a Turkish tapas table with hummus, ezme, tzatziki and grilled meat. Also lovely with soup, stew or as a sandwich bread. Portion size:
Most air fryers can only hold 1-2 pide at a time. Bake them in two batches for the best result – this ensures even baking and crispness.
Your notes for the recipe
Nutrition per serving (Guideline)
Important about shelf life and nutrition
Nutrition per serving (guideline): Calculations are based on data from the United States Department of Agriculture (USDA). Shelf life (guideline): Shelf life data is provided, as far as possible, by public institutions, including national food authorities. Our information is therefore only indicative, and it is your responsibility to obtain and calculate accurate information about shelf life and nutrition for all recipes on airfryerkogebogen.dk
Easily share the recipe with others:
Via email or on Facebook
Open the recipe on your phone
Scan the QR code with your phone and get the recipe directly on your mobile while you cook.

Author
Airfryerkogebogen.dk