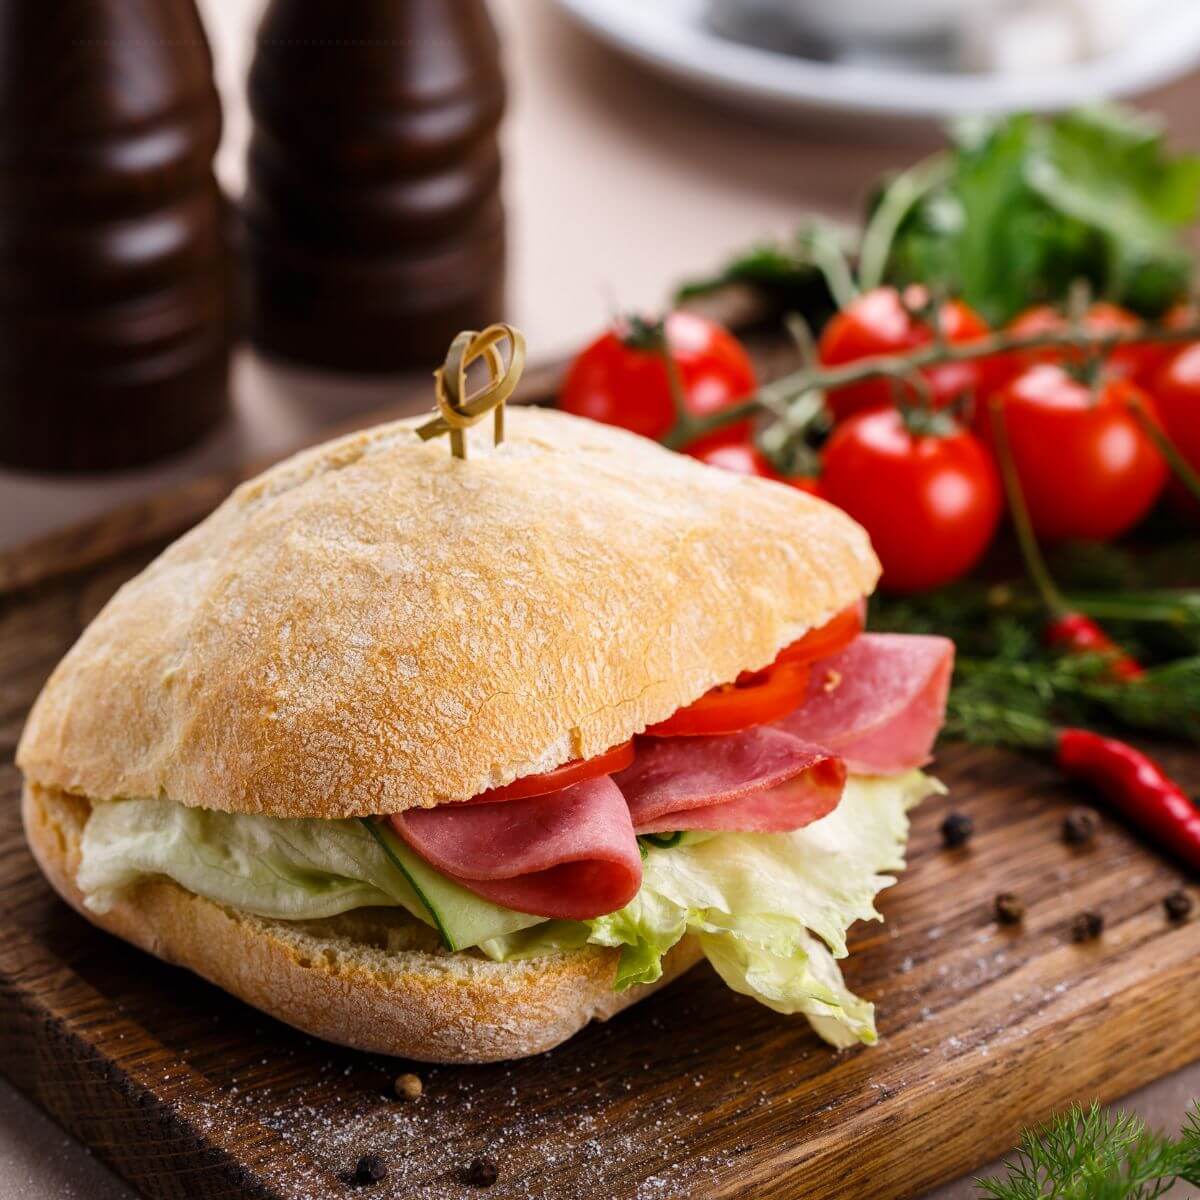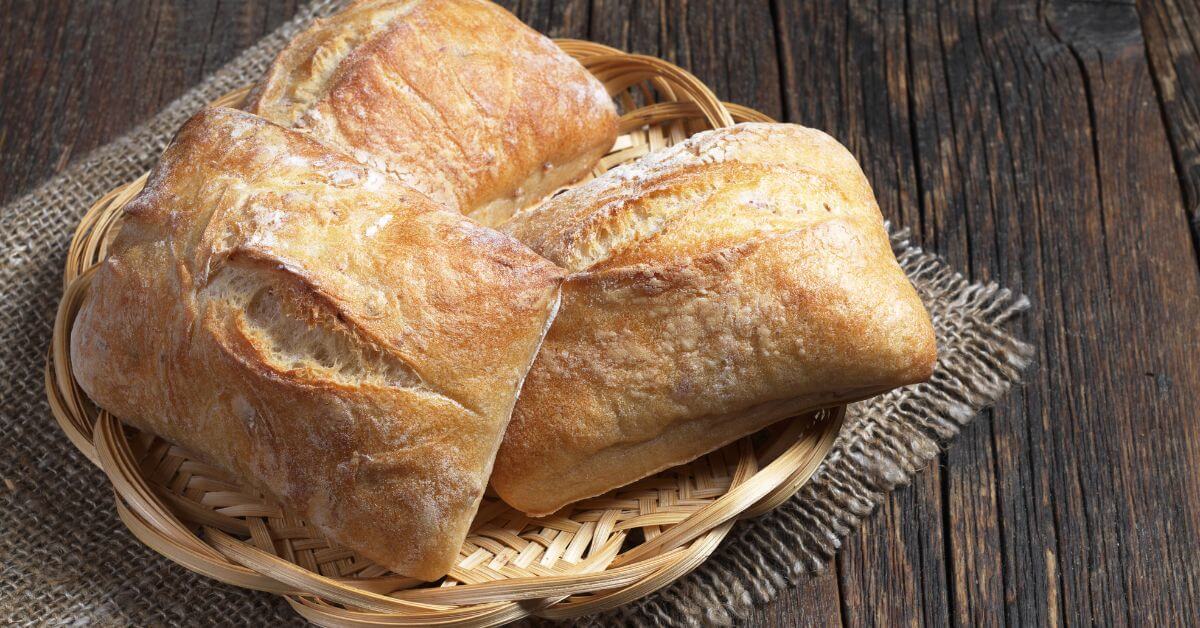
There is something especially magical about homemade ciabatta rolls, and when I discovered how well they bake in my airfryer, it became a regular part of my weekend routine. Crisp crusts, an airy and chewy interior, and they are ready in a fraction of the time compared to the oven. In this guide I share my best tips from my own kitchen, so you can get ciabatta rolls that both look and taste like the ones from the Italian bakery without slaving away in the kitchen all morning.

Advertisement: The page displays ads and contains advertising links (affiliate links). See our advertisers here.
Estimated reading time: 6 minutes
Table of Contents:
Why I love ciabatta rolls in the airfryer
When I bake ciabatta rolls in the airfryer, I get an almost incredibly crisp crust, because the hot air circulates closely around the dough and drives out the moisture at a pace the oven cannot match. At the same time, the centre stays soft and full of the characteristic large air bubbles that ciabatta is known for. I don’t need to preheat for a quarter of an hour, and I don’t use a baking stone either. Let the airfryer come up to temperature in a couple of minutes, and you are ready to bake fresh Italian rolls straight from your own little basket.
The difference between airfryer and oven
In the oven I typically have to bake ciabatta rolls at 230°C for around 18-20 minutes, and I have to remember to spray in water to get the right crust. In the airfryer I work at 180-190°C for 11-13 minutes, and the hot air does the job all on its own. The result is a more compact crust and a softer crumb, which I actually prefer for lunch rolls and burgers.
My kitchen test of ciabatta rolls
I have tested the rolls in three different airfryer models to find the optimal temperature and time range. The clear winner was 185°C for 12 minutes with a short final proof directly in the basket. At 200°C the crust got too dark before the inside was done, and below 175°C the characteristic golden colour was missing.
I also weighed the rolls before and after baking: a 90 g portion of dough became a 78 g finished roll, which tells me that the moisture loss is optimal right around the 12 minutes. If you bake longer than that, the crumb becomes dry and dull. I also tested with and without baking paper, and baking paper won clearly, because it stopped the dough from sticking and gave a more even base. I always brush with olive oil at the end for extra shine.
The most important tip is to let the airfryer come fully up to temperature before the dough goes in. A cold basket gives a paler crust and a more compact crumb.
Tips and tricks from the author: Morten Jensen
The typical mistakes and how to avoid them
The most common mistake I see is cramming too many rolls into the basket at once. When the dough pieces touch each other, the sides turn soft and bake together instead of getting a crisp crust all the way around. Instead, bake two or three rolls at a time, and give them at least two centimetres of space in the basket.
The next mistake is forgetting to brush the rolls with olive oil or water before baking. Brushing with olive oil gives a golden-brown crust, while water gives a more classic Italian surface with fine cracks. Both work, but a completely bare dough comes out pale and without the characteristic ciabatta finish.
The third mistake is opening the airfryer too early. I know it’s tempting to check on them, but the rising happens in the first eight minutes, and every time you open the lid, the temperature drops 20-30 degrees. Wait until the last four minutes to check, and you’ll get markedly better results.
How to serve ciabatta rolls
I use ciabatta rolls for everything from weekday lunches to weekend dinners, and they are extra good while they are still warm.
- As burger buns with juicy beef, fried red onion and pesto mayo
- Halved and toasted with olive oil, garlic and tomato as classic bruschetta
- For an Italian lunch platter with ham, mozzarella and sun-dried tomatoes
- As an accompaniment to a hearty minestrone or creamy tomato soup
- Filled with mozzarella and pesto, briefly back in the airfryer for a panini effect
Storage and reheating
Ciabatta rolls are best fresh, but I happily store them in an airtight bag for up to two days at room temperature. If they get dry, I can freshen them up by spraying a little water on the surface and warming them in the airfryer at 170°C for three minutes, and then they taste almost freshly baked. They can also be frozen for up to a month. Thaw them at room temperature, and give them two to four minutes at 170°C in the airfryer before serving, and you’ll get the crisp crust back.
FAQ
Yes, a short preheat of three to four minutes at 185°C gives a more even bake and a better crust. It’s a small trick that makes a big difference to the finished result.
Absolutely. Ready-made ciabatta dough from the chilled section bakes fine at 180°C for 10-12 minutes. Just remember to let the dough come to room temperature for 15-20 minutes first, otherwise the crumb gets too compact.
It’s most often because the dough hasn’t risen long enough, or because it has been handled too roughly after the final rise. Ciabatta dough should be treated gently, so the air bubbles are preserved right up to baking.
Ciabatta rolls in the airfryer have become my favourite way to get freshly baked Italian bread, and I hope the recipe below brings you the same joy it brings me. Feel free to experiment with fillings and spices — a version with rosemary and sea salt on top is especially delicious.

Recipe
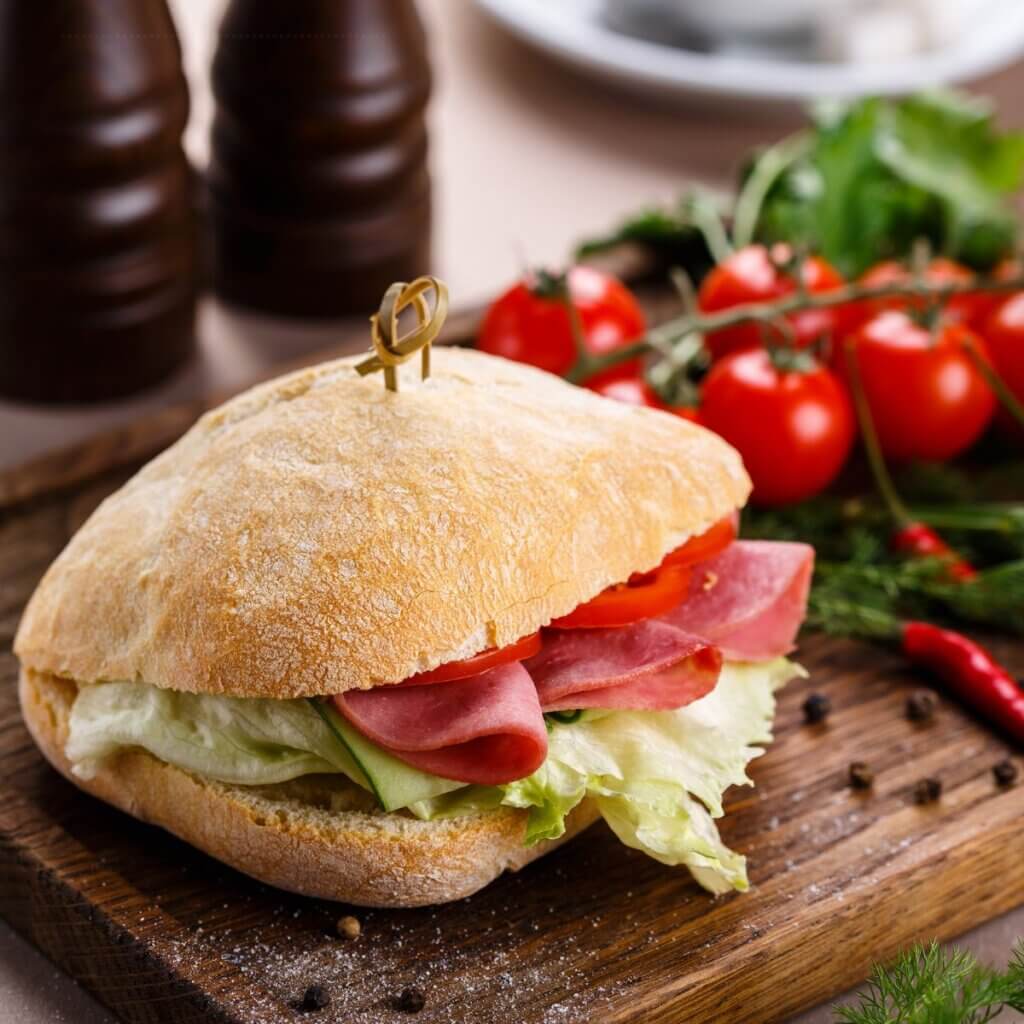
Ciabatta Rolls in the Airfryer
Cooking Guide
Keep the screen on and follow the recipe step by step while you cook.
Step 1:
Avoid the screen turning off while you cook.
Step 2:
Start the guide and follow the recipe one step at a time.
Cost of the dish
Prices may vary depending on where you shop.
Our estimate is based on average food prices for the current year 2026.
Estimated price for the whole dish:
Airfryer size
All our recipes are tested in a Philips Airfryer 2000 Series NA230/00 – 6.2 L
Does the recipe fit my Airfryer?
If you’re unsure, you can always reduce by one serving in the recipe, or click the 0.5x button.
You can also Ask the AI Chef
It’s easy! Just press the Ask the AI Chef button you see at the bottom.
Recommended equipment
- 1 Air fryer
- 1 Mixing bowl - Large
- 1 Ladle - Wooden
- 1 Parchment paper - For airfryer
- 1 Brush - For olive oil
- 1 Plastic wrap - For covering the dough
Shopping list
Ingredients
The dough
- 3.5 dl lukewarm water
- 8 g fresh yeast (Or 2 g dried yeast)
- 1 tsp sugar
- 400 g Manitoba flour (Or plain wheat flour)
- 1 tsp salt


For brushing
- 2 tbsp olive oil
How to make it
Mixing the dough
- Weigh out 3.5 dl lukewarm water into a large mixing bowl and crumble in 8 g fresh yeast. Stir with a wooden spoon until the yeast is completely dissolved.
- Cover the bowl with cling film and let the dough cold-rise on the kitchen counter for 8-10 hours (e.g. overnight).
Shaping the rolls
- Dust the kitchen counter generously with flour and gently tip out the dough – be careful not to knock the air out of it.
- Dust a little flour on top and divide the dough into 8 roughly equal pieces with a dough scraper. Shape the rolls lightly with floured hands – they don’t have to be perfect.
- Place baking paper in the airfryer basket and arrange 4 rolls well spaced apart. Brush the rolls with olive oil.
Baking in the airfryer
- Preheat the airfryer to 200 °C.
- Bake the first 4 rolls at 200 °C for 15 minutes. Turn them gently and give them another 3 minutes, until they are golden and crisp.
- Take the rolls out and let them cool on a wire rack while you bake the last 4 rolls in the same way.
Our notes for the recipe
The dough is very wet and sticky – that’s intentional, and it’s exactly what gives the big air holes in the rolls. Avoid adding extra flour. Portion size:
Most airfryers can only fit 4 rolls at a time. Bake them in two batches for the best result – keep the first rolls warm in a tea towel while the next ones bake. Variation:
Sprinkle the rolls with flaky salt, sesame seeds or grated parmesan before baking for extra flavour. You can also add fresh herbs like rosemary or thyme to the dough. Serving:
Serve the rolls warm with cold butter, as sandwich rolls, or with soup and salad.
Your notes for the recipe
Nutrition per serving (Guideline)
Important about shelf life and nutrition
Nutrition per serving (guideline): Calculations are based on data from the United States Department of Agriculture (USDA). Shelf life (guideline): Shelf life data is provided, as far as possible, by public institutions, including national food authorities. Our information is therefore only indicative, and it is your responsibility to obtain and calculate accurate information about shelf life and nutrition for all recipes on airfryerkogebogen.dk
Easily share the recipe with others:
Via email or on Facebook
Open the recipe on your phone
Scan the QR code with your phone and get the recipe directly on your mobile while you cook.

Author
Airfryerkogebogen.dk