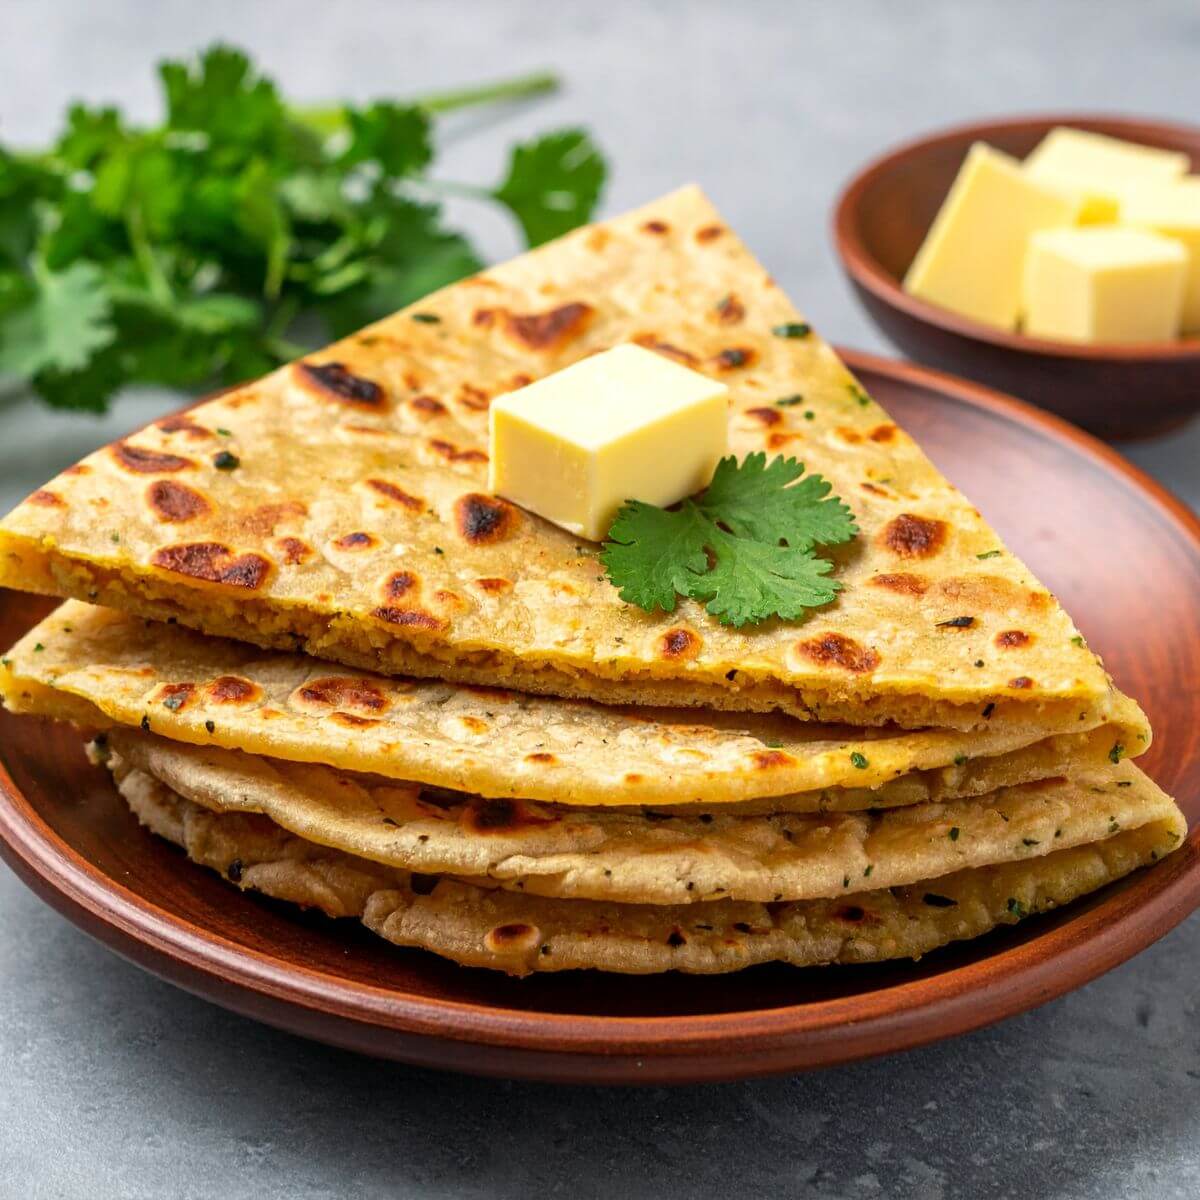

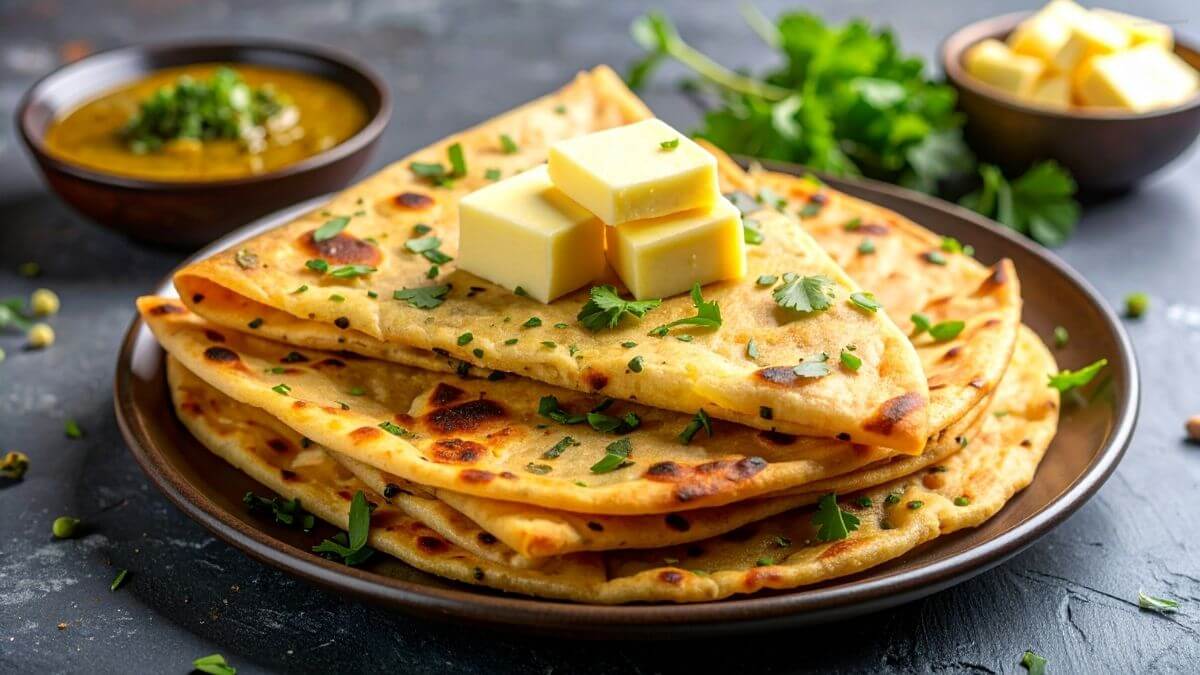
Aloo paratha is one of India's most beloved breakfast and lunch dishes — a flatbread of whole wheat flour filled with spiced mashed potato. Traditionally it’s cooked on a tawa with ghee, but in the airfryer you get the same crispy crust and soft inside without the greasy preparation. The result is a flatbread with a golden surface, satisfying filling and an aroma of cumin and garam masala that fills the entire kitchen. Served with a dollop of yogurt or raita it’s a complete meal in under half an hour — and the perfect way to use yesterday’s boiled potatoes.

Advertisement: The page displays ads and contains advertising links (affiliate links). See our advertisers here.
Estimated reading time: 4 minutes
Table of Contents:
Why I love Aloo Paratha in the airfryer
Aloo paratha is one of those dishes that really shows what the airfryer can do when it comes to bread and dough. The hot circulating air gives the flatbreads a golden, lightly crispy surface, while the filling inside stays soft and steaming hot. You avoid the heavy ghee smoke and the greasy pans, but keep the nutty flavor from the toasted whole wheat flour.
The biggest advantage is the predictability. On a tawa you have to constantly adjust the heat and watch whether the bread burns or stays pale. In the airfryer you set the temperature and time — and come back to a perfect piece of flatbread every time.
The difference between tawa and airfryer
A traditional tawa gives the characteristic dark spots and a slightly chewier texture — it’s the classic that many remember from their grandmother’s kitchen. The airfryer instead makes a bread with a more uniform, crunchy surface and a softer interior crumb. Both versions are good, but the airfryer version is easier to succeed with if you don’t have experience with dough handling or pan heat.
My kitchen test of Aloo Paratha
I’ve tested aloo paratha in my Cosori Dual Blaze at 190 °C, and 6 minutes on the first side plus 4 minutes on the other side is the sweet spot. The bread becomes golden without drying out, and the filling reaches a pleasant warmth all the way through. If you brush the surface lightly with melted ghee or butter halfway through the time, you get the characteristic golden-brown crust that resembles the tawa-cooked version.
I compared directly with a pan-fried version: the airfryer version used about a third less fat and was ready 30 percent faster, because I could bake two at a time. That’s a clear time-saving argument for busy weekdays.
Let the dough rest for at least 20 minutes before rolling — it makes the dough pliable and prevents cracks when you fold the filling in.
Tips and tricks from the author: Morten Jensen
The typical mistakes and how you avoid them
The most common mistake is filling too much mashed potato in each paratha. That causes the dough to crack, and the filling spills out, so the bread becomes dry and fillingless. Stick to about one tablespoon of filling per paratha at 12-15 cm diameter — then the dough has room to enclose the filling without giving way.
Another classic is too wet mashed potato. If you use boiled potatoes that aren’t cooled or still hold water, the filling becomes heavy and presses through the dough during baking. Mash the potatoes the day before, or let them steam off for at least 15 minutes, and season only afterward so the salt doesn’t draw out more water.
The third mistake is forgetting to brush with fat. The airfryer gives a nice color, but without a thin layer of butter or ghee the bread becomes matte-golden and a bit dry on the surface. Brush lightly both before baking and halfway through — it gives shine, flavor and the authentic look.
How to serve Aloo Paratha
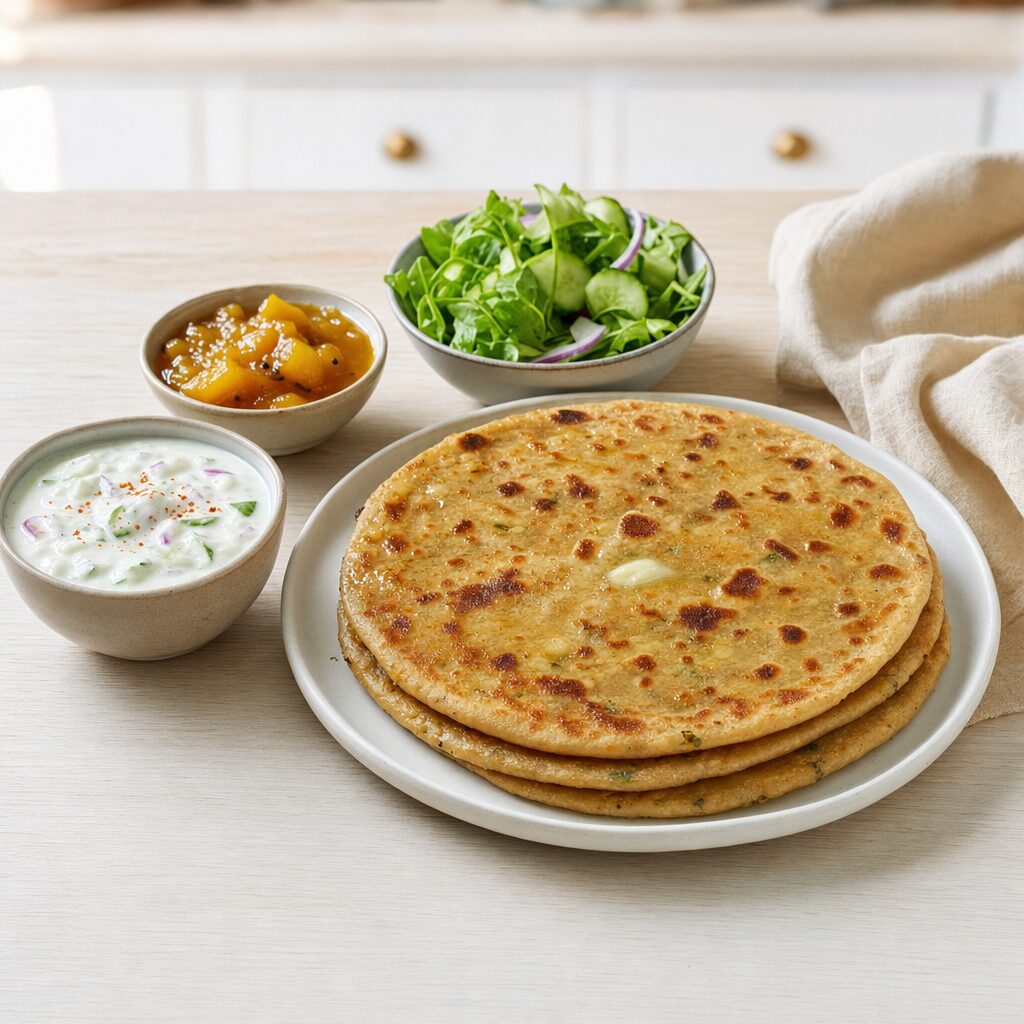
Aloo paratha is best as part of a small spread with cool and tangy accompaniments that balance the spiced filling. Here are my favorite combinations:
- A dollop of plain yogurt or raita with cucumber and mint
- Mango chutney or a pickled lemon-pickle (achar)
- A cold glass of lassi — sweet or salted to taste
- A piece of butter on top while the bread is still warm
- Fresh slices of onion, tomato and a sprig of cilantro to top with
Storage and reheating
Aloo paratha keeps well in an airtight container in the fridge for up to three days. Reheat them in the airfryer at 170 °C for 3-4 minutes — then they regain both warmth and a bit of the original crispness. You can also freeze the finished baked parathas with parchment paper between each layer and heat them directly from frozen at 180 °C for 6-7 minutes.
Aloo paratha is a bread that really lifts an ordinary weekday. It takes a little practice to get the folding right, but after two or three attempts you have the technique down — and then it becomes the kind of dish that ends up just as often on the breakfast table as for lunch or a light dinner.
FAQ
Yes, but the result will be a little different. Atta (whole-grain durum wheat) gives the traditional nutty flavor and softer texture. If you use regular wheat flour, choose the coarsest whole-grain variant and add an extra tablespoon of oil to the dough to keep it pliable.
Cracks most often occur because the dough is too dry or the filling too firm. Make sure the dough is soft and pliable — almost sticky — and rested for at least 20 minutes. Always press the edges thoroughly together around the filling, and roll out gently without pressing too hard in the middle.
Yes, you can easily replace ghee with melted butter, neutral oil or plant-based butter. Ghee gives the most authentic flavor, but a good olive oil or cold-pressed rapeseed oil works fine and also keeps the bread pliable.

Recipe
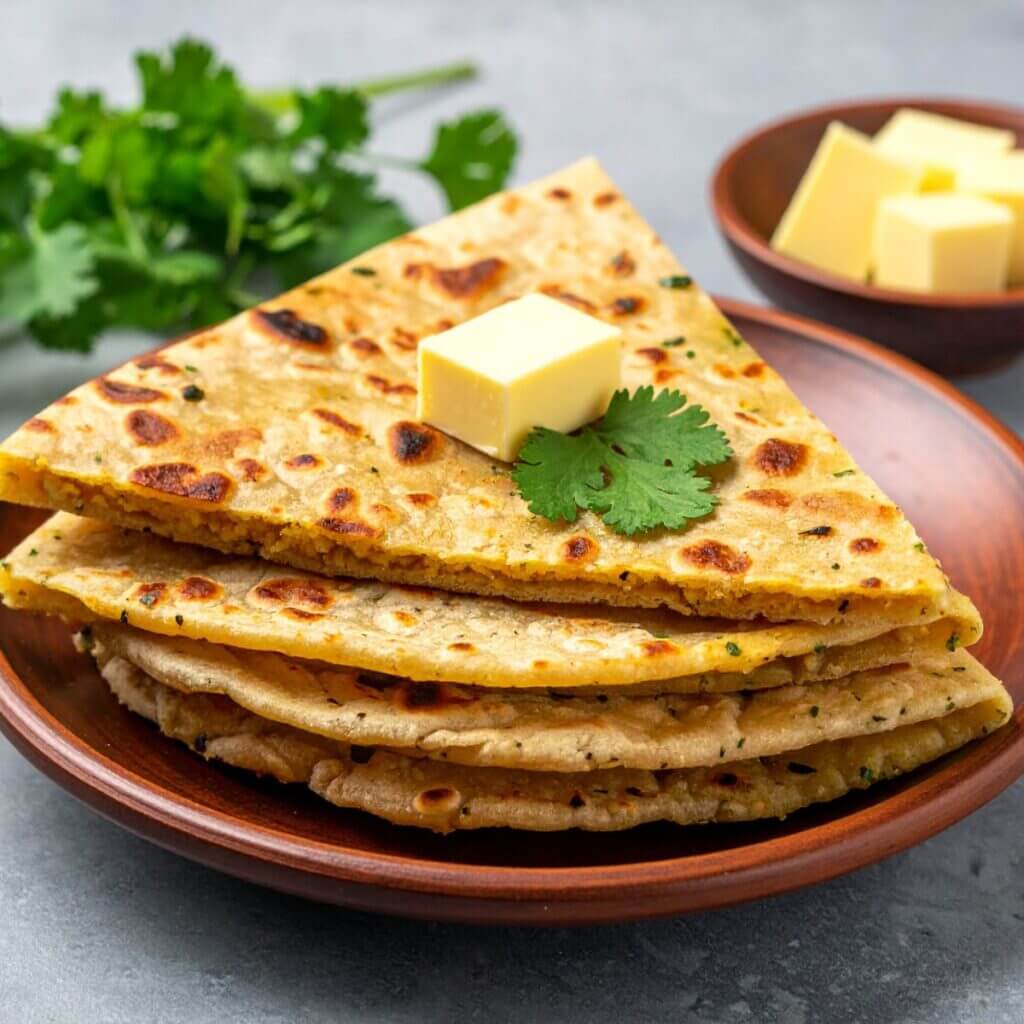
Aloo paratha in the airfryer
Cooking Guide
Keep the screen on and follow the recipe step by step while you cook.
Step 1:
Avoid the screen turning off while you cook.
Step 2:
Start the guide and follow the recipe one step at a time.
Cost of the dish
Prices may vary depending on where you shop.
Our estimate is based on average food prices for the current year 2026.
Estimated price for the whole dish:
Airfryer size
All our recipes are tested in a Philips Airfryer 2000 Series NA230/00 – 6.2 L
Does the recipe fit my Airfryer?
If you’re unsure, you can always reduce by one serving in the recipe, or click the 0.5x button.
You can also Ask the AI Chef
It’s easy! Just press the Ask the AI Chef button you see at the bottom.
Recommended equipment
- 1 Air fryer
- 1 Mixing bowl - For the dough
- 1 Bowl - For the potato filling
- 1 Rolling pin
- 1 Brush
- 1 Parchment paper - For the airfryer basket
Shopping list
Ingredients
Dough
- 300 g wheat flour (Preferably wholemeal wheat (atta), extra for rolling out)
- 0.5 tsp salt

- 1 tbsp oil (Neutral, e.g. sunflower)
- 180 ml lukewarm water (Adjust as needed)

Potato filling

For brushing
- 30 g ghee or butter (Melted)
How to make it
Preparation
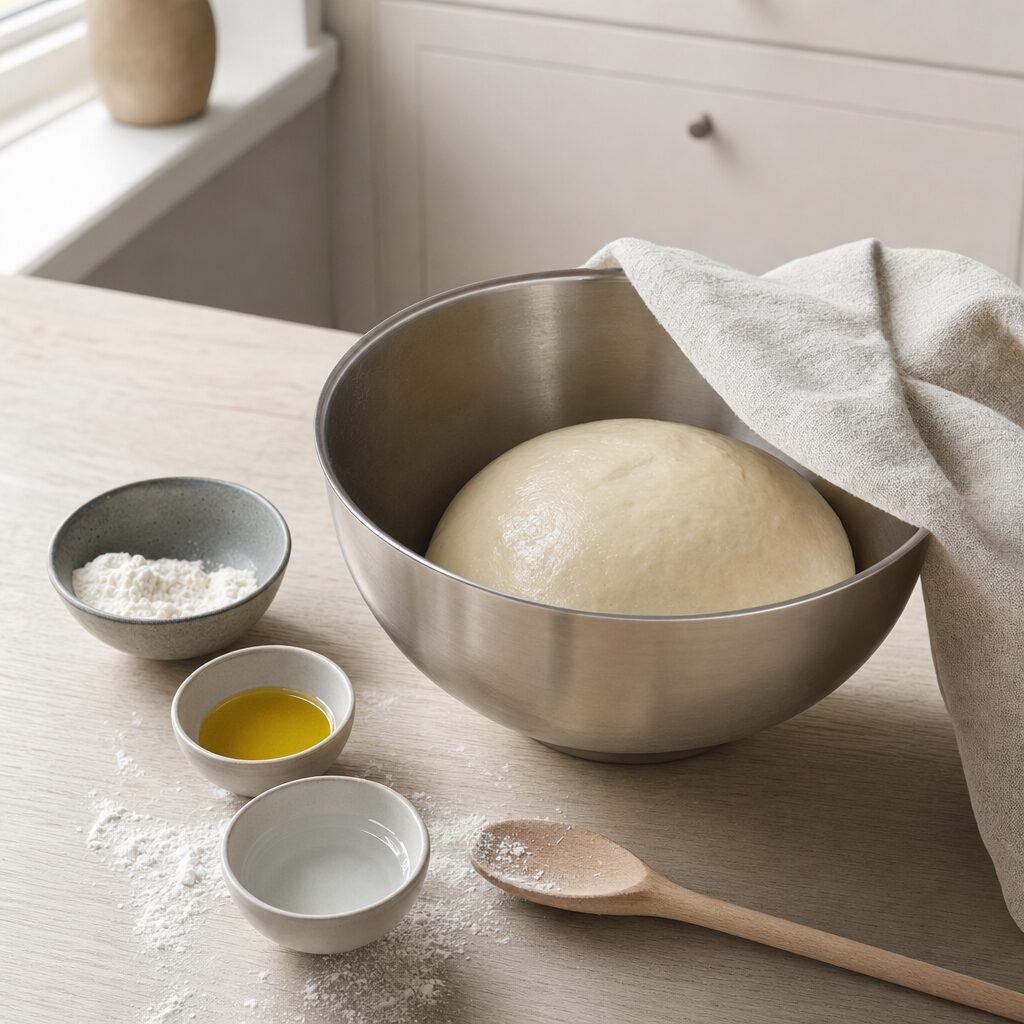
- Mix 300 g wheat flour with 0.5 tsp salt in a mixing bowl. Add 1 tbsp oil and 180 ml lukewarm water gradually while kneading, until the dough is soft and smooth. Cover the bowl and let the dough rest for 20 minutes.

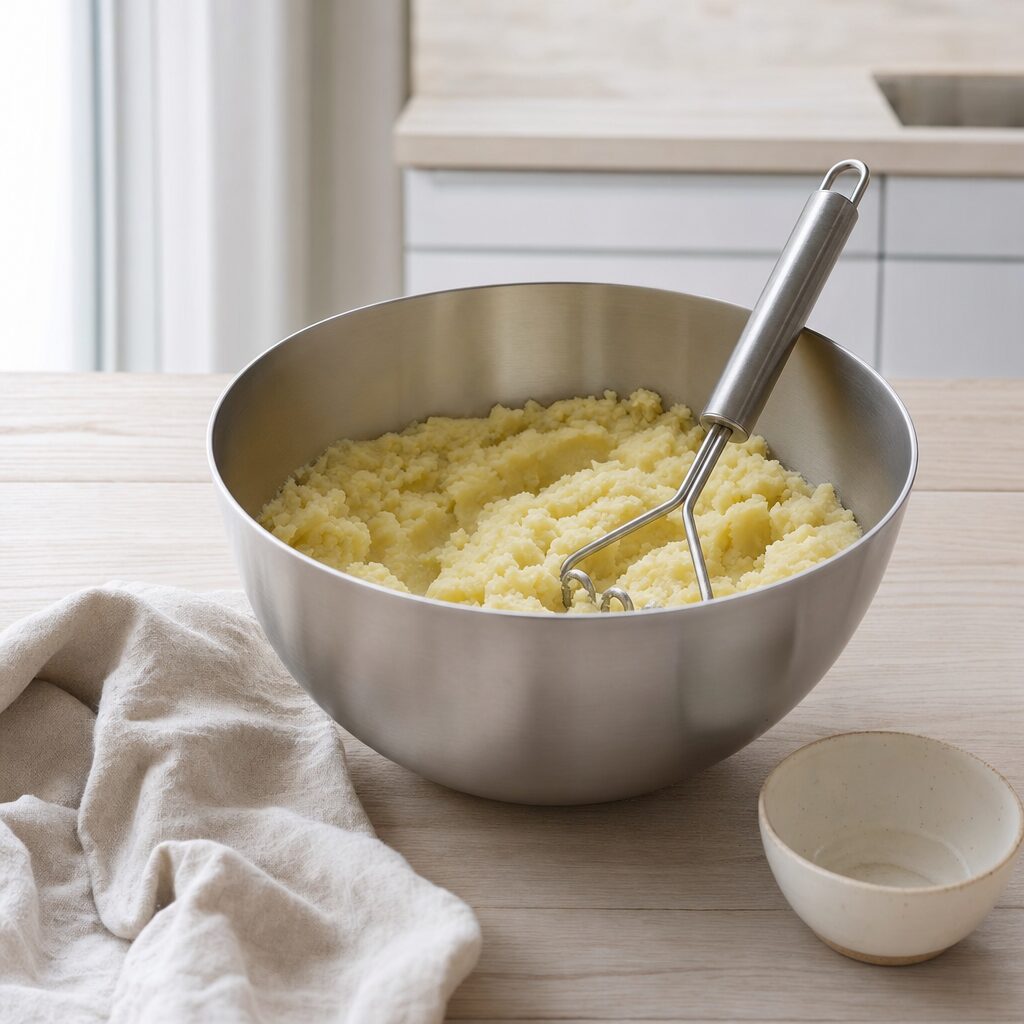
- Mash 500 g potatoes thoroughly in a bowl — a little texture is fine, but no lumps.
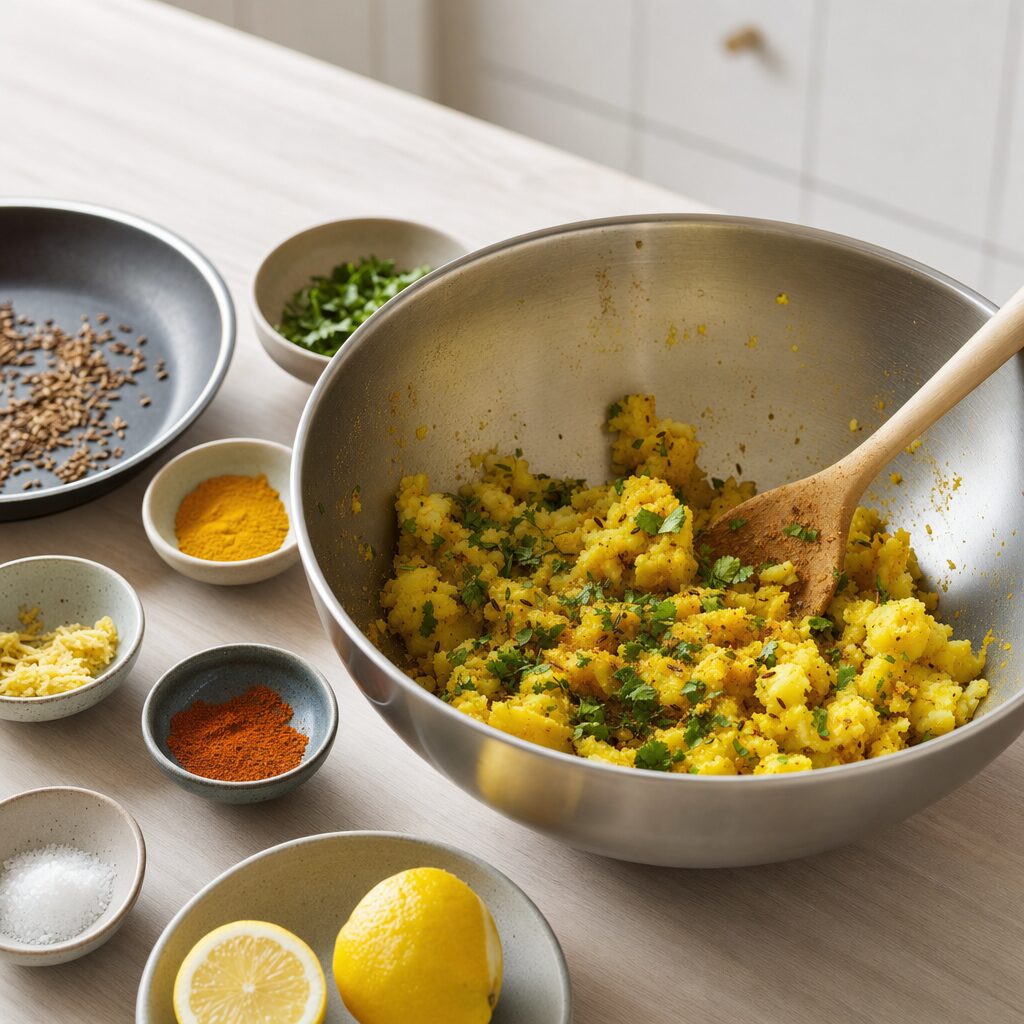
- Toast 1 tsp cumin in a dry pan over medium heat for about 30 seconds, until the seeds smell fragrant. Add them to the potatoes along with 0.5 tsp turmeric, 1 tsp garam masala, 0.5 tsp chilli powder, 1 tsp fresh ginger, 2 tbsp fresh coriander, 1 tsp salt and 1 tbsp lemon juice. Mix the filling well and adjust the seasoning.
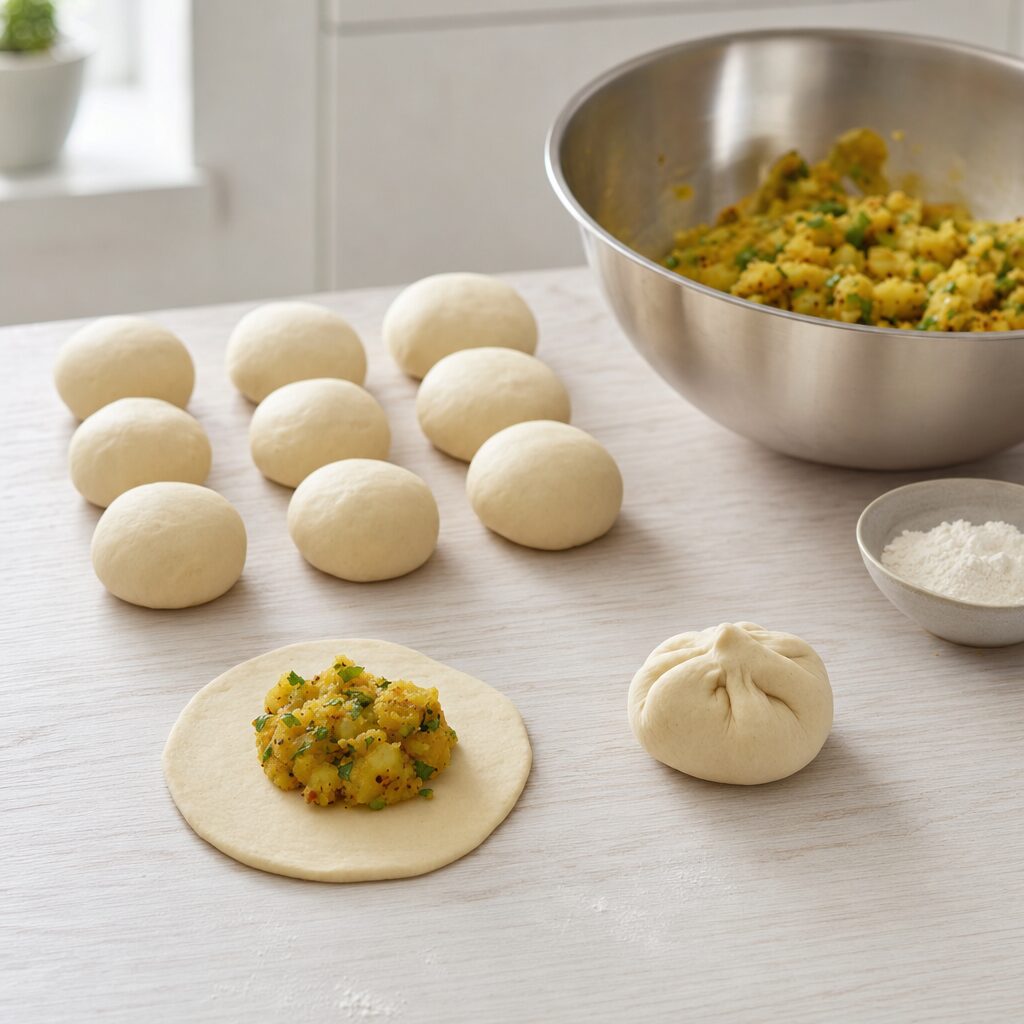
- Divide the dough and filling into 8 equal portions. Press a ball of dough flat in your palm, place a portion of filling in the centre, and close the dough around the filling. Pinch the edges firmly so no filling escapes.
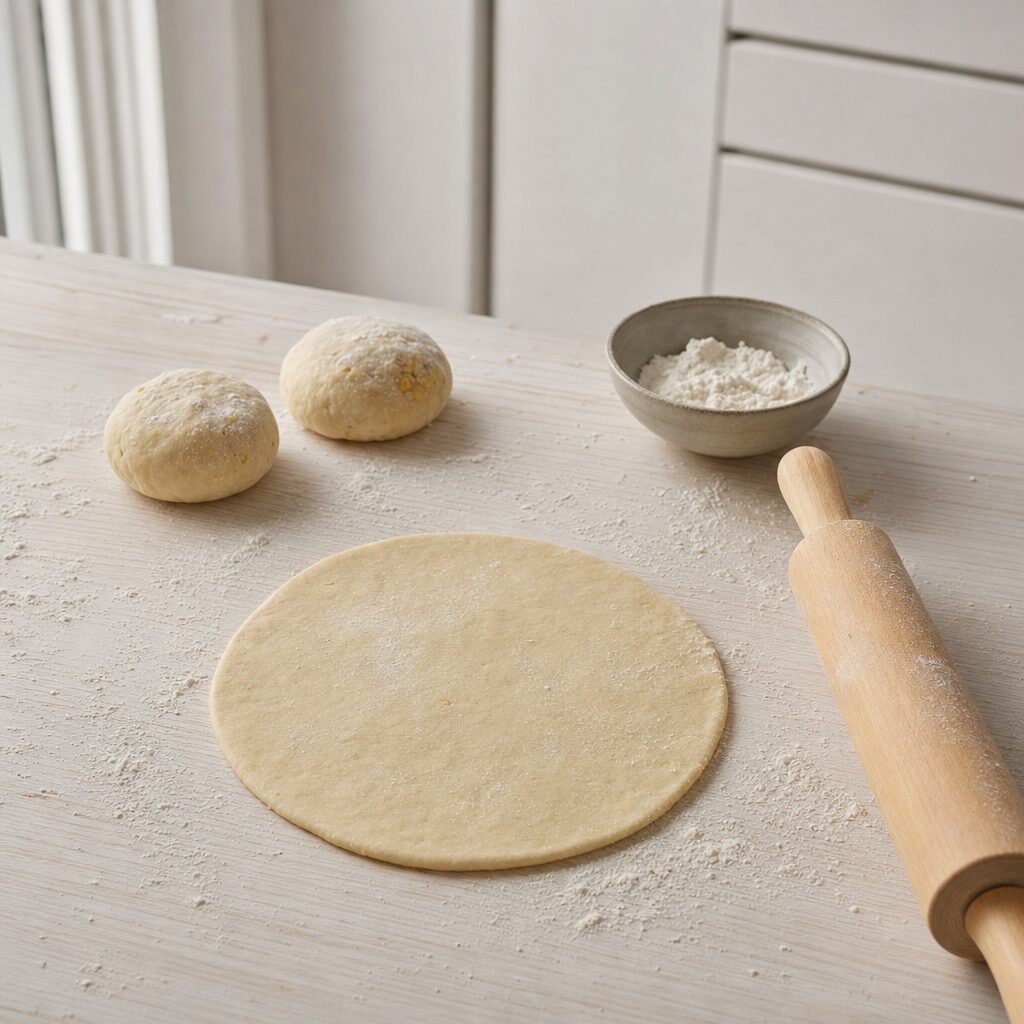
- Turn the stuffed balls in a little extra flour and gently roll them out into flat circles about 15 cm in diameter. Press lightly in the middle first to distribute the filling evenly — then roll outwards with light strokes.
Cooking in the airfryer
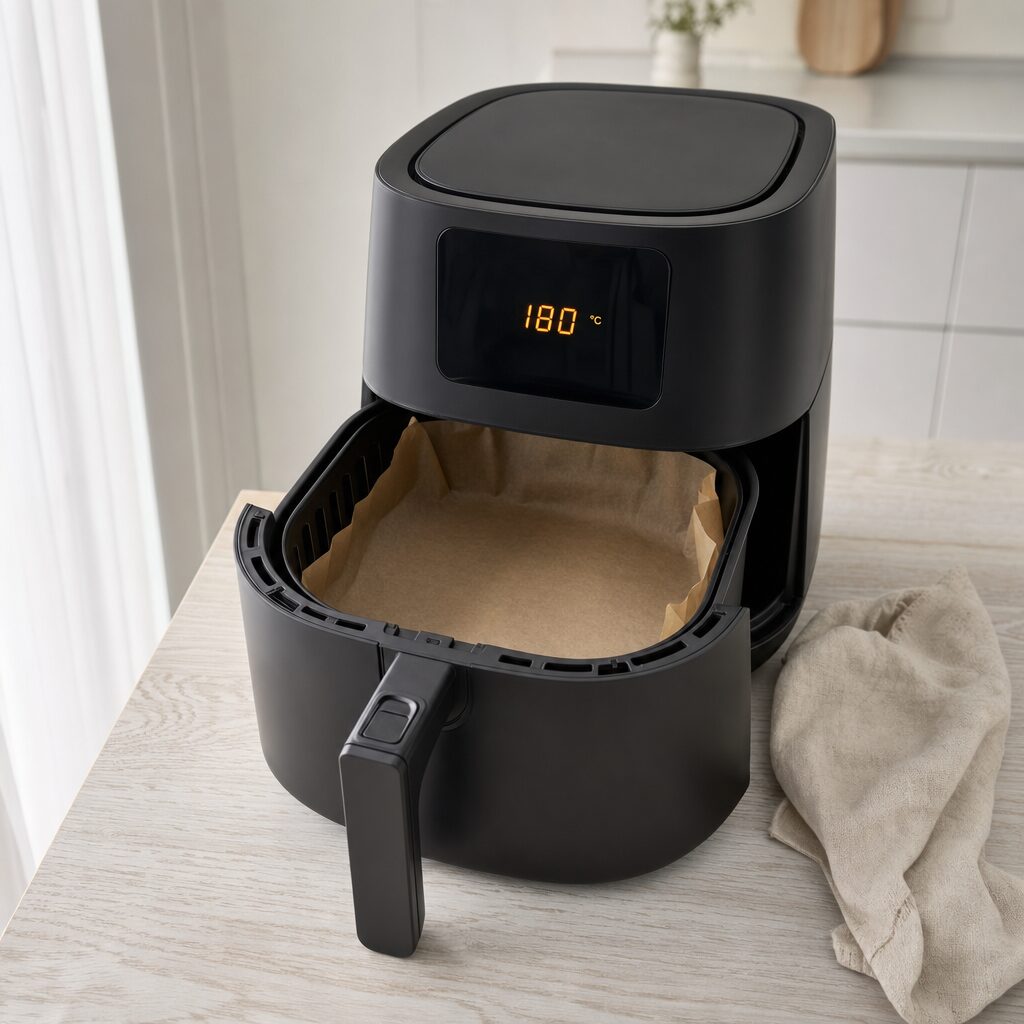
- Preheat the airfryer to 180 °C convection. Place a piece of baking paper in the basket so the parathas don’t stick.
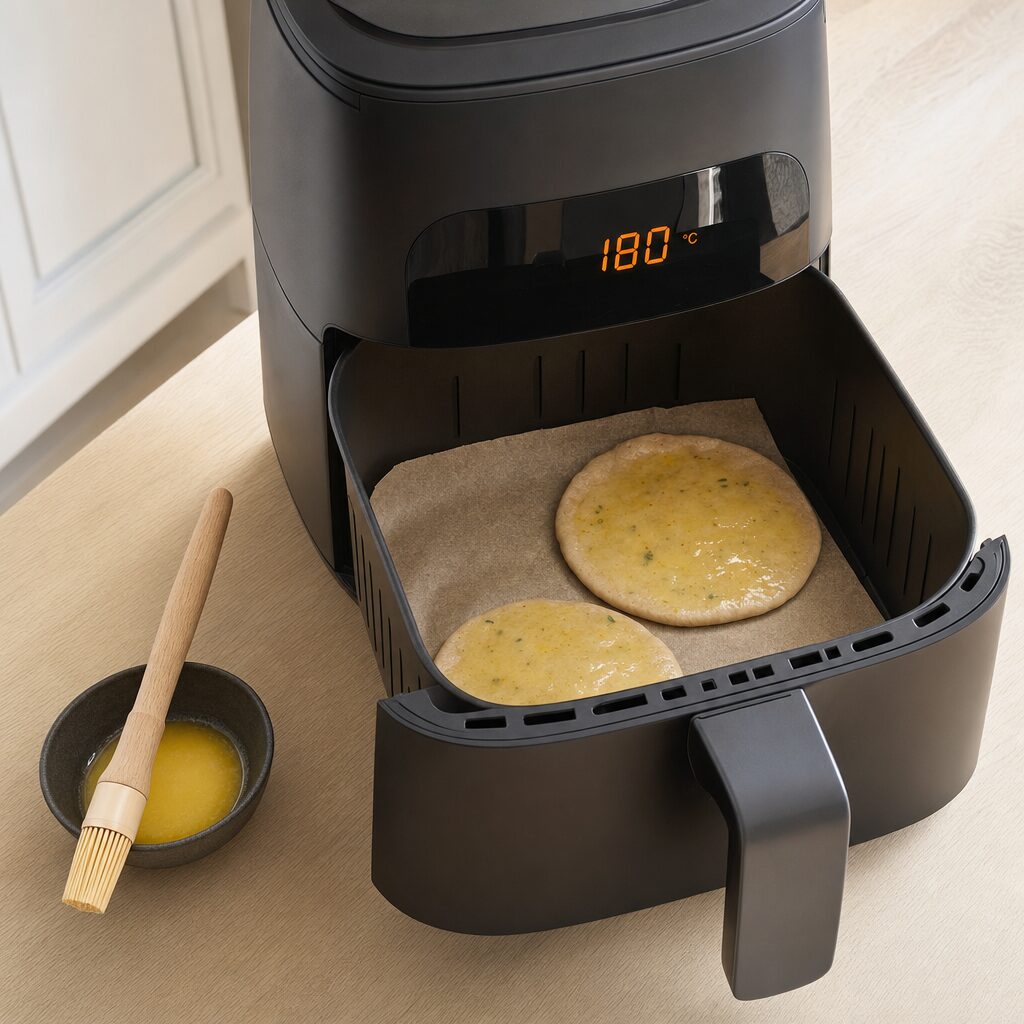
- Brush both sides of the parathas lightly with 30 g ghee or butter. Place 2 parathas at a time in the airfryer without them overlapping.
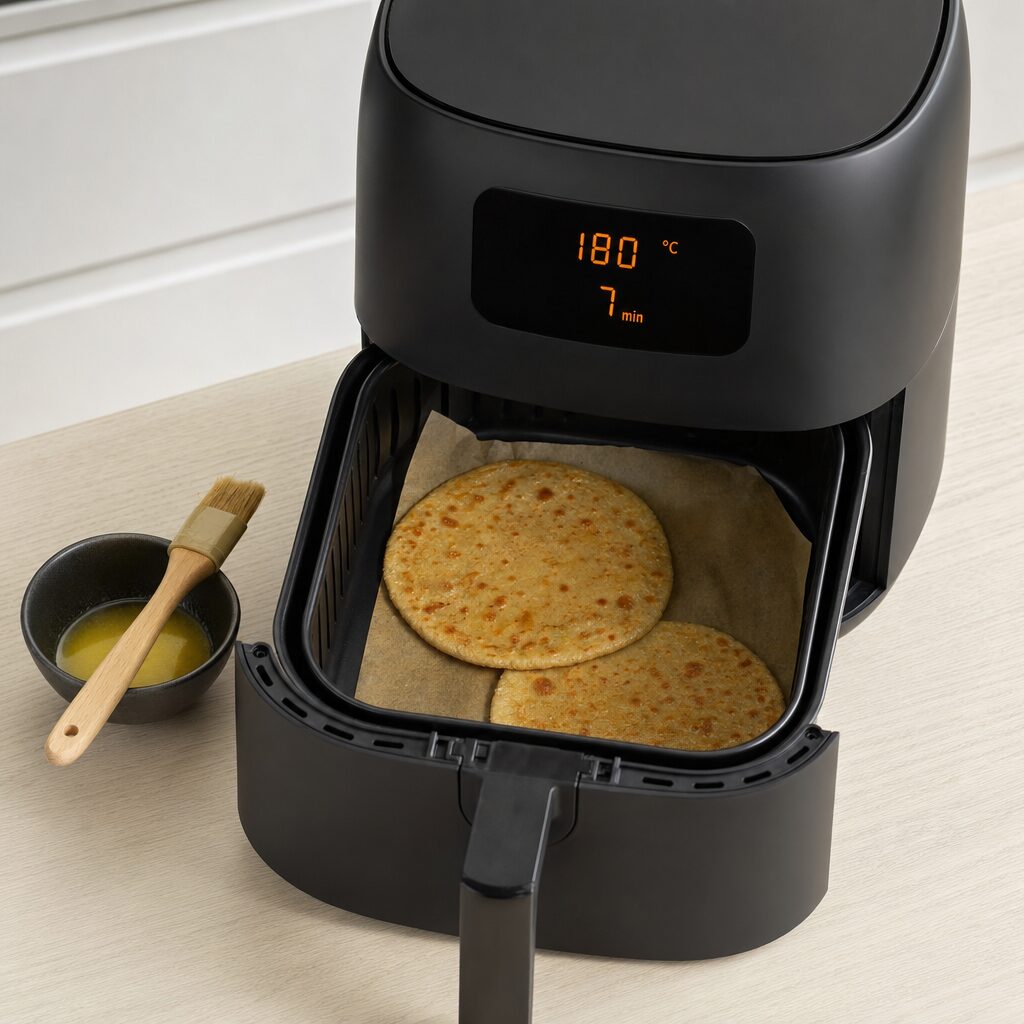
- Cook at 180 °C for 6-7 minutes in total. Turn them after about 3 minutes and brush with a little more ghee. The parathas are done when they are lightly golden with light spots and the dough is cooked through.
Our notes for the recipe
Gently press the stuffed ball with your palm before rolling it out — this spreads the filling evenly and prevents the parathas from tearing. Use plenty of flour on the worktop so the dough doesn’t stick, and roll with light strokes. Variation:
Swap the potatoes for grated cauliflower or crumbled paneer for two other classic versions. Add a pinch of kasuri methi (dried fenugreek leaves) to the filling for extra depth and aroma. Serving:
Serve with yoghurt raita, mango chutney or a cup of masala chai. Parathas also work well as a side for an Indian-inspired brunch with fried eggs and pickled vegetables. Portion size:
If your airfryer is small, make the parathas in several batches. Keep the finished pieces warm covered with a tea towel so they don’t dry out.
Your notes for the recipe
Nutrition per serving (Guideline)
Important about shelf life and nutrition
Nutrition per serving (guideline): Calculations are based on data from the United States Department of Agriculture (USDA). Shelf life (guideline): Shelf life data is provided, as far as possible, by public institutions, including national food authorities. Our information is therefore only indicative, and it is your responsibility to obtain and calculate accurate information about shelf life and nutrition for all recipes on airfryerkogebogen.dk
Easily share the recipe with others:
Via email or on Facebook
Open the recipe on your phone
Scan the QR code with your phone and get the recipe directly on your mobile while you cook.

Author
Airfryerkogebogen.dk