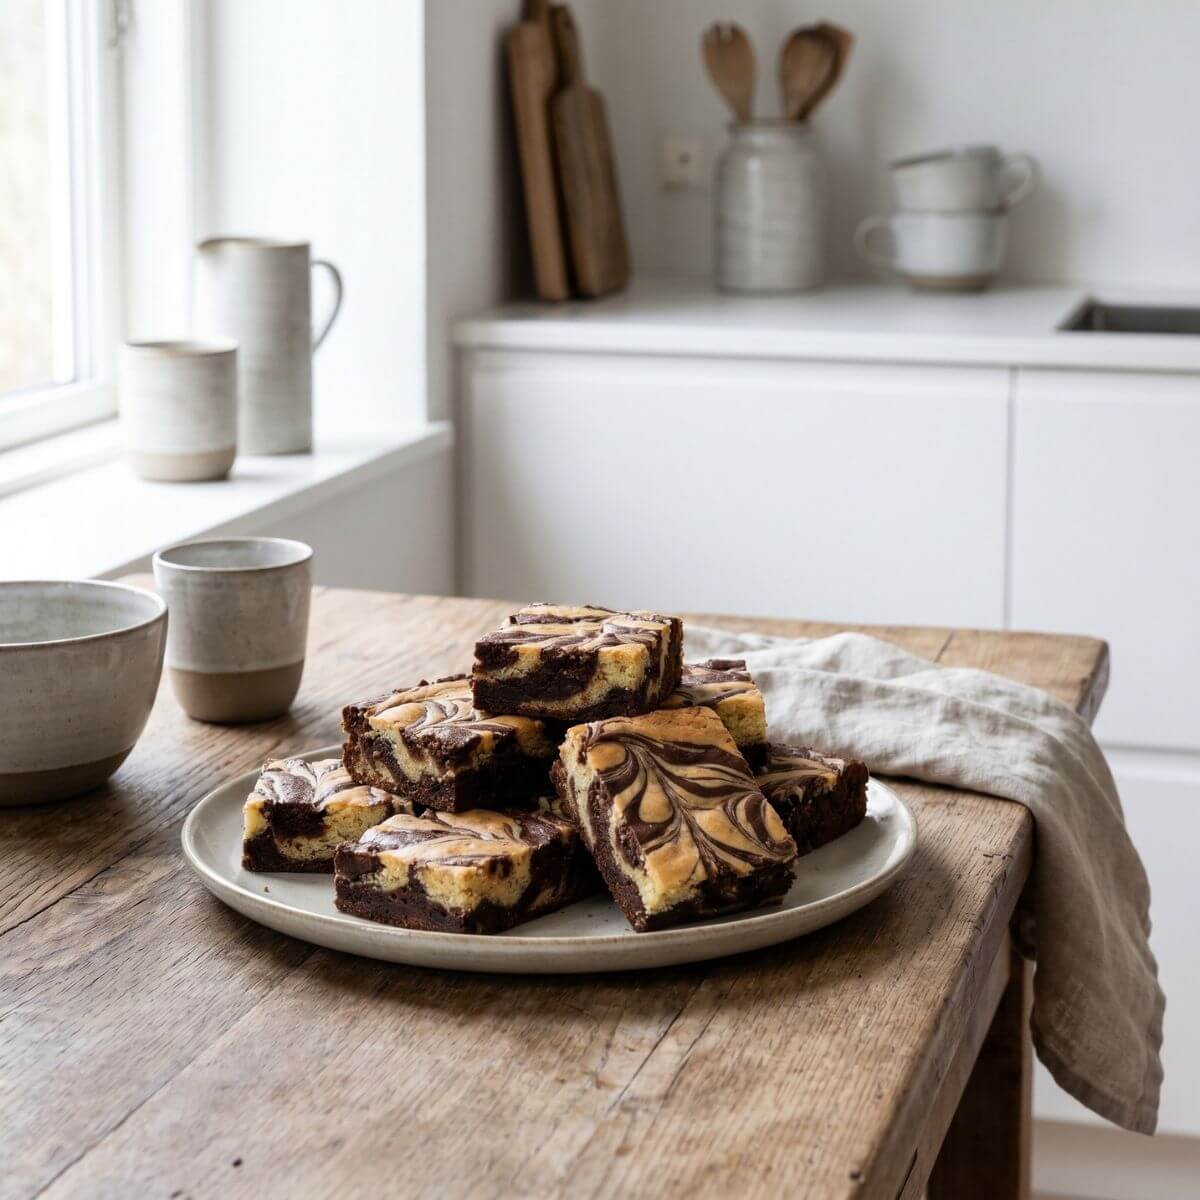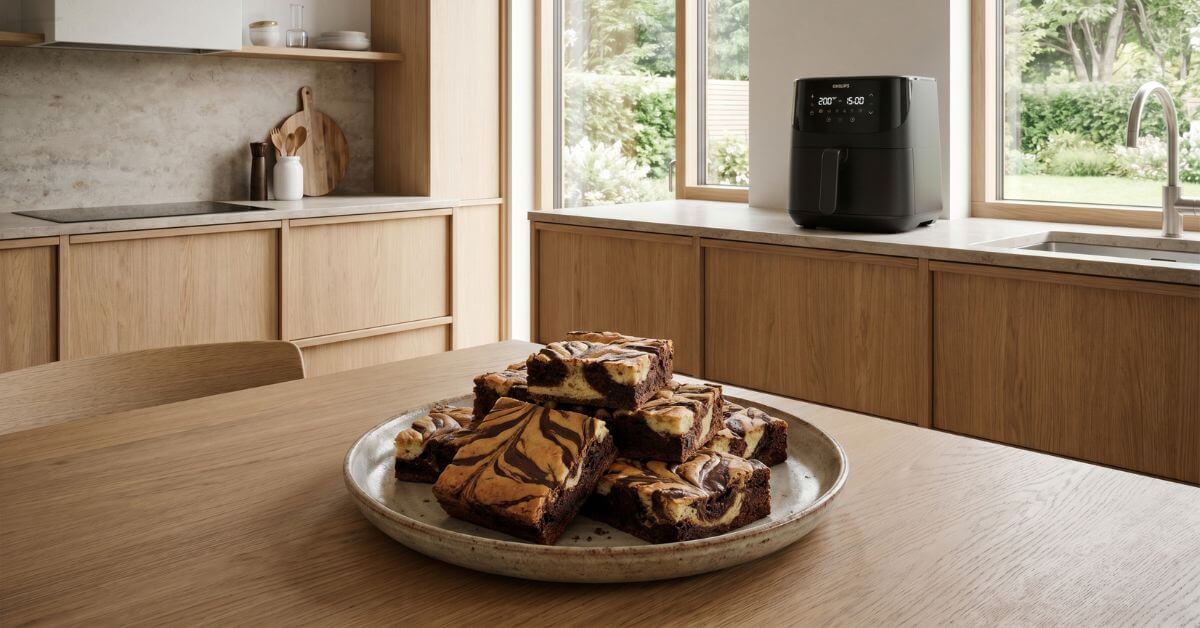
Tiger Brownies are a feast for both the eyes and the taste buds. Half of the batter stays pale and vanilla-soft, while the other half turns deep and intensely chocolatey with a generous amount of cocoa — and when the two parts are loosely folded together, the characteristic tiger pattern appears, with the dark stripes winding through the pale base. It’s a simple technique that delivers an impressive visual result, and in the air fryer I also get that slightly crisp surface and a soft, fudgy centre without having to wait half an hour for the oven to be ready.

Advertisement: The page displays ads and contains advertising links (affiliate links). See our advertisers here.
Estimated reading time: 4 minutes
Table of Contents:
Why I love Air Fryer Tiger Brownies
Tiger Brownies hit exactly the right spot between visual wow factor and deeply classic flavour. Two batters in the same tin is an old idea, but I think it is the most fun when the contrast is as striking as it is here — the golden vanilla batter against the almost black chocolate batter. The children cheer over the pattern, and adults appreciate the fudgy texture, which the air fryer is actually better at maintaining than a conventional oven.
The difference between brownies in the oven and the air fryer
In a regular oven, brownies typically need 25-30 minutes at 175 °C before the edge starts to pull away from the tin. The air fryer works with stronger air circulation, so the same batter is done in 18-22 minutes at a lower temperature — and because the heat is more concentrated, I get a finer, slightly crisp top while the centre is still soft and moist.
My test in the kitchen with Tiger Brownies
I have baked Tiger Brownies in my Cosori Dual Blaze, using a small square baking tin that fits neatly in one basket. 160 °C for 20 minutes is the point where a toothpick inserted in the centre comes out with sticky crumbs — not wet, not dry. The low temperature is important: at 180 °C or more the surface burns before the centre is baked through. For larger portions in the Philips XXL, the time can be pushed up to 23-24 minutes, because the tin sits higher and the batter is thicker.
The pattern turns out most beautiful if you only draw a fork through the batter once or twice. Any more stirring, and the stripes disappear.
Tips and tricks from the author: Morten Jensen
The typical mistakes and how to avoid them
The most common mistake is stirring the two batters together for too long, so the tiger pattern dissolves into a dull brown-grey colour — that is why I use a fork instead of a spoon and stop as soon as I can see the pattern taking shape. Another classic is too high a temperature: 180 °C quickly gives a burnt surface in the air fryer while the centre is still raw, so stick to 160 °C and give it the time instead. Finally, it is tempting to taste the cake as soon as it comes out, but brownies need at least 15-20 minutes of resting time to set properly — otherwise the centre collapses when you cut into it.
How to serve Tiger Brownies
Tiger Brownies are striking enough on their own, but they can be lifted with a few simple accompaniments:
- A scoop of vanilla ice cream melting down over the warm cake
- Fresh raspberries or strawberries for a tart contrast
- A sprinkle of flaky salt on top — it brings out the chocolate noticeably
- An espresso or a cup of black coffee to balance the sweetness
- Whipped cream with a hint of vanilla seeds, if you want to keep it classic
Storage and reheating
Tiger Brownies stay moist for up to four days in an airtight container at room temperature — wrap them in baking paper between the layers so they do not stick together. They can also be frozen for up to three months; thaw them overnight in the fridge and give them a minute or two in the air fryer at 150 °C if you want the warm, fudgy centre back.
Tiger Brownies are one of those recipes that look as if they require baking experience, but in reality they are simple — and the air fryer makes the whole thing even easier. Give them a try the next time you want to impress without spending hours in the kitchen.
FAQ
20 minutes at 160 °C in a small square tin is the starting point. Check with a toothpick in the centre — it should come out with sticky crumbs, not wet batter.
Place the light and the dark batter alternately in the tin, then draw a fork down through the batter once or twice. Any more stirring dissolves the stripes into a dull colour.
Yes. Cut them into pieces, place them in an airtight container with baking paper between the layers, and freeze for up to three months. Thaw in the fridge and warm at 150 °C for two minutes.

Recipe
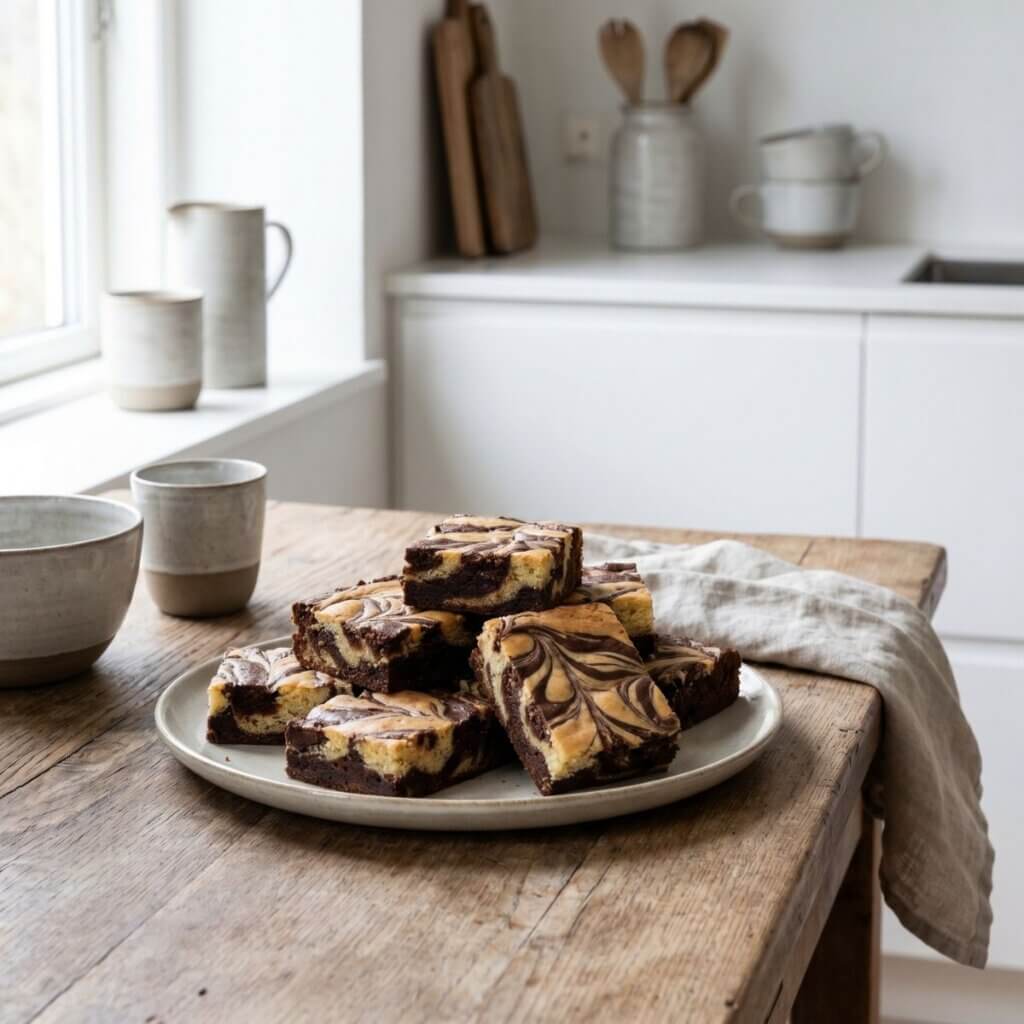
Air Fryer Tiger Brownies
Cooking Guide
Keep the screen on and follow the recipe step by step while you cook.
Step 1:
Avoid the screen turning off while you cook.
Step 2:
Start the guide and follow the recipe one step at a time.
Cost of the dish
Prices may vary depending on where you shop.
Our estimate is based on average food prices for the current year 2026.
Estimated price for the whole dish:
Airfryer size
All our recipes are tested in a Philips Airfryer 2000 Series NA230/00 – 6.2 L
Does the recipe fit my Airfryer?
If you’re unsure, you can always reduce by one serving in the recipe, or click the 0.5x button.
You can also Ask the AI Chef
It’s easy! Just press the Ask the AI Chef button you see at the bottom.
Recommended equipment
- 1 Air fryer
- 1 Baking pan (fits in the air fryer)
- 1 Parchment paper
- 2 Mixing bowls - One for each batter
- 1 Electric mixer
- 1 Dough scraper
- 1 Knife or wooden skewer - For making the tiger stripes
Shopping list
Ingredients

How to make it
Preparation
- Preheat the air fryer to 160 °C.
- Gently melt 200 g butter in a small saucepan or the microwave, and let it cool slightly.
- Whisk 3 pcs eggs, 250 g sugar and 2 tsp vanilla sugar together in a large mixing bowl until light and fluffy.
- Add the melted butter and stir gently into a smooth batter.
- Divide the batter into two equal portions in separate bowls.
- Add 40 g cocoa powder to one half, and stir thoroughly into an evenly dark batter.
- Add alternating spoonfuls of the light and dark batter to the tin until all the batter is used up.
- Gently draw a knife or a wooden skewer through the batter in a few lines lengthwise and crosswise to create the characteristic tiger-stripe pattern. Be careful not to mix the batters together completely.
Cooking in the air fryer
- Place the tin in the preheated air fryer and bake at 160 °C for 22-25 minutes.
- Test with a toothpick — it should come out with a few moist crumbs (not wet batter) for a moist brownie. Bake a few extra minutes if the batter is still too wet.
- Take out the tin and let the brownie rest in the tin for at least 15 minutes so it sets, before you cut it into squares.
Our notes for the recipe
Feel free to brown the butter lightly before mixing it in — it gives the brownie a deeper, nutty flavour. Make sure the two batters have the same consistency, so the striped pattern stays distinct and doesn’t blur together during baking. Variation:
Add a handful of coarsely chopped walnuts or dark chocolate chunks to the dark batter for extra texture and depth of flavour. You can also swap the vanilla sugar for ground vanilla for a more intense vanilla flavour. Serving:
Serve the brownie warm with a scoop of vanilla ice cream, whipped cream or a good cup of coffee. It also tastes excellent cold the next day. Portion size:
The recipe makes 4 large portions. Cut the brownie into 8-12 smaller pieces if you’re serving it as a dessert-table treat or for lots of guests. If your air fryer is smaller, you can divide the batter and bake in two batches.
Your notes for the recipe
Nutrition per serving (Guideline)
Important about shelf life and nutrition
Nutrition per serving (guideline): Calculations are based on data from the United States Department of Agriculture (USDA). Shelf life (guideline): Shelf life data is provided, as far as possible, by public institutions, including national food authorities. Our information is therefore only indicative, and it is your responsibility to obtain and calculate accurate information about shelf life and nutrition for all recipes on airfryerkogebogen.dk
Easily share the recipe with others:
Via email or on Facebook
Open the recipe on your phone
Scan the QR code with your phone and get the recipe directly on your mobile while you cook.

Author
Airfryerkogebogen.dk