
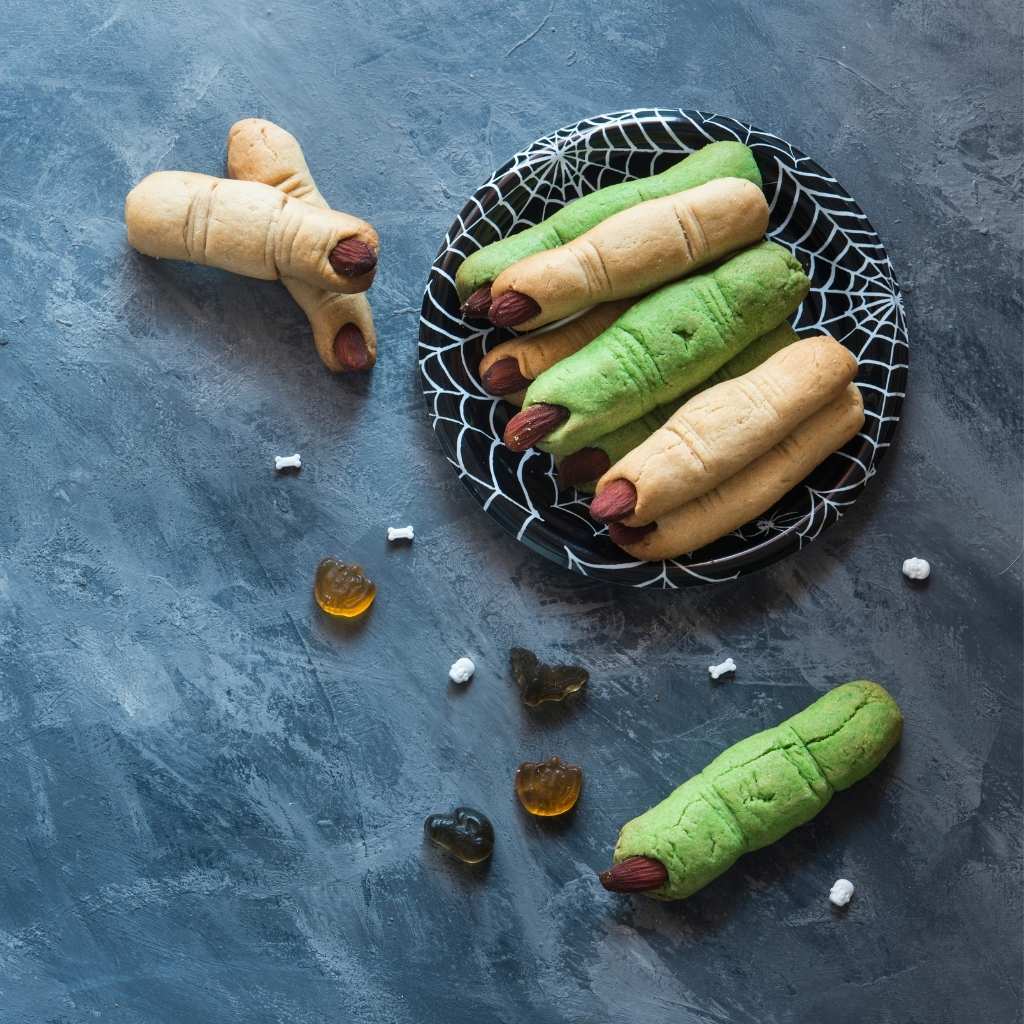
Witch finger cookies in the air fryer aren’t just fun to make – they’re also a fantastically spooky addition to a Halloween party. With long, skeletal fingers, crisp almond nails and maybe even a little “blood” icing, they’re perfect for scaring and delighting kids and adults alike. This article looks at why it’s smart to use an air fryer for these cookies, which tools can help you make them look like real witch fingers, and how to create the ultimate Halloween atmosphere around your cookies.

Advertisement: The page displays ads and contains advertising links (affiliate links). See our advertisers here.
Advertisement: The page displays ads and contains advertising links (affiliate links). See our advertisers here.

Premium opskrifter 🤩
KLIK HEr – Og prøv gratis i 3 dage!
Estimated reading time: 6 minutes
Table of Contents
Why Make Witch Finger Cookies in the Air Fryer?
Making witch finger cookies in the air fryer is not just a quick solution – it can actually give a better result when it comes to crispness and texture.
Witch finger cookies have the perfect balance of being crisp on the outside and slightly soft on the inside – which is ideal for exactly this type of cookie. Unlike a traditional oven, where you often have to keep a close eye on the cookies so they don’t get too dark, the air fryer distributes the heat evenly. That means you get even baking and perfect golden edges on your witch fingers.
The air fryer is also quick to heat up, which can save time on preparation. The cookies don’t rise much, which means you can shape them with care and expect them to hold their shape during baking. With an air fryer you can also easily make several smaller batches at once, so you can experiment with different colours or add details without having to fill an entire baking tray.
Tools to Make Your Cookies Look Like Witch Fingers
To get perfect witch finger cookies in the air fryer, it’s important to use the right tools to shape them. Here are some of the best methods for achieving that spooky look:
- Spoon or rolling pin: When it’s time to shape the fingers, a spoon or a small rolling pin can come in handy. Use them to gently roll the dough out into long, thin finger shapes.
- Knife: Use a small knife to cut grooves into the dough that mimic the knuckles on the fingers. The small cuts give the cookies a realistic, bony look.
- Almond nails: Whole almonds work perfectly as nails. When you press the almond into one end of each cookie, make sure to push it down a little so it sits firmly. This doesn’t just give a realistic look – it also ensures the almond stays in place during baking.
- Food colouring: Colour plays a big part in creating the spooky effect. Green or beige food colouring can be kneaded into the dough to give the fingers a sickly or rotten look. For extra depth, you can also sprinkle a little cocoa powder over the fingers to highlight the grooves and give a grubby effect.
These tools and techniques will help you create cookies that look both authentic and spooky – just like witch fingers should.
Create the Ultimate Halloween Atmosphere With Your Cookies
Once your witch finger cookies from the air fryer are baked, it’s time to present them in a way that suits the spooky mood. It’s not just about how the cookies look, but also about the atmosphere you create around them.
- Serving: Present the cookies on an old dish or a tray with a gothic or worn look. You can place the cookies on a piece of crumpled baking paper, as if they were old, dusty witch fingers that have just been dug up from a dark grave.
- Lighting: Dim lighting and candles are a must for creating the right mood. You can use battery-powered LED lights in pumpkins or skulls as part of the table decoration. The light will cast shadows over your witch fingers and make them even creepier.
- Icing and bloody details: A red icing can be used to create a bloody effect around the nails. You can also add small drips of icing at the ends of the fingers, as if they had been ripped off a witch! A small brush or a toothpick is ideal for painting the icing precisely in the right places.
- Themed setting: Besides the cookies, you can also dress the table with fake cobwebs, small plastic spiders and perhaps serve other Halloween-inspired snacks such as severed “eyes” or creepy “teeth”. It’s details like these that will turn a simple cookie into an unforgettable experience.
Try using a little cocoa or coffee powder to lightly “dust” the cookies after baking. This gives the fingers a more aged, rotten and dirty look, which adds an extra spooky touch that most people don’t think of!
Tips and tricks from the author: Morten Jensen
By using these creative ideas, you can turn your witch finger cookies into a frightening centrepiece on the table that fits perfectly with any Halloween party.
Conclusion
Witch finger cookies in the air fryer are not just a fun and creative Halloween snack – they’re also an unmissable part of a spooky party. With an air fryer you can easily make cookies with perfect crispness and shape. With the right tools and decorations, you can shape and decorate the fingers so they look like real witch fingers that have just been dug up from the grave.
Halloween is all about creating an atmosphere of spookiness and fun, and witch finger cookies can help set exactly the right mood. By thinking about the presentation, the lighting and the little details, you can turn your cookies into a frightening centrepiece.
Så bliver det ikke mere eksklusivt

Du skal være hurtig! Fås kun til den 12 November!

Recipe
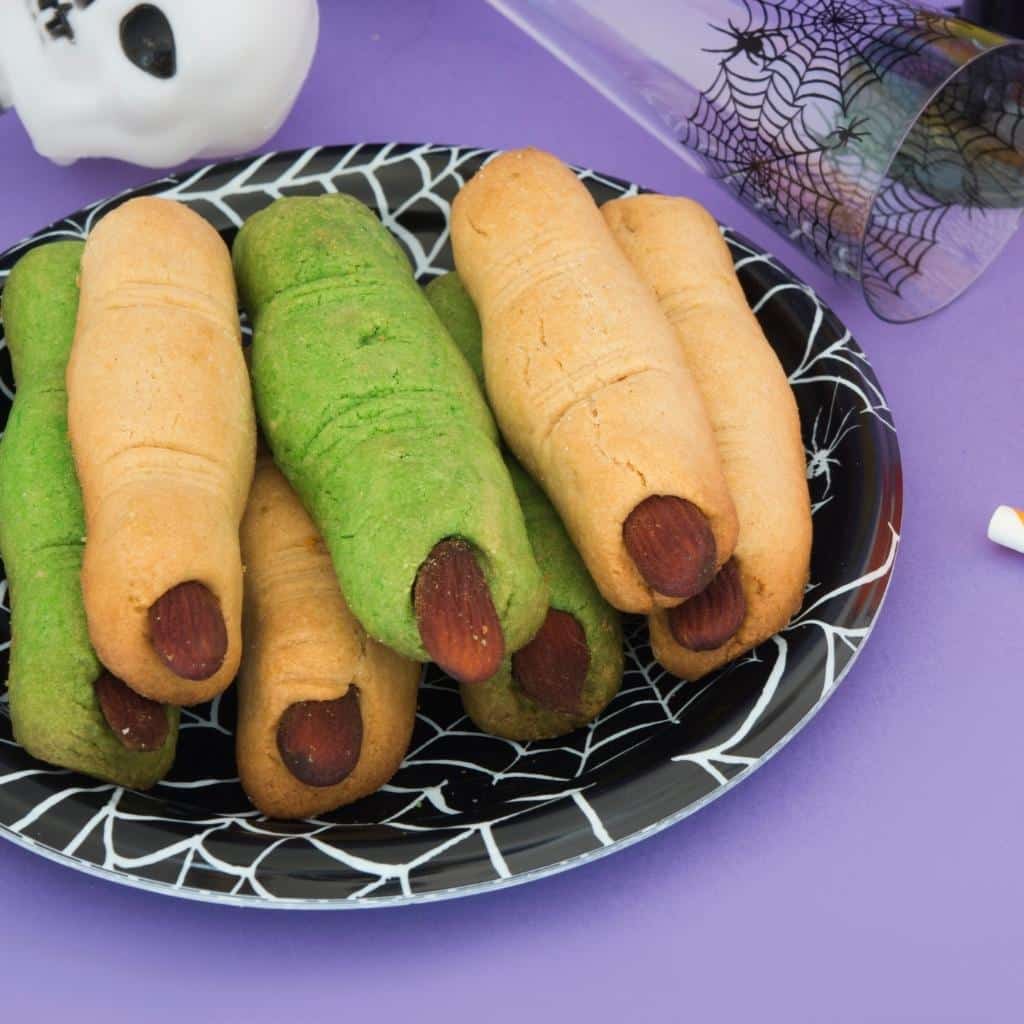
Witch finger cookies in the Air Fryer
Cooking Guide
Keep the screen on and follow the recipe step by step while you cook.
Step 1:
Avoid the screen turning off while you cook.
Step 2:
Start the guide and follow the recipe one step at a time.
Cost of the dish
Prices may vary depending on where you shop.
Our estimate is based on average food prices for the current year 2026.
Estimated price for the whole dish:
Airfryer size
All our recipes are tested in a Philips Airfryer 2000 Series NA230/00 – 6.2 L
Does the recipe fit my Airfryer?
If you’re unsure, you can always reduce by one serving in the recipe, or click the 0.5x button.
You can also Ask the AI Chef
It’s easy! Just press the Ask the AI Chef button you see at the bottom.
Recommended equipment
- Air fryer
- Mixing bowl
- Stand mixer
- Parchment paper
- Spoon
- Small knife
- Glazing brush - optional
Shopping list
Ingredients


How to make it
Make the dough:
- Mix 100 g butter and 50 g sugar in a bowl and whisk until the mixture is light and fluffy.
- Add 1 pcs egg and 1 tsp vanilla sugar and stir everything together.
- Add 150 g plain flour a little at a time until the dough comes together and is soft.
Colour the dough:
- Divide the dough in two if you want both green and beige fingers.
- Add green food colouring to one half of the dough and leave the other half plain.
- Knead the colour well into the dough so that it is evenly distributed.
Shape the witch fingers:
- Divide the dough into 8 equal pieces (2 per person).
- Roll each piece into a finger shape.
- The fingers should be long and slightly thin, as they puff up a little during baking.
Add details:
- Use a small knife to carefully cut small grooves into the “fingers” so they look like knuckles.
- Press a whole almond firmly into one end as a “nail”.
Bake in the air fryer:
Decoration:
- Once the fingers have cooled a little, you can use red icing to decorate around the “nails” so it looks like blood.
- You can also drip a little “blood” onto the ends of the fingers for an extra spooky effect.
Your notes for the recipe
Nutrition per serving (Guideline)
Important about shelf life and nutrition
Nutrition per serving (guideline): Calculations are based on data from the United States Department of Agriculture (USDA). Shelf life (guideline): Shelf life data is provided, as far as possible, by public institutions, including national food authorities. Our information is therefore only indicative, and it is your responsibility to obtain and calculate accurate information about shelf life and nutrition for all recipes on airfryerkogebogen.dk
Easily share the recipe with others:
Via email or on Facebook
Open the recipe on your phone
Scan the QR code with your phone and get the recipe directly on your mobile while you cook.

Author
Airfryerkogebogen.dk