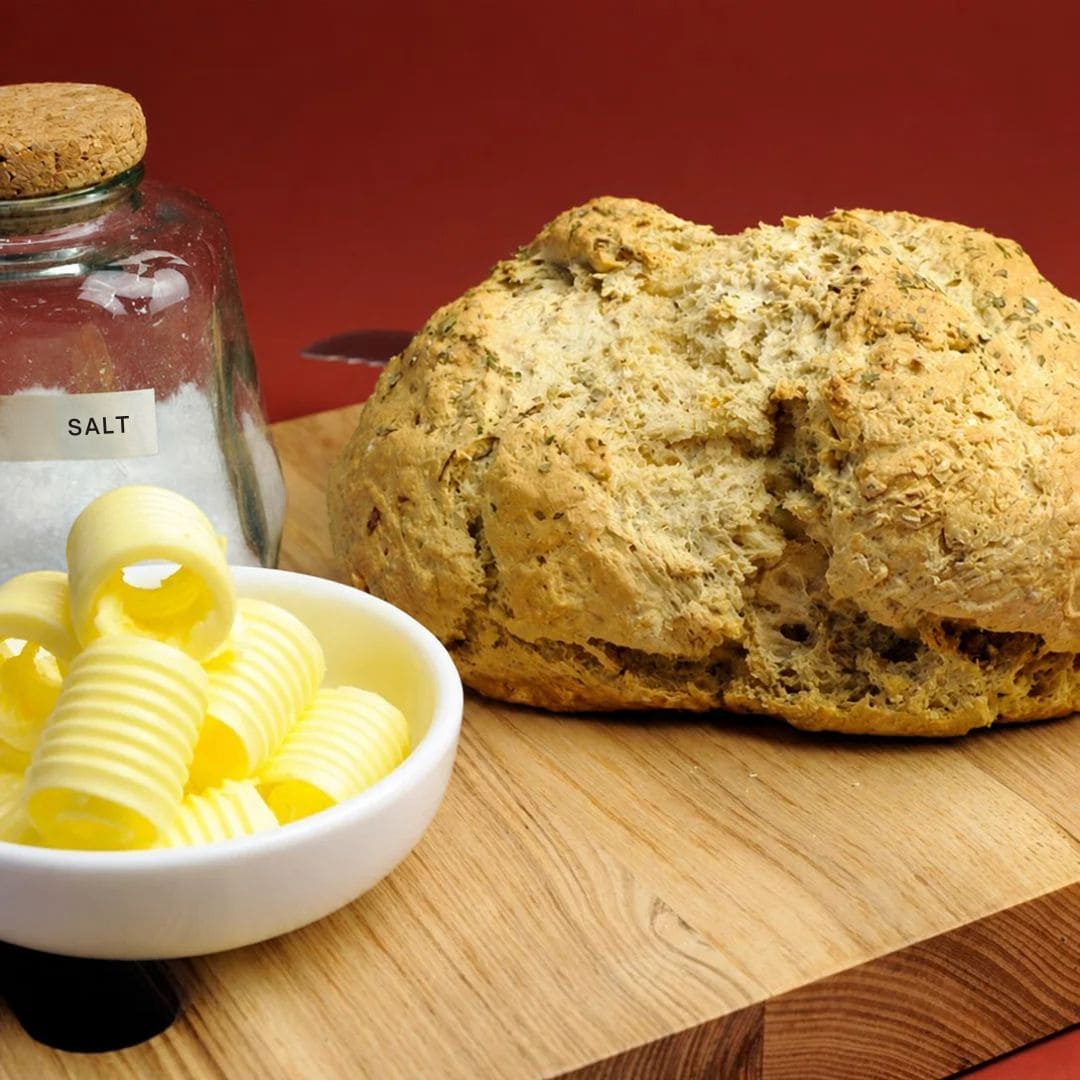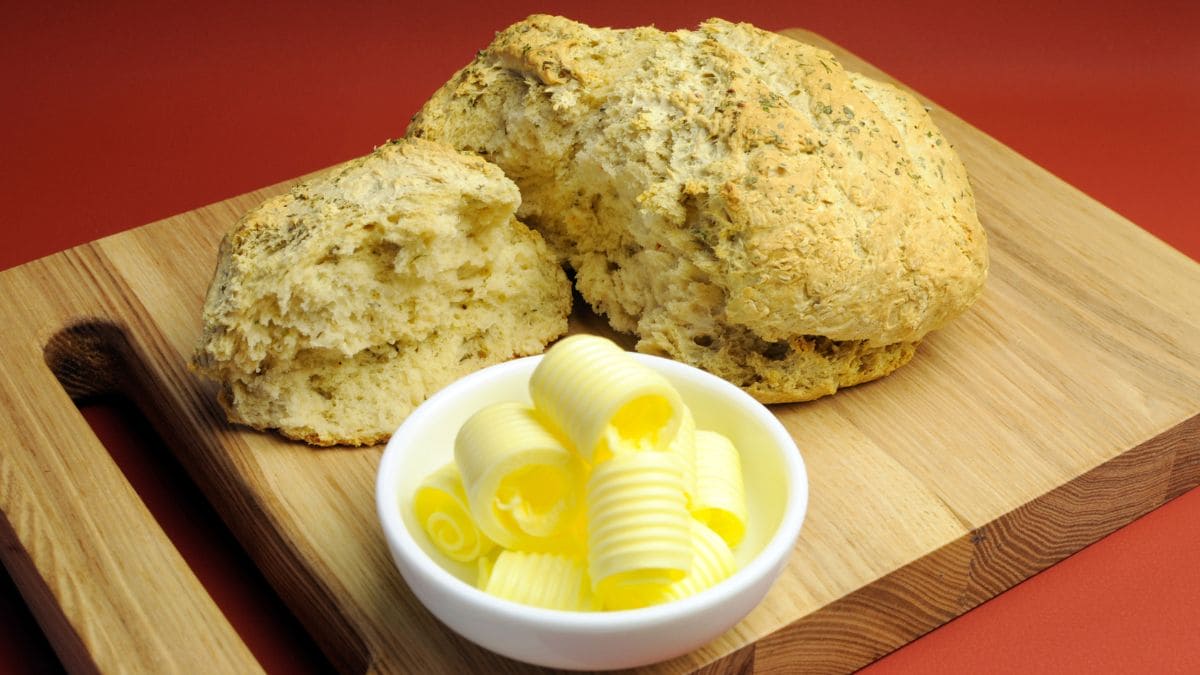
Damper bread in the air fryer is my shortcut to freshly baked bread on a perfectly ordinary afternoon. The bread is Australia’s classic campfire bread, traditionally baked directly in the embers out in the bush. The dough is simple: flour, baking powder, salt, butter and milk. There is neither yeast nor rising time here – you stir the dough together, shape a round loaf, cut a cross in the top and bake it right away.

Advertisement: The page displays ads and contains advertising links (affiliate links). See our advertisers here.
The result is a crisp, golden crust and a soft, warm crumb in 45 minutes from start to finish – and the last 10 minutes are pure cooling time on a rack. The bread is served warm with butter and golden syrup, which in Denmark can be replaced with light syrup.
Table of Contents
Why I love damper bread in the air fryer
The best thing about damper is how little it demands. There is no yeast to dissolve and no dough that has to sit and rise – the baking powder does the lifting while the bread bakes. Preparation takes 10 minutes, and the air fryer takes care of the rest at 170 °C. I get to skip heating up a whole oven for one small loaf, and the circulating heat gives a crust that is crisp all the way around.
There is also something special about the history. Damper was originally mixed with water and baked in the embers of the campfire, and that rustic simplicity can still be tasted. An air fryer basket is smaller than a fire, so the bread is shaped into a round loaf and kept small enough for the hot air to reach all the way around it.
The difference between damper and soda bread
The two breads look alike with their round shape and the cross on top, but they rise differently. Soda bread rises with bicarbonate of soda, which is activated by the acid in buttermilk. Damper rises with baking powder and ordinary milk and therefore tastes milder, without the slightly tangy note of the buttermilk. That makes it a natural match for butter and syrup.
My kitchen test of damper bread
I baked the bread in my Philips XXL, which has plenty of room for a round loaf about 15 cm in diameter. At 170 °C it bakes for 25 minutes in total: first 20 minutes on parchment paper, until the top is golden and the cross has opened up, and then 5 minutes upside down and without the paper. That final turn is important, because it is what makes the bottom golden instead of pale.
In my Cosori Dual Blaze, which has heating elements both above and below in the same basket, the crust turns out very even on the top and bottom, but I still turn the bread as in the recipe. The bread is done when it sounds hollow when you tap the bottom lightly. If it doesn’t, give it 3-4 more minutes. Afterwards it cools on a cooling rack for 10 minutes so the crumb has time to set.
Knead the dough only 8-10 times, and put the bread in the air fryer as soon as it is shaped. The baking powder starts working the moment the milk is stirred in.
Tips and tricks from the author: Morten Jensen
The typical mistakes and how to avoid them
The first mistake is kneading for too long. Damper is not a yeast dough, and if it is handled too much, the crumb ends up tough and dense – just bring the dough together and knead it only 8-10 times. The second mistake is using soft butter in the dough. The butter should be cold and rubbed into the flour until the mixture resembles coarse breadcrumbs, because the small pieces of butter help make the crumb tender. The third mistake is shaping the bread too large or letting the parchment paper stick up. The bread needs a couple of centimetres of space all the way around, and the paper should lie flat on the bottom of the basket so it does not come up against the heating element. If the top gets too dark along the way, you can lower the temperature to 160 °C.
How to serve damper bread
Damper should be eaten warm, while the butter is still melting into the crumb. This is how I like to serve it best:
- With soft butter and light syrup drizzled over – the Danish substitute for golden syrup
- With butter and jam or honey on the brunch table
- As bread to go with a hot soup
- Alongside a stew, where the bread can soak up the sauce
Storage and reheating
Damper is best on the same day it is baked, but it keeps for 1-2 days at room temperature in a bread bag or an airtight container. Reheat the bread in the air fryer at 160 °C for 3-5 minutes, until it is warm throughout. You can also freeze it for up to 3 months – let it thaw at room temperature, and warm it in the air fryer before serving.
Damper bread in the air fryer is bread baking in its simplest form: few ingredients, no rising time and the smell of freshly baked bread throughout the kitchen. Bake it the next time you need bread for the soup or fancy something warm with your coffee.
FAQ
No. Damper rises with baking powder, which starts working as soon as the milk is stirred into the dough. The bread must therefore be shaped and baked right away.
Yes. Damper was originally mixed with water, and you can replace the milk with the same amount of water for a simpler, more rustic version.

Recipe
Damper bread in the Air Fryer
Cooking Guide
Keep the screen on and follow the recipe step by step while you cook.
Step 1:
Avoid the screen turning off while you cook.
Step 2:
Start the guide and follow the recipe one step at a time.
Cost of the dish
Prices may vary depending on where you shop.
Our estimate is based on average food prices for the current year 2026.
Estimated price for the whole dish:
Airfryer size
All our recipes are tested in a Philips Airfryer 2000 Series NA230/00 – 6.2 L
Does the recipe fit my Airfryer?
If you’re unsure, you can always reduce by one serving in the recipe, or click the 0.5x button.
You can also Ask the AI Chef
It’s easy! Just press the Ask the AI Chef button you see at the bottom.
Recommended equipment
- 1 Air fryer
- 1 Kitchen scale
- 1 Measuring cup
- 1 Measuring spoons
- 1 Large bowl
- 1 Spoon
- 1 Sharp knife
- 1 Brush
- 1 Parchment paper (for air fryer)
- 1 Cooling rack
Shopping list
Ingredients


How to make it
Preparation
- Rub 40 g butter into the flour with your fingertips until the mixture resembles coarse breadcrumbs.
- Make a well in the centre and add 175 ml milk. Stir quickly with a spoon until the dough only just comes together – it should be soft and slightly sticky.
- Turn the dough out onto a lightly floured work surface and knead it only 8-10 times, until it holds together. The less the dough is handled, the lighter the bread will be.
- Shape the dough into a round loaf about 15 cm in diameter and 4 cm high, and place it on a piece of parchment paper cut to fit the air fryer basket.
- Cut a cross about 1 cm deep into the top of the bread with a sharp knife so the heat can reach the centre.
- Brush the surface with 1 tbsp milk so the crust turns golden.
Cooking in the Air Fryer
Our notes for the recipe
Knead the dough as little as possible – it should only just come together, otherwise the crumb turns tough and dense. Use cold butter, and bake the bread as soon as it is shaped, because the baking powder starts working as soon as the milk is stirred in. If the bread does not sound hollow when you tap the bottom, give it 3-4 more minutes. If the top gets too dark along the way, you can lower the temperature to 160 °C. Variation:
Damper bread was originally mixed with water and baked directly in the embers of the campfire in the Australian bush. You can replace the milk with the same amount of water for a simpler, more rustic version. Damper bread rises with baking powder and milk and therefore tastes milder than soda bread, which rises with bicarbonate of soda and buttermilk. Serving:
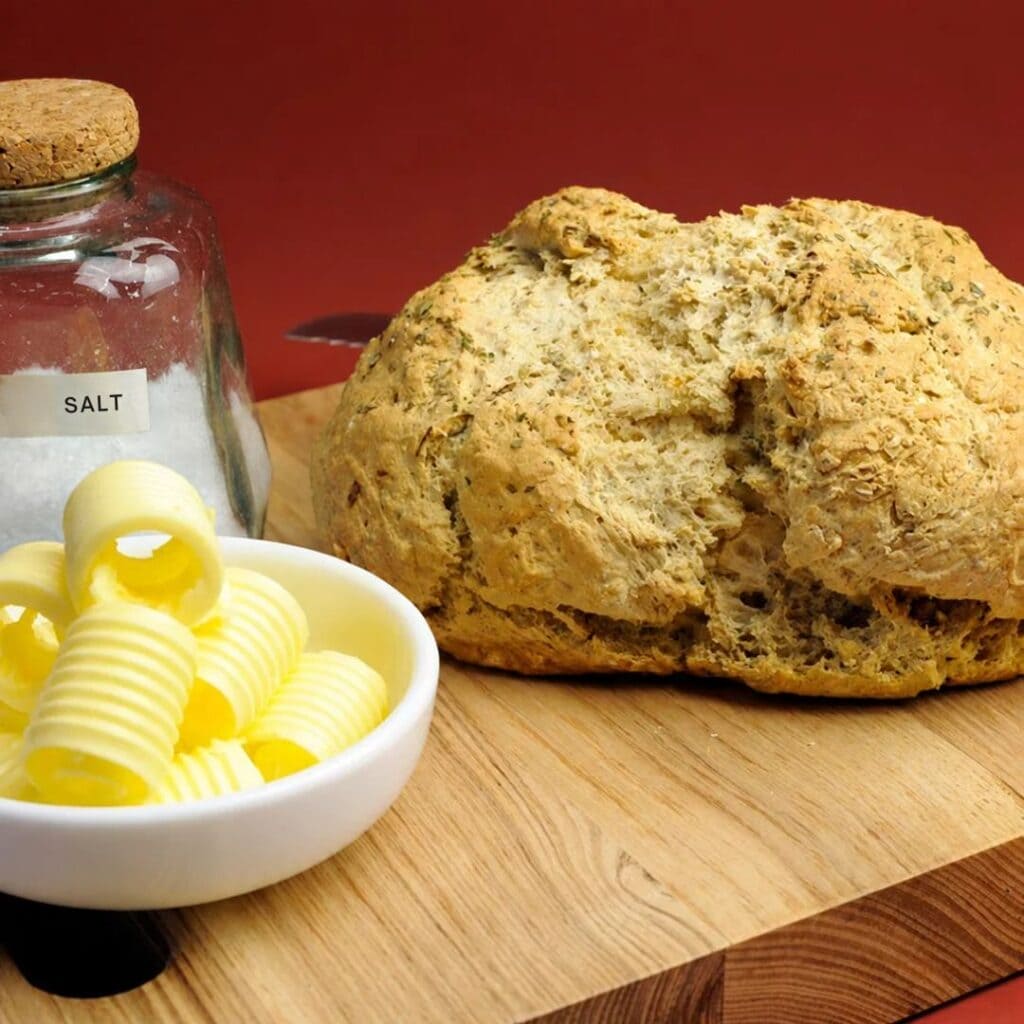
Serve the bread warm so the butter melts into the crumb, and drizzle golden syrup over it. In Australia, golden syrup is the traditional choice, and light syrup is the closest substitute. The bread also goes well with soup or a stew. Portion size:
The bread makes 8 pieces, which is 2 pieces per serving. Measure your basket before you shape the dough – the bread needs a couple of centimetres of space all the way around so the hot air can circulate.
Your notes for the recipe
Nutrition per serving (Guideline)
Important about shelf life and nutrition
Nutrition per serving (guideline): Calculations are based on data from the United States Department of Agriculture (USDA). Shelf life (guideline): Shelf life data is provided, as far as possible, by public institutions, including national food authorities. Our information is therefore only indicative, and it is your responsibility to obtain and calculate accurate information about shelf life and nutrition for all recipes on airfryerkogebogen.dk
Easily share the recipe with others:
Via email or on Facebook
Open the recipe on your phone
Scan the QR code with your phone and get the recipe directly on your mobile while you cook.

Author
Airfryerkogebogen.dk