

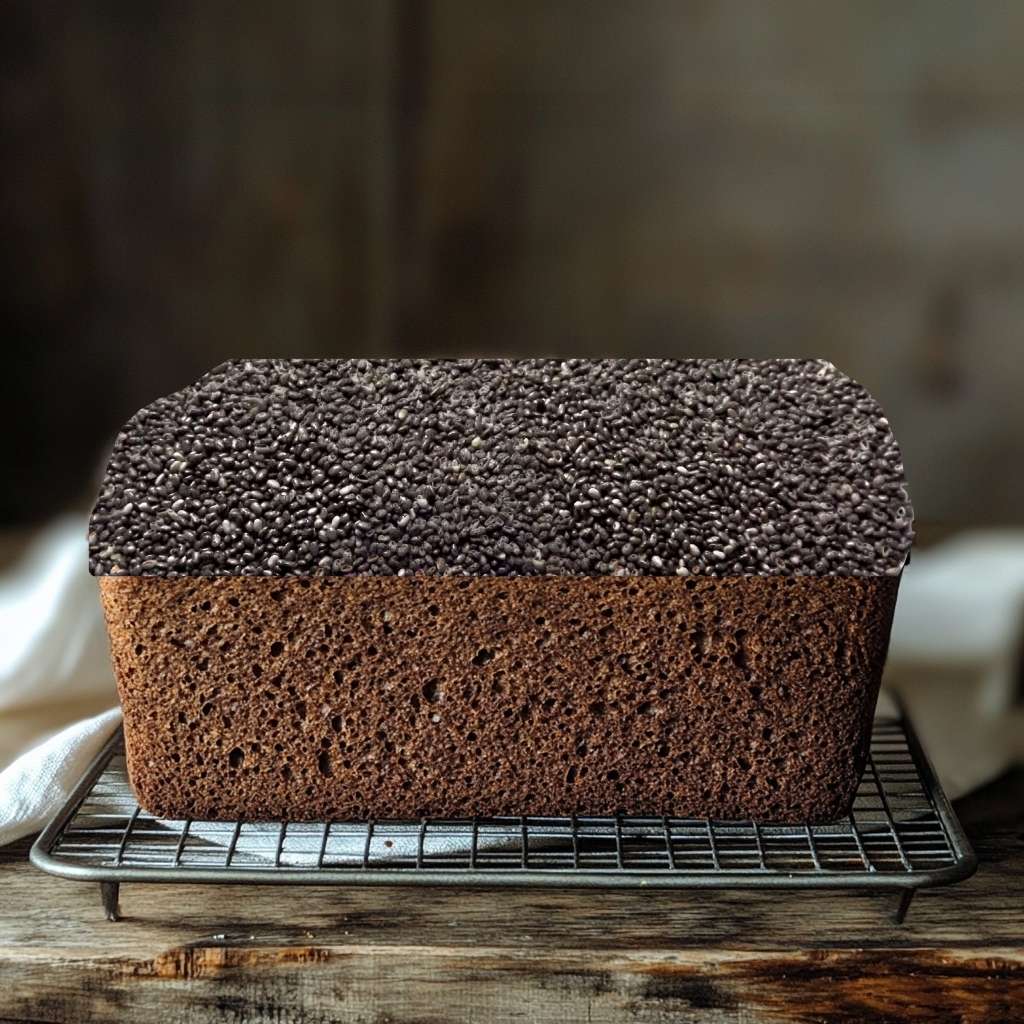
Chia rye bread in the air fryer has become a favourite among bread lovers looking for a healthy and nourishing option. This homemade bread combines the hearty flavour of rye with the incredible health benefits of chia seeds. Chia rye bread isn’t just delicious, but also packed with nutrients that can contribute positively to your diet. Baking this bread at home gives you full control over the ingredients and ensures you get a fresh, quality product.

Advertisement: The page displays ads and contains advertising links (affiliate links). See our advertisers here.
Estimated reading time: 6 minutes
Table of Contents
Benefits of chia rye bread in the air fryer
Nutritional values
Chia rye bread in the air fryer is a true nutritional powerhouse. Rye flour is known for its high dietary fibre content, which is essential for healthy digestion. Chia seeds contribute an impressive amount of omega-3 fatty acids, protein, fibre and antioxidants. The combination of these ingredients results in a bread that is rich in:
- Dietary fibre: Helps regulate blood sugar levels and promotes a feeling of fullness.
- Protein: Important for muscle building and tissue repair.
- Omega-3 fatty acids: Benefit the heart and can reduce inflammation in the body.
- Minerals: Contain calcium, magnesium and iron, which are essential for bone health and oxygen transport in the blood.
By choosing Danish ingredients such as locally produced rye flour and organic chia seeds, you also support sustainable farming and reduce your carbon footprint.
Health benefits of chia rye bread in the air fryer
Including chia rye bread in your daily diet can have several health benefits:
- Improved digestion: The high fibre content helps keep the digestive system healthy and can prevent constipation.
- Cardiovascular health: The omega-3 fatty acids from chia seeds can help lower cholesterol levels and blood pressure.
- Stable blood sugar: The fibre in rye and chia seeds helps slow the absorption of sugar into the blood, which can be beneficial for people with insulin resistance or diabetes.
- Weight loss: The high feeling of fullness from the fibre and protein can help control appetite.
- Anti-inflammatory properties: The antioxidants in chia seeds fight free radicals and can reduce inflammation in the body.
Baking your own chia rye bread in the air fryer at home lets you enjoy these benefits in a delicious and satisfying form.
I recommend this fresh elderflower lemonade with our chia rye bread
When you bake your own rye bread in the air fryer, it deserves a delicious and refreshing companion. I can warmly recommend Hyldeblomst Lemonade by Tuxen Brewing Co. – it’s a lovely summery drink that pairs perfectly with the homemade bread. Enjoy!
Step-by-step recipe for chia rye bread
Ingredients for chia rye bread
To make a delicious chia rye bread, you need quality ingredients. Here are some of the most important components:
- Rye flour: Gives the bread its characteristic flavour and dark colour. Choose Danish, organic rye flour for the best quality.
- Chia seeds: Small seeds that add extra nutritional value and a slightly nutty flavour to the bread.
- Wheat flour: Helps give the bread a lighter texture.
- Yeast: Necessary for the bread to rise.
- Salt and sweetener: To balance the flavour.
- Water: The binder that brings the dry ingredients together.
It’s important to measure the ingredients accurately to achieve the best result. Use a kitchen scale for precision.
Instructions for baking chia rye bread
You’ll find the full recipe further down, but here’s a general overview of the process:
- Prepare the dough: Mix the dry ingredients in a bowl. Add water and stir until the dough is smooth.
- Rising: Cover the dough and let it rise in a warm place until it has doubled in size.
- Into the tin: Pour the dough into a greased tin.
- Second rise: Let the bread rise again to achieve a lighter texture.
- Baking: Bake the bread in the air fryer at 160 °C for 35-40 minutes until it’s cooked through.
- Cooling: Remove the bread from the tin and let it cool on a wire rack before serving.
By following these steps, you can enjoy a freshly baked chia rye bread that’s both healthy and delicious.
Try soaking the chia seeds in lukewarm water for about 15 minutes before adding them to the dough. Letting the chia seeds absorb the water forms a gel-like consistency that not only retains moisture in the bread, but also improves the texture and makes the crumb juicier.
Tips and tricks from the author: Morten Jensen
Variations of chia rye bread
Chia rye bread can be adapted in many ways to create exciting flavour experiences:
- Nuts and seeds: Add chopped walnuts, sunflower seeds or flaxseeds for extra crunch and nutrients.
- Dried fruit: Raisins, cranberries or dried apricots can add sweetness and texture.
- Herbs and spices: Try adding rosemary, thyme or fennel seeds for an aromatic dimension.
- Lower-gluten version: Replace the wheat flour with more rye flour.
- Sourdough version: Use a sourdough starter instead of yeast to give the bread a tangy flavour and improved digestibility.
These variations make it possible to adapt the chia rye bread to your personal preferences and dietary needs. By experimenting with different ingredients, you can create your own unique version of this healthy bread.
Tips for perfecting chia rye bread in the air fryer
To achieve the best result with your chia rye bread, the following tips can be helpful:
- Correct rising: Make sure the dough rises in a warm environment. Too cold a temperature can prevent the yeast from working effectively.
- Dough consistency: The dough should be moist but not sticky. Adjust the amount of water or flour as needed.
- Baking time and temperature: Monitor the bread while baking. All air fryers are different, so it may be necessary to adjust the time or temperature.
- Storage: Store the bread in an airtight container to keep it fresh. Chia rye bread can also be frozen in slices for a longer shelf life.
- Doneness test: Tap lightly on the bottom of the baked bread; if it sounds hollow, it’s cooked through.
By following this advice, you can improve your baking and enjoy a perfect chia rye bread in the air fryer every time. Remember, practice makes perfect, and every bake is an opportunity to learn and refine your skills.
FAQ
No, it isn’t necessary. The chia seeds absorb moisture from the dough while it rises for about 1 hour and then proves for another 30 minutes. If you want an extra moist crumb, you can soak them in a little of the lukewarm water for about 15 minutes before mixing them into the dough.

Recipe
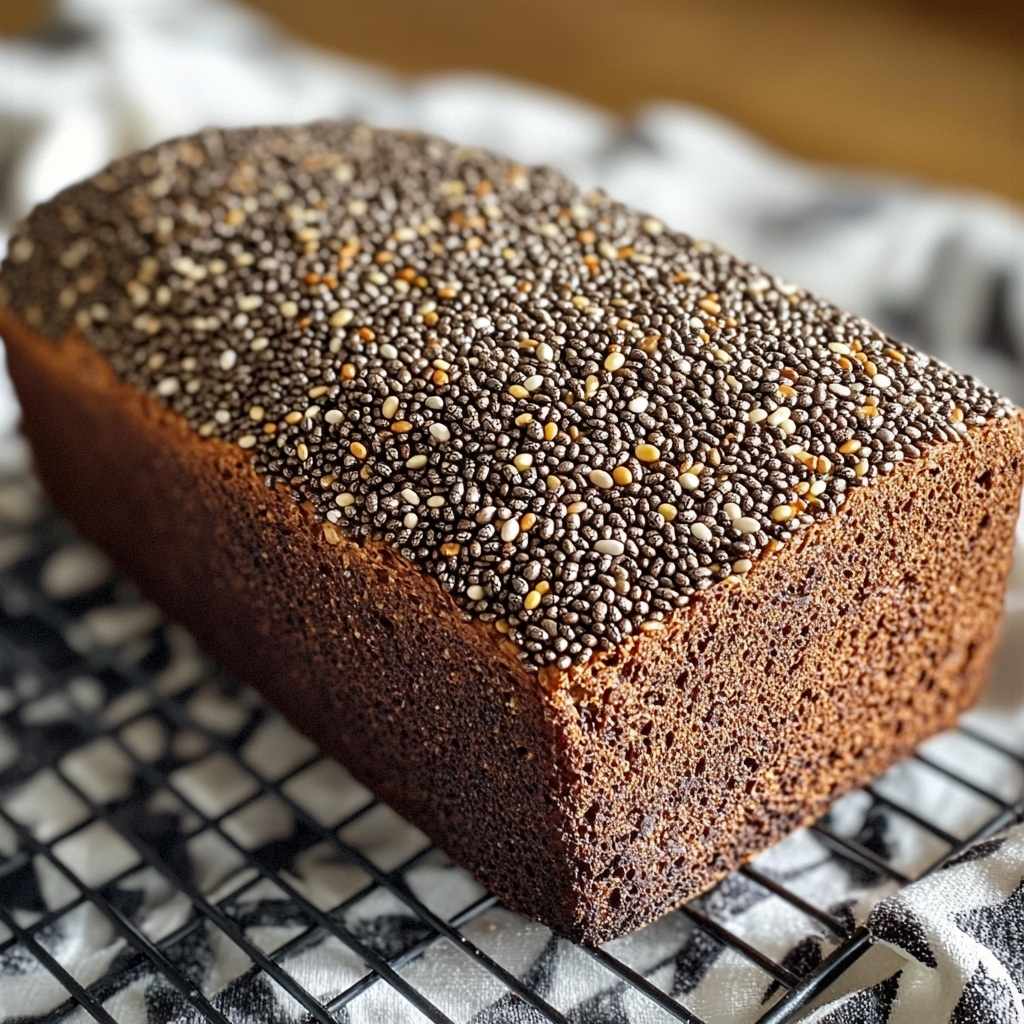
Chia rye bread in the air fryer
Cooking Guide
Keep the screen on and follow the recipe step by step while you cook.
Step 1:
Avoid the screen turning off while you cook.
Step 2:
Start the guide and follow the recipe one step at a time.
Cost of the dish
Prices may vary depending on where you shop.
Our estimate is based on average food prices for the current year 2026.
Estimated price for the whole dish:
Airfryer size
All our recipes are tested in a Philips Airfryer 2000 Series NA230/00 – 6.2 L
Does the recipe fit my Airfryer?
If you’re unsure, you can always reduce by one serving in the recipe, or click the 0.5x button.
You can also Ask the AI Chef
It’s easy! Just press the Ask the AI Chef button you see at the bottom.
Recommended equipment
- Air fryer
- Mixing bowl
- Dough scraper
- Small loaf pan
- Measuring cups
- Damp kitchen towel
- Kitchen scale
Shopping list
Ingredients
- 300 g rye flour
- 100 g wheat flour
- 50 g chia seeds
- 1 tsp salt

- 1 tbsp syrup
- 25 g yeast
- 350 ml water (lukewarm)

How to make it
- Mix 300 g rye flour, 100 g wheat flour, 50 g chia seeds and 1 tsp salt in a large bowl.
- Dissolve 25 g yeast in the lukewarm 350 ml water together with 1 tbsp syrup.
- Pour the yeast mixture into the flour mixture and stir until the dough is smooth.
- Cover the bowl with cling film or a damp tea towel, and let the dough rise for approx. 1 hour in a warm place.
- Grease the bread tin and pour the dough into it.
- Let the dough rise for a further 30 minutes.
- Preheat the air fryer to 160°C.(Pre-program it, or let it run for a few minutes before cooking)
- Place the tin in the air fryer and bake at 160 °C for 35-40 minutes, or until the bread sounds hollow when you tap on it.Start the online kitchen timer here
- Take the bread out of the tin and let it cool on a wire rack.
Our notes for the recipe
Your notes for the recipe
Nutrition per serving (Guideline)
Important about shelf life and nutrition
Nutrition per serving (guideline): Calculations are based on data from the United States Department of Agriculture (USDA). Shelf life (guideline): Shelf life data is provided, as far as possible, by public institutions, including national food authorities. Our information is therefore only indicative, and it is your responsibility to obtain and calculate accurate information about shelf life and nutrition for all recipes on airfryerkogebogen.dk
Easily share the recipe with others:
Via email or on Facebook
Open the recipe on your phone
Scan the QR code with your phone and get the recipe directly on your mobile while you cook.

Author
Airfryerkogebogen.dk
