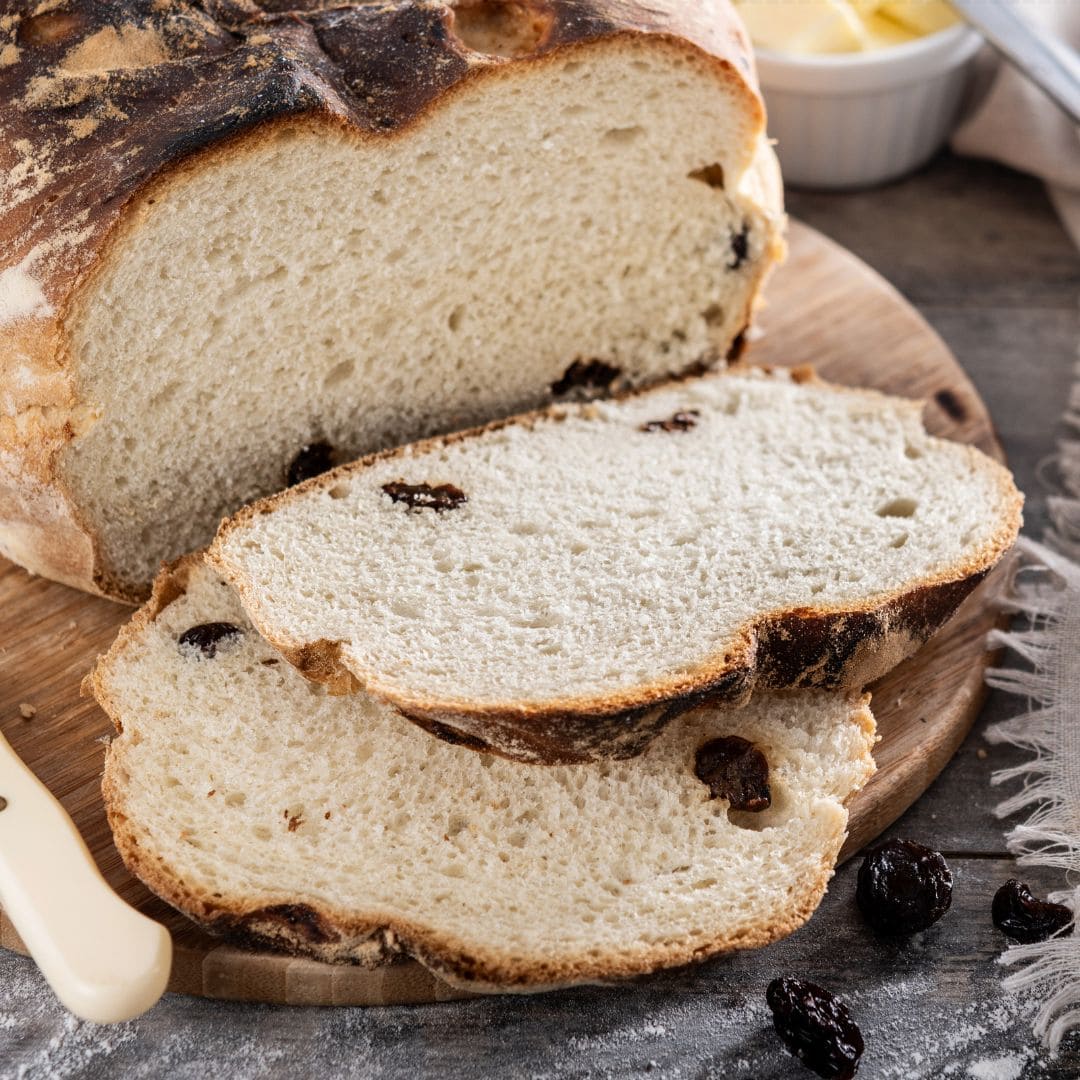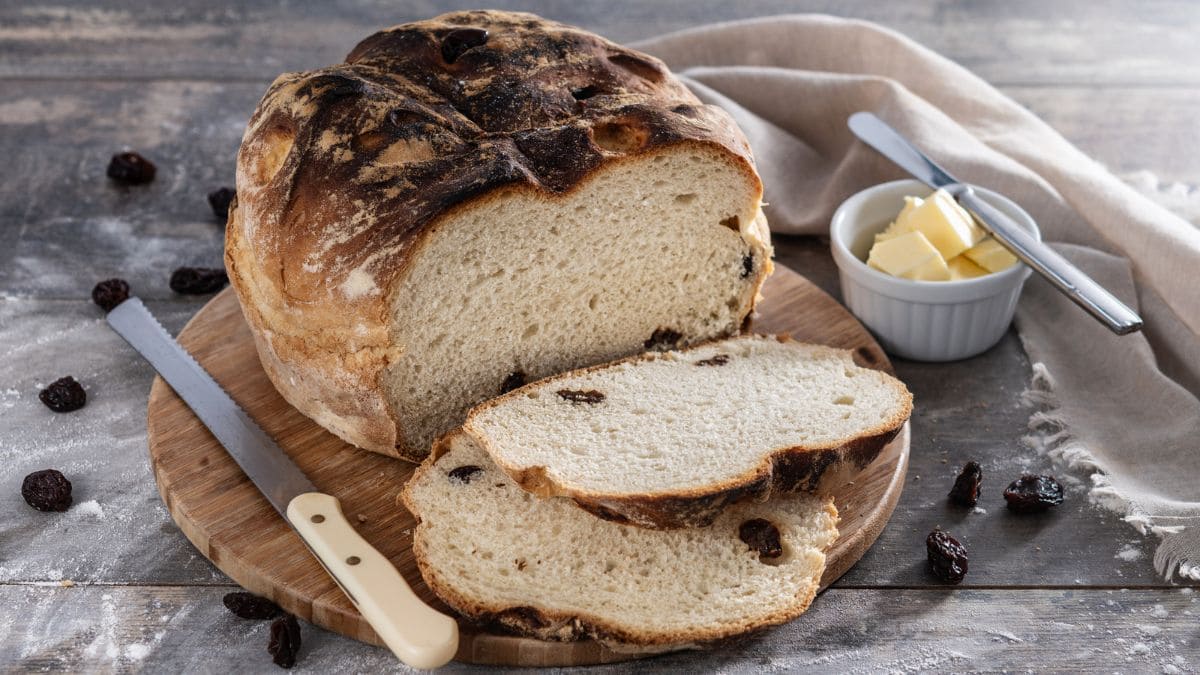
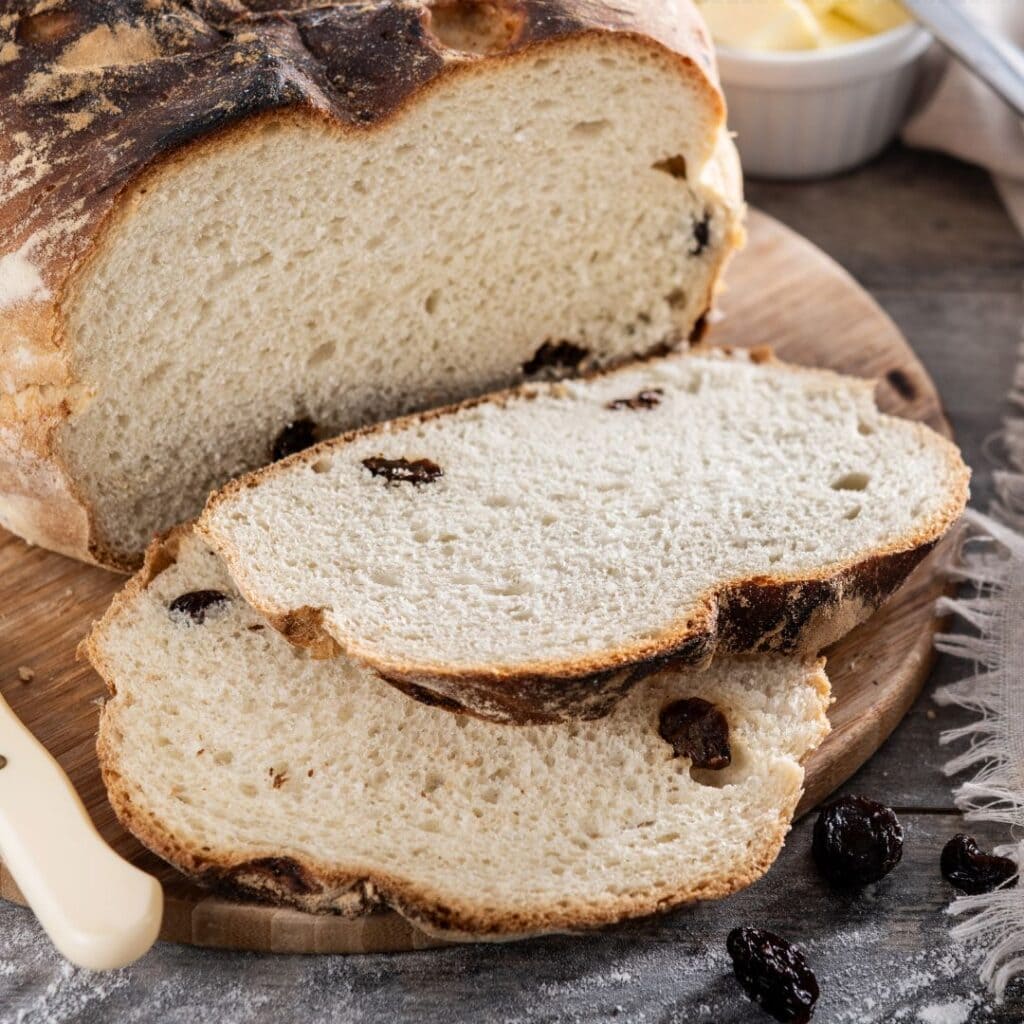
Irish Soda Bread in the air fryer is the loaf for you if you want freshly baked bread on the table without yeast, rising time or long kneading. This everyday Irish bread rises with bicarbonate of soda and buttermilk, so the dough is stirred together in a few minutes and baked straight away. Here you get the version with raisins, which the Irish call spotted dog: a round loaf with a deep cross in the top, a crisp crust and a soft crumb.

Advertisement: The page displays ads and contains advertising links (affiliate links). See our advertisers here.
I’ll show you why the dough should only be kneaded very briefly, which mistakes lead to a heavy loaf, and how to serve and store the bread afterwards.
Table of Contents
Why I love Irish Soda Bread in the air fryer
I love bread that doesn’t need any planning. I can bake a soda bread whenever I feel like it, because there is no yeast to wake up and no dough that has to rise. Five ingredients are all it takes: plain flour, bicarbonate of soda, salt, raisins and buttermilk. The result is a rustic loaf with a crunchy crust and a soft, moist crumb with a hint of tang from the buttermilk. The raisins add sweetness without any added sugar, so the bread suits the breakfast table and the afternoon coffee equally well.
How the bread rises without yeast
The rise is pure kitchen chemistry: when the acidic buttermilk meets the bicarbonate of soda, small air bubbles form in the dough straight away, and it is those bubbles that lift the bread. The bubbles don’t last, so the dough must neither rest nor be kneaded through – it should be brought together, shaped and put straight into the heat. This is where the air fryer has a clear advantage: it heats up quickly, so you can preheat it while you weigh out the ingredients, and you avoid switching on the big oven for a single loaf.
My kitchen test of Irish Soda Bread
I have baked the bread in my Philips XXL, where a round loaf of about 16 cm in diameter sits with a couple of centimetres of space between the loaf and the sides of the basket. I preheat to 170 °C and bake the bread for 20 minutes, until the top is golden. Then I turn it over, remove the baking paper and give it another 10 minutes, until the bottom has taken on colour and the loaf sounds hollow when I tap it lightly.
In my Cosori Dual Blaze, which has heating elements both above and below in the same basket, the bottom already takes on colour in the first stage, but I still turn the loaf as in the recipe, so that the thick bread bakes through all the way to the centre. Allow 10 minutes of preparation, 30 minutes of baking time and 20 minutes of cooling on a wire rack – the crumb needs to set before you cut into the bread.
Turn on the air fryer before you get the flour out. The bicarbonate of soda gets to work as soon as it meets the buttermilk, and every minute the dough sits waiting costs you air in the finished loaf.
Tips and tricks from the author: Morten Jensen
Common mistakes and how to avoid them
The first mistake is to knead the dough as if it were a yeast bread. It should only be folded over 4-5 times, until it just holds together – otherwise the bread turns dense and tough. The second mistake is to let the finished dough wait while the air fryer heats up. The air escapes again, so preheat first, and put the loaf in the basket as soon as the cross has been cut. The third mistake is cutting the cross too cautiously. Cut about 2 cm down into the dough and all the way out to the edge, so the heat reaches the centre of the thick loaf. If the top darkens quickly in your air fryer, turn it down to 160 °C and give the loaf a few extra minutes.
How to serve Irish Soda Bread
The bread tastes best warm on the same day, while the crust is still crisp. Break it into four pieces along the cross, or cut it into thick slices, and serve it like this:
- With cold butter that melts into the warm crumb
- With jam for breakfast or brunch
- With a slice of cheese as a counterpoint to the raisins
- Toasted the next day with butter
- Without raisins, as a classic soda bread for soup and sandwiches
Storage and reheating
The bread is best on the day it is made, but it keeps for 1-2 days at room temperature, wrapped in a clean tea towel or a bread bag. The day after, it benefits from a little warmth: reheat it in slices in the air fryer at 160 °C for 2-3 minutes, until it is warm and lightly crisp at the edges. The bread can also be frozen for up to 3 months, whole or in slices. Thaw it at room temperature and warm it briefly in the air fryer.
Irish Soda Bread in the air fryer shows that good bread doesn’t need yeast or lengthy planning. Stir the dough together, cut the cross deep, and let the air fryer do the rest. Start with the raisins, and then try dried cranberries, chopped apricots or a little wholemeal flour next time.
FAQ
Yes. Stir 3 dl milk with 1 tbsp lemon juice and leave it to stand for 5 minutes. The acid is necessary for the bicarbonate of soda to make the bread rise, so milk alone is not enough.
The cross helps the heat reach the centre, so the thick loaf bakes through. Cut about 2 cm into the dough and all the way out to the edge. Afterwards the bread is easy to break into four pieces along the cross.
Make two small loaves in two batches. Divide the dry ingredients between two bowls, and do not add the buttermilk to the second portion until the first loaf is baked. Small loaves need about 5 minutes less baking time.

Recipe
Irish Soda Bread in the Air Fryer
Cooking Guide
Keep the screen on and follow the recipe step by step while you cook.
Step 1:
Avoid the screen turning off while you cook.
Step 2:
Start the guide and follow the recipe one step at a time.
Cost of the dish
Prices may vary depending on where you shop.
Our estimate is based on average food prices for the current year 2026.
Estimated price for the whole dish:
Airfryer size
All our recipes are tested in a Philips Airfryer 2000 Series NA230/00 – 6.2 L
Does the recipe fit my Airfryer?
If you’re unsure, you can always reduce by one serving in the recipe, or click the 0.5x button.
You can also Ask the AI Chef
It’s easy! Just press the Ask the AI Chef button you see at the bottom.
Recommended equipment
- 1 Air fryer
- 1 Kitchen scale
- 1 Measuring cup
- 1 Measuring spoons
- 1 Large bowl
- 1 Sifter
- 1 Wooden spoon
- 1 Parchment paper (for air fryer)
- 1 Sharp knife
- 1 Kitchen towel - Clean
- 1 Cooling rack
Shopping list
Ingredients


How to make it
Preparation
- Preheat the air fryer to 170 °C fan. The dough has to be baked as soon as it is mixed, so the air fryer must be hot before you get started.
- Make a well in the centre of the flour and add 3 dl buttermilk all at once.
- Stir quickly with a wooden spoon until the dough just comes together. It should be soft and slightly sticky, and it must not be stirred any more than is absolutely necessary.
- Turn the dough out onto a floured work surface and knead it very briefly – simply fold it over 4-5 times, until it just holds together. Knead it any longer and the bread turns dense and tough.
- Shape the dough into a round loaf about 16 cm in diameter and 4-5 cm high, and place it on a piece of baking paper that fits the bottom of the air fryer basket. There should be a couple of centimetres of space between the loaf and the sides of the basket.
- Cut a deep cross in the top with a sharp, floured knife – about 2 cm into the dough and all the way out to the edge, so the heat can reach the centre of the loaf.
Cooking in the air fryer
- Place the loaf in the preheated air fryer basket straight away, lifting it in by the baking paper. The dough must not be left waiting, because the bicarbonate of soda starts working as soon as it meets the buttermilk.
- Bake the loaf at 170 °C for 20 minutes, until the top is golden and the crust has set.
- Continue baking at 170 °C for 10 minutes, until the bottom is golden and the loaf sounds hollow when you tap it lightly. If it sounds dull, give it another 3-5 minutes.
Serving
- Leave the loaf to cool on a wire rack for 20 minutes, so the crumb has time to set before the bread is sliced.
- Break the loaf into four pieces along the cross, or cut it into thick slices, and serve it warm.
Our notes for the recipe
Work quickly and with a light hand, and have the air fryer hot before the buttermilk goes into the flour. Cut the cross deeply – it helps the heat reach the centre, so the thick loaf bakes through. If the dough is too wet to shape, sprinkle on a little extra flour; if it is dry and crumbly, add another tablespoon of buttermilk. If the top darkens quickly in your air fryer, turn it down to 160 °C and give the loaf a few extra minutes. Why the bread rises without yeast:
The acid in the buttermilk makes the bicarbonate of soda create air pockets in the dough as soon as the two meet. That is why the dough must neither rest nor be kneaded thoroughly – it should simply be brought together and baked straight away, otherwise the air escapes again. Variation:
Leave out the raisins if you want a classic soda bread for soup and sandwiches, or swap them for dried cranberries or chopped apricots. You can replace 100 g of the plain flour with wholemeal flour for a coarser loaf, and a tablespoon of sugar in the flour gives a sweeter version. If you do not have buttermilk, you can stir 3 dl milk with 1 tbsp lemon juice and leave it to stand for 5 minutes – the acid is necessary for the bicarbonate of soda to make the bread rise. Serving:
Eat the bread warm on the same day with cold butter and, if you like, jam or a slice of cheese. The day after, it is best toasted. If you want a softer crust, wrap the warm bread in a clean tea towel while it cools. Portion size:
Break the bread into four pieces along the cross – one per portion – or cut it into about 8 thick slices. If your air fryer is smaller, you can make two small loaves in two batches: divide the dry ingredients between two bowls, and do not add the buttermilk to the second portion until the first loaf is baked. Small loaves need about 5 minutes less baking time.
Your notes for the recipe
Nutrition per serving (Guideline)
Important about shelf life and nutrition
Nutrition per serving (guideline): Calculations are based on data from the United States Department of Agriculture (USDA). Shelf life (guideline): Shelf life data is provided, as far as possible, by public institutions, including national food authorities. Our information is therefore only indicative, and it is your responsibility to obtain and calculate accurate information about shelf life and nutrition for all recipes on airfryerkogebogen.dk
Easily share the recipe with others:
Via email or on Facebook
Open the recipe on your phone
Scan the QR code with your phone and get the recipe directly on your mobile while you cook.

Author
Airfryerkogebogen.dk