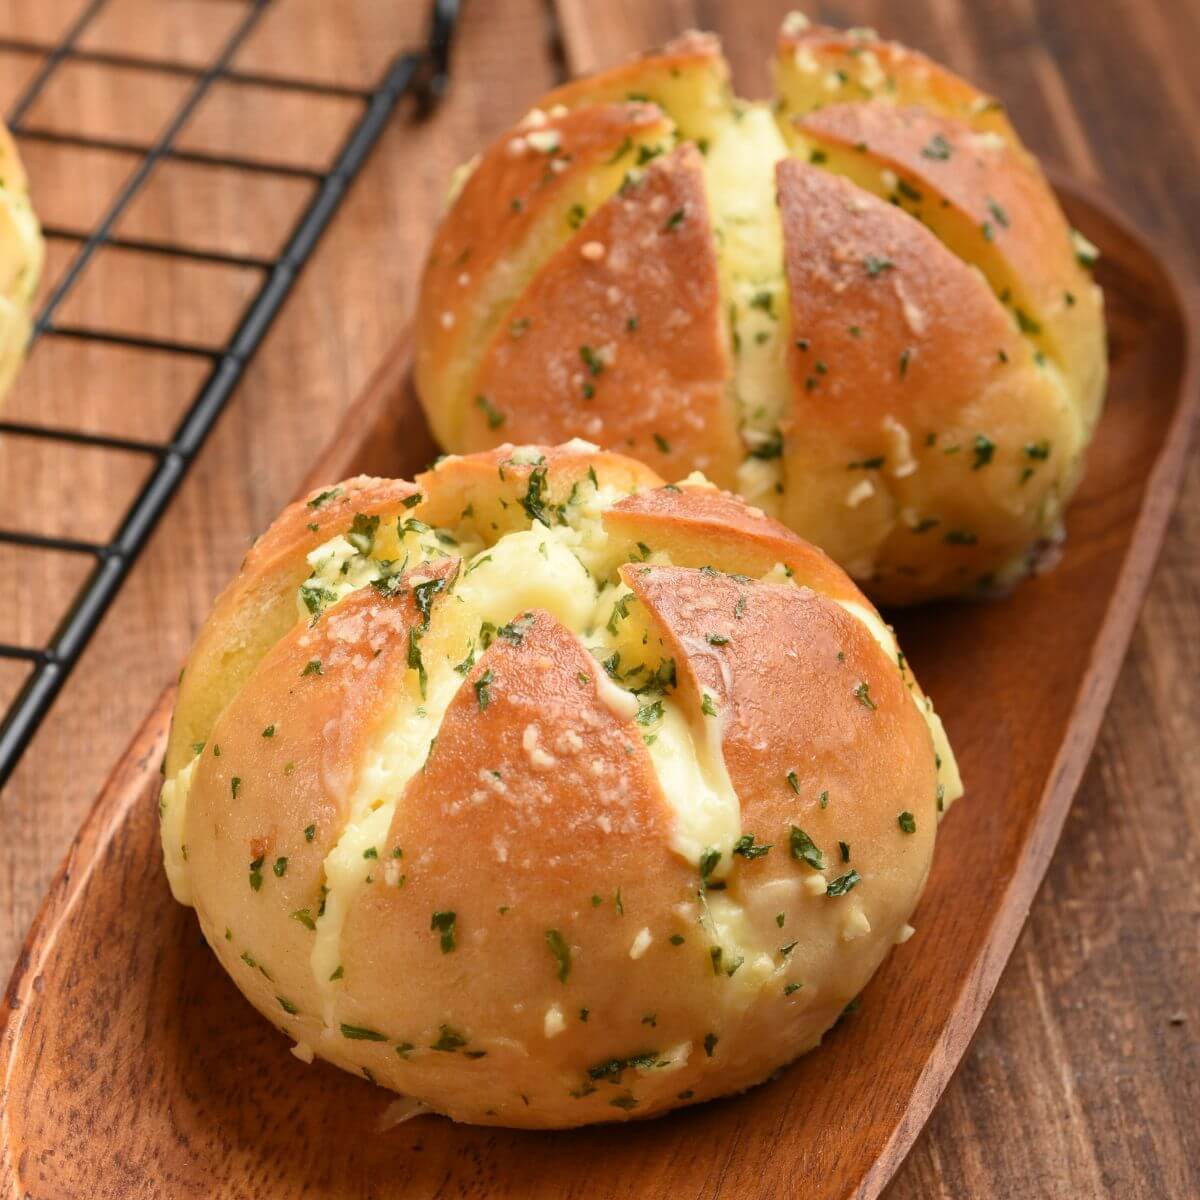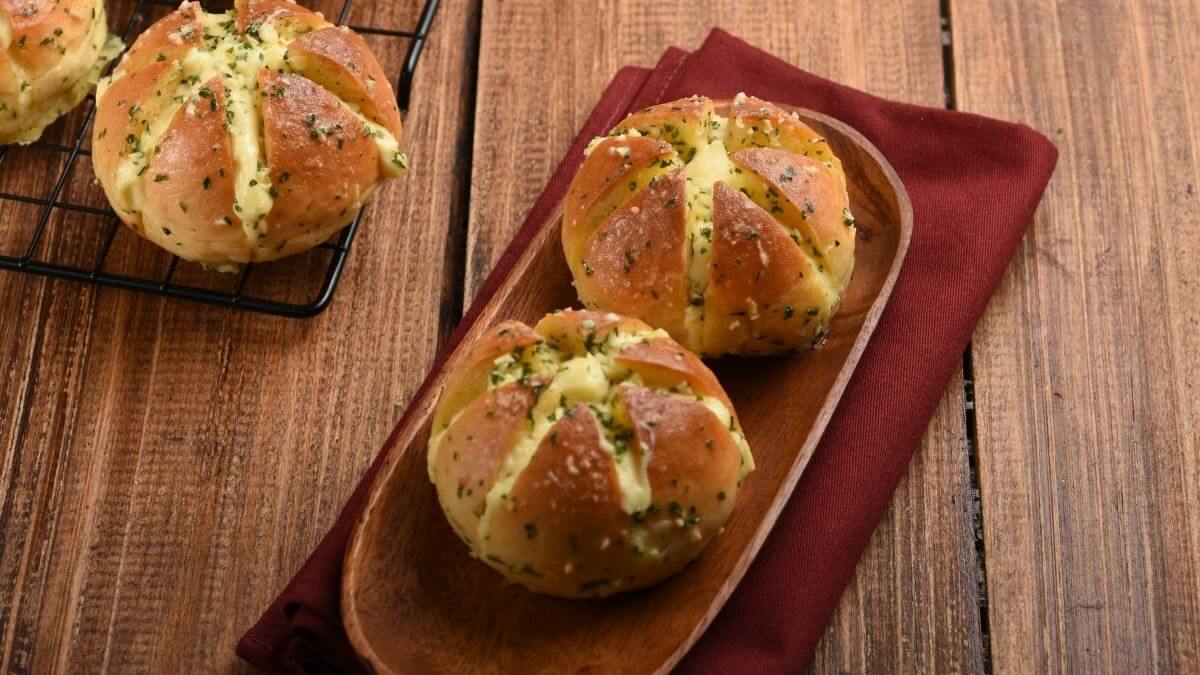
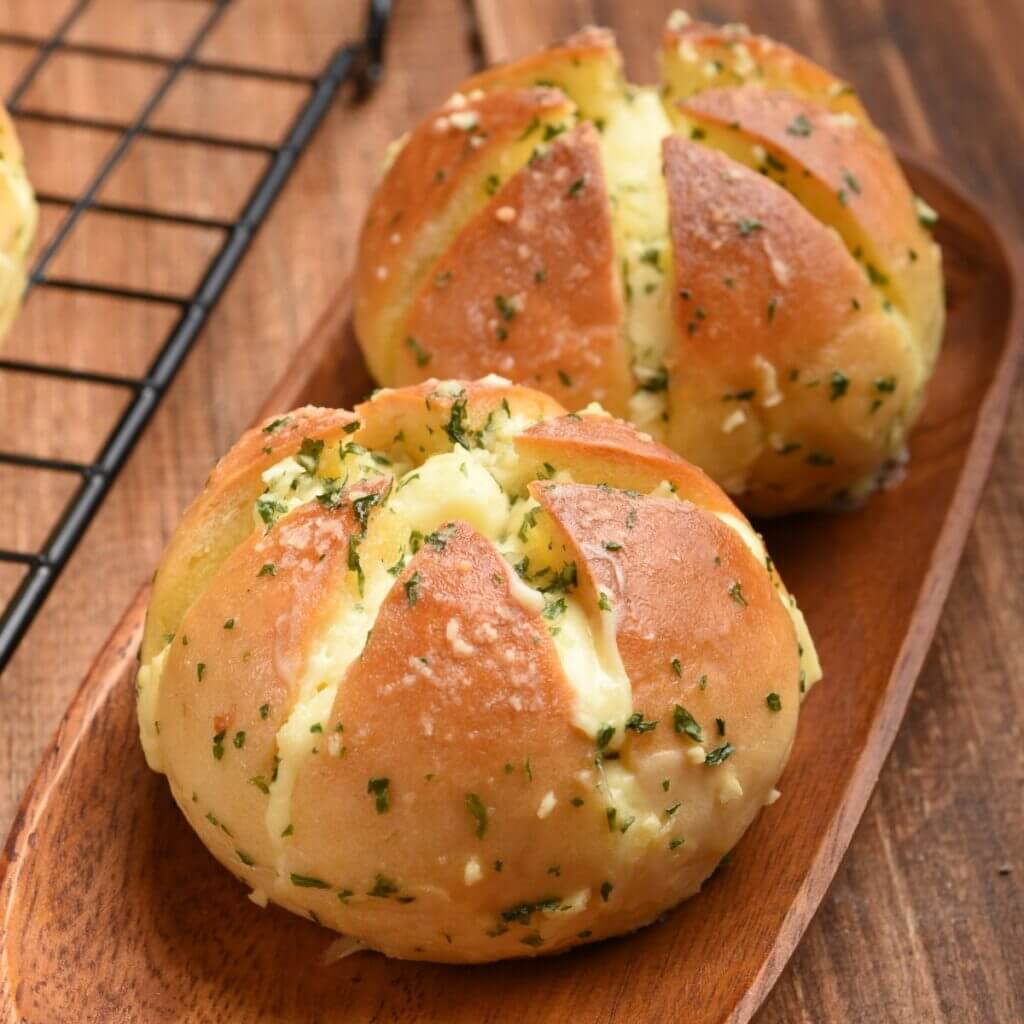
Korean garlic bread is the sweet-salty street food hit that has taken the world by storm — and in the airfryer, it gets even better, if that’s possible. Picture a fluffy bun cut open like a flower, filled with creamy cheese cream and brushed with golden garlic butter with a hint of sweetness. The outside turns crispy and lightly caramelized, while the center stays soft and melting.

Advertisement: The page displays ads and contains advertising links (affiliate links). See our advertisers here.
The dish is also called Korean cream cheese garlic bread, and it’s equal parts dessert and delicious side. With the airfryer, you skip heating up a big oven, and you’ll have fragrant, warm bread on the table in under half an hour. Here’s my thoroughly tested method, so it turns out perfectly every time.
Estimated reading time: 5 minutes
Table of Contents: Why I love Korean garlic bread in the airfryer | My kitchen test of Korean garlic bread | The typical mistakes and how to avoid them | How to serve Korean garlic bread | Storage and reheating
Why I love Korean garlic bread in the airfryer
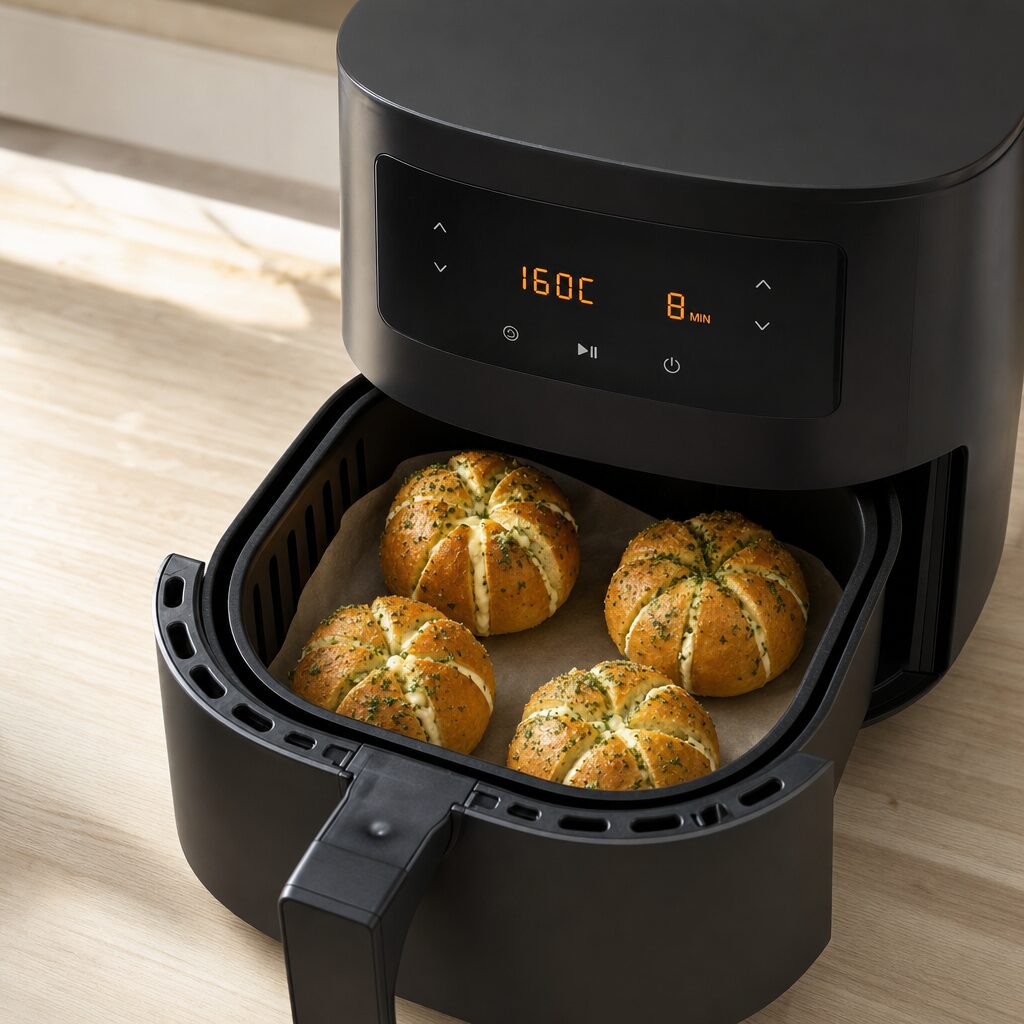
The airfryer circulates hot air all the way around the buns, giving an even, crispy crust that’s hard to achieve in a regular oven without drying out the bread. The garlic butter caramelizes beautifully in the concentrated heat, and the creamy cheese filling warms through just enough without spilling out. At 160 °C for 8 minutes, you hit the perfect point between a crispy outside and a soft center.
The best part is the speed. You don’t have to wait for a big oven to heat up, and you use less energy along the way. That makes this dish an obvious choice when guests suddenly show up at the door, or when your evening coffee calls for something warm and delicious.
The difference between airfryer and oven
In an oven, you often need both more time and a higher temperature before the crust browns, which can easily lead to dry bread. The airfryer works faster and more precisely, typically 20-30 percent less time than the oven. The concentrated airflow means you need to keep an eye on it during the last couple of minutes, as the color develops suddenly.
My kitchen test of Korean garlic bread
I’ve made this bread countless times in my Philips XXL, and 160 °C for 8 minutes is the sweet spot. The first time, I turned up the temperature, and the garlic butter went dark before the cheese had time to warm through — so keep the heat down. I brush the buns with butter twice: once before they go into the basket, and once halfway through, so each layer has time to set and create a deep, golden shine.
The prep itself takes around 20 minutes — whisking the cream cheese filling, mixing the butter, and cutting the buns. With the 8 minutes in the airfryer, the whole dish comes together in about 28 minutes from start to table — and most of that time, you’re just puttering around the kitchen anyway.
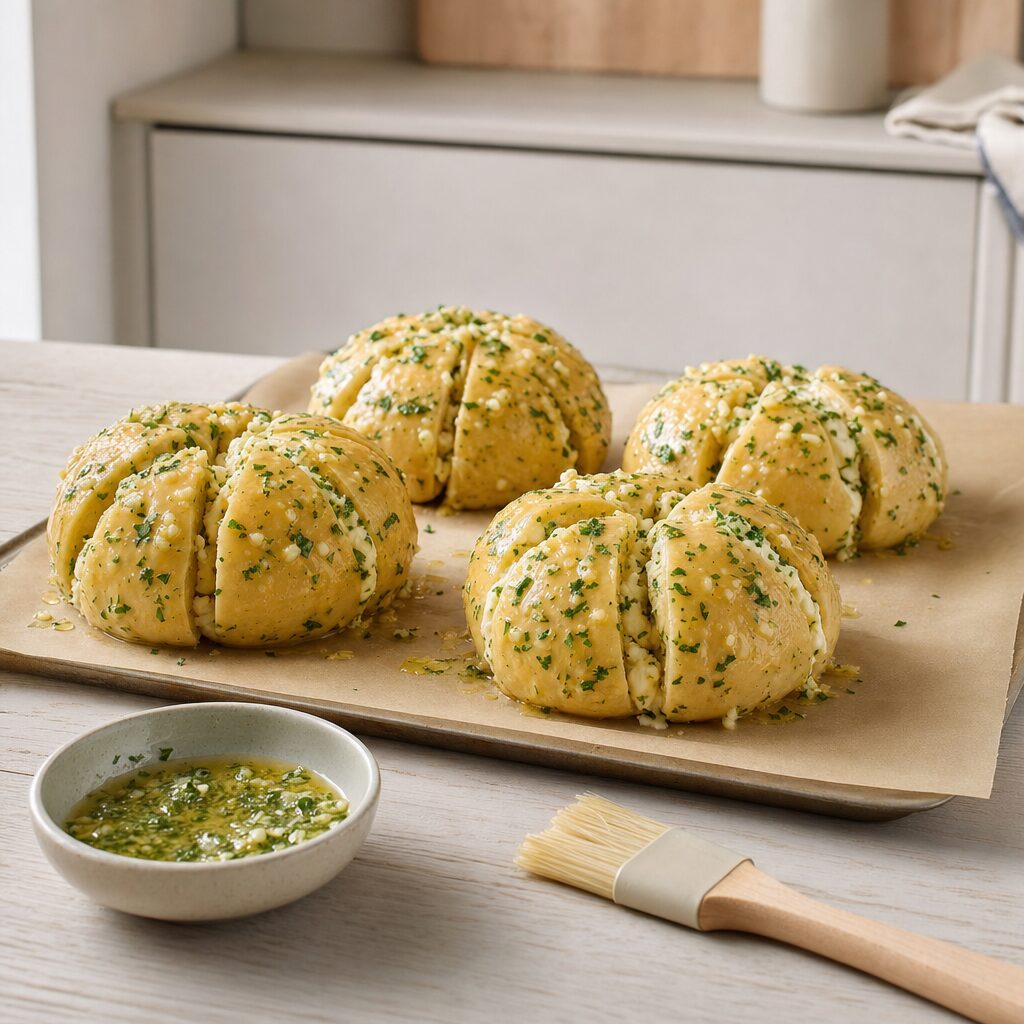
Brush the buns with garlic butter twice — once before and once halfway through. The double layer is the whole secret behind the deep, golden crust.
Tips and tricks from the author: Morten Jensen
The typical mistakes and how to avoid them
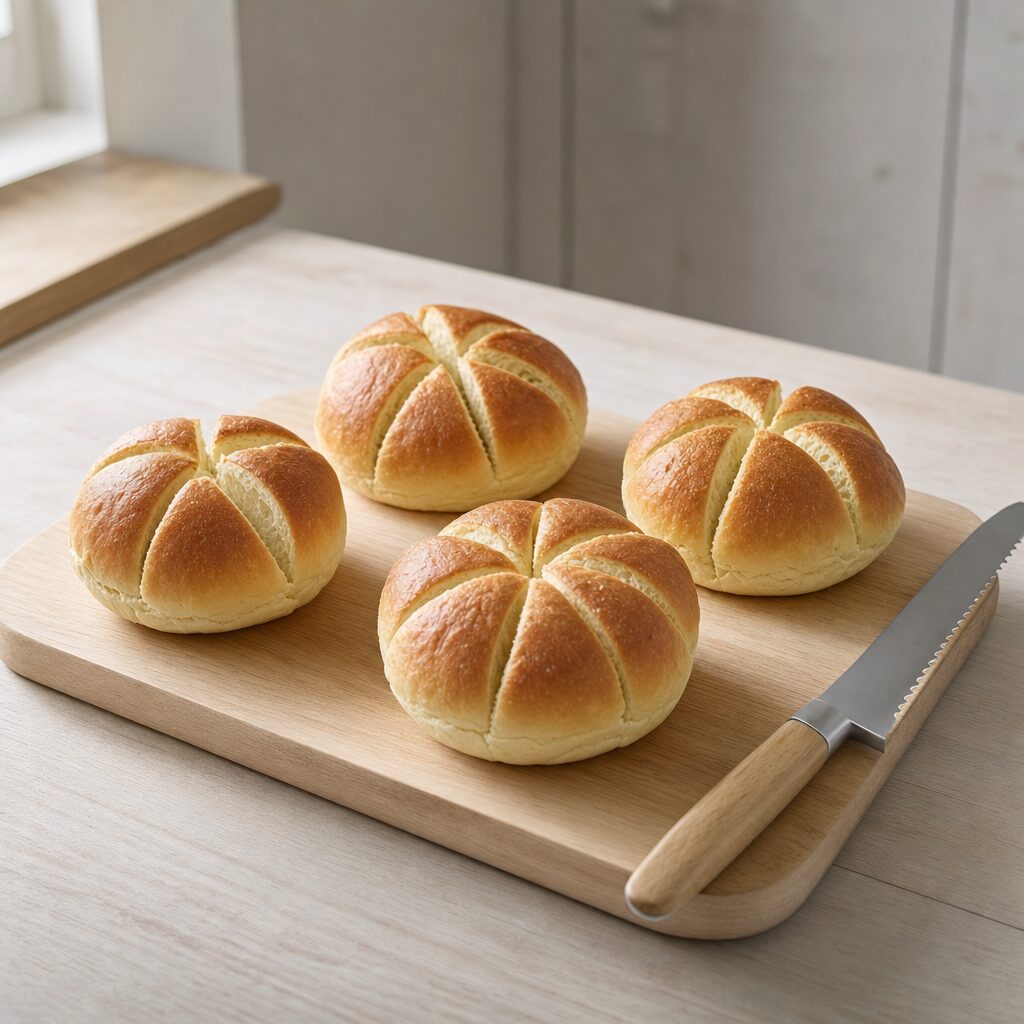
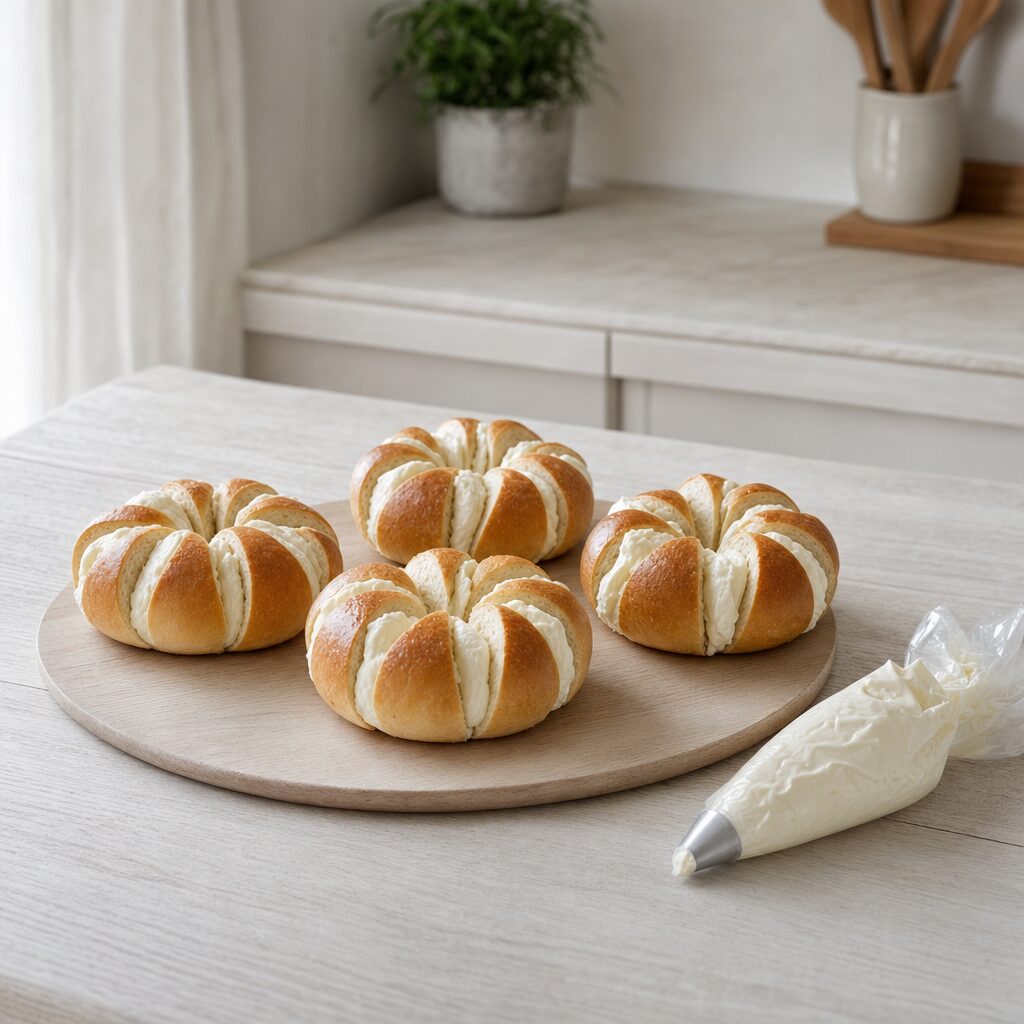
The first mistake is cutting the buns all the way through. The cuts should only go about three-quarters of the way down, so the bun holds together like a flower and can hold the cheese filling — cut too deep, and it falls apart in the basket. The second classic mistake is a cream cheese filling that’s too soft and spills out during cooking; stir icing sugar into the cheese until it’s firm and spreadable, and let it chill briefly in the fridge first if needed. The third mistake is too high a temperature, which scorches the garlic and butter before the center warms through. Stick to 160 °C, and rather give the buns an extra minute if they need more color.
How to serve Korean garlic bread
The buns taste best warm, while the crust is still crispy and the cheese is soft. Here are a few suggestions that pair well with them:
- Sprinkled with fresh, chopped parsley and a pinch of flaky salt for contrast to the sweetness
- As a sweet-salty side to a cup of strong coffee or hot cocoa
- Alongside a green salad with a tangy dressing that cuts through the creaminess
- Torn apart and shared on the platter as a cozy snack for movie night
Storage and reheating
If you have leftover buns, they’ll keep for two to three days in an airtight container in the fridge because of the fresh cheese filling. Reheat them in the airfryer at 160 °C for a couple of minutes, so the crust turns crispy again and the filling warms through. Avoid the microwave, which makes the bread soft and chewy. You can also freeze them fully baked and warm them straight from frozen with a little extra time.
Korean garlic bread in the airfryer is the kind of dish that gets people asking for the recipe right away. Sweet, salty, crispy and creamy all at once — and ready in under half an hour. Try them, and watch how fast they disappear from the platter.
Yes. The egg gives a slightly richer glaze, but you can easily leave it out and just brush with a mixture of melted butter, garlic, a little sugar and parsley. The result will be a touch less glossy, but the taste is the same.
Soft, round milk buns or brioche buns work best, because they’re fluffy and sweet. Slightly older buns from the day before actually hold their shape even better when cut out like a flower.
Yes, both filled and fully baked. Freeze them individually, and warm them straight from frozen in the airfryer at 160 °C with a couple of extra minutes, until they’re heated through and crispy.

Recipe
Korean garlic bread in the airfryer
Cooking Guide
Keep the screen on and follow the recipe step by step while you cook.
Step 1:
Avoid the screen turning off while you cook.
Step 2:
Start the guide and follow the recipe one step at a time.
Cost of the dish
Prices may vary depending on where you shop.
Our estimate is based on average food prices for the current year 2026.
Estimated price for the whole dish:
Airfryer size
All our recipes are tested in a Philips Airfryer 2000 Series NA230/00 – 6.2 L
Does the recipe fit my Airfryer?
If you’re unsure, you can always reduce by one serving in the recipe, or click the 0.5x button.
You can also Ask the AI Chef
It’s easy! Just press the Ask the AI Chef button you see at the bottom.
Recommended equipment
- 1 Air fryer
- 1 Cutting board
- 1 Bread knife
- 2 Mixing bowl
- 1 Piping bag
- 1 Brush
- 1 Parchment paper - Airfryer-safe
Shopping list
Ingredients


How to make it
Preparation
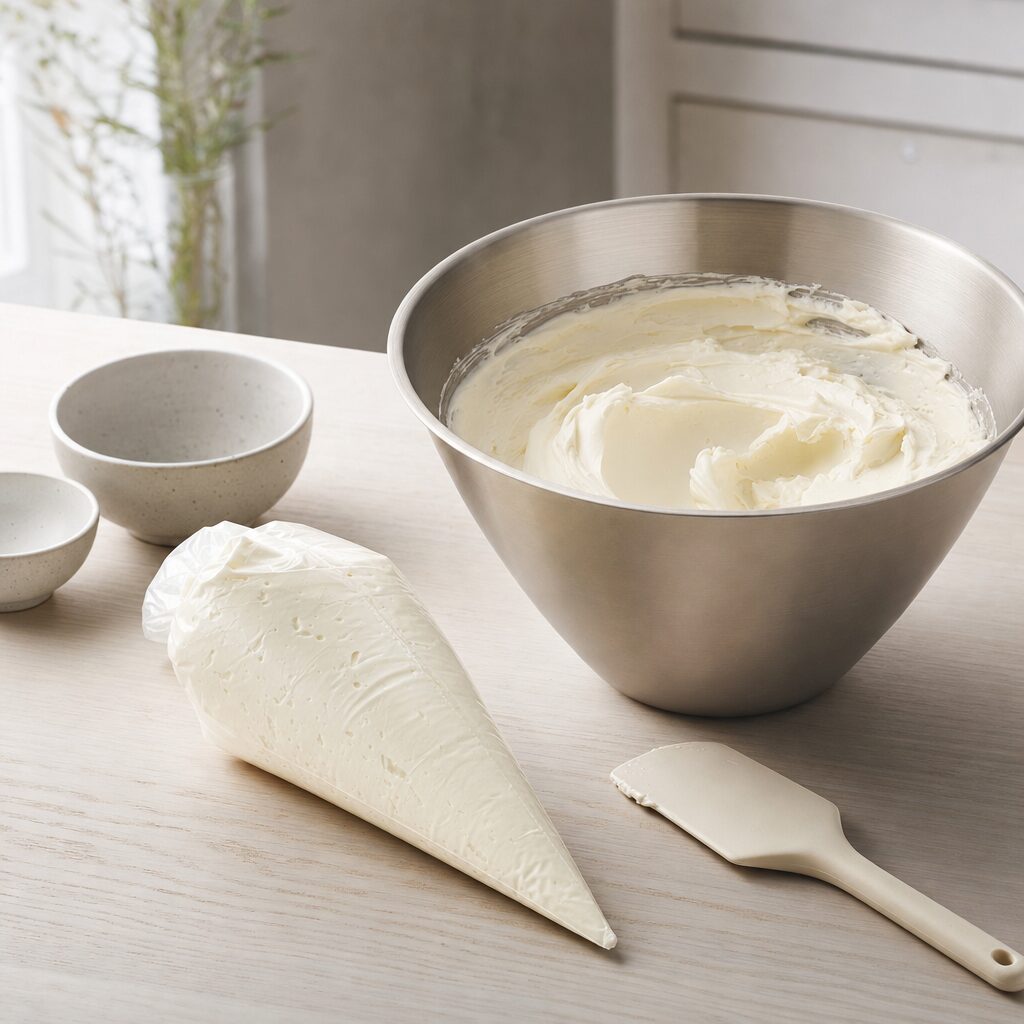
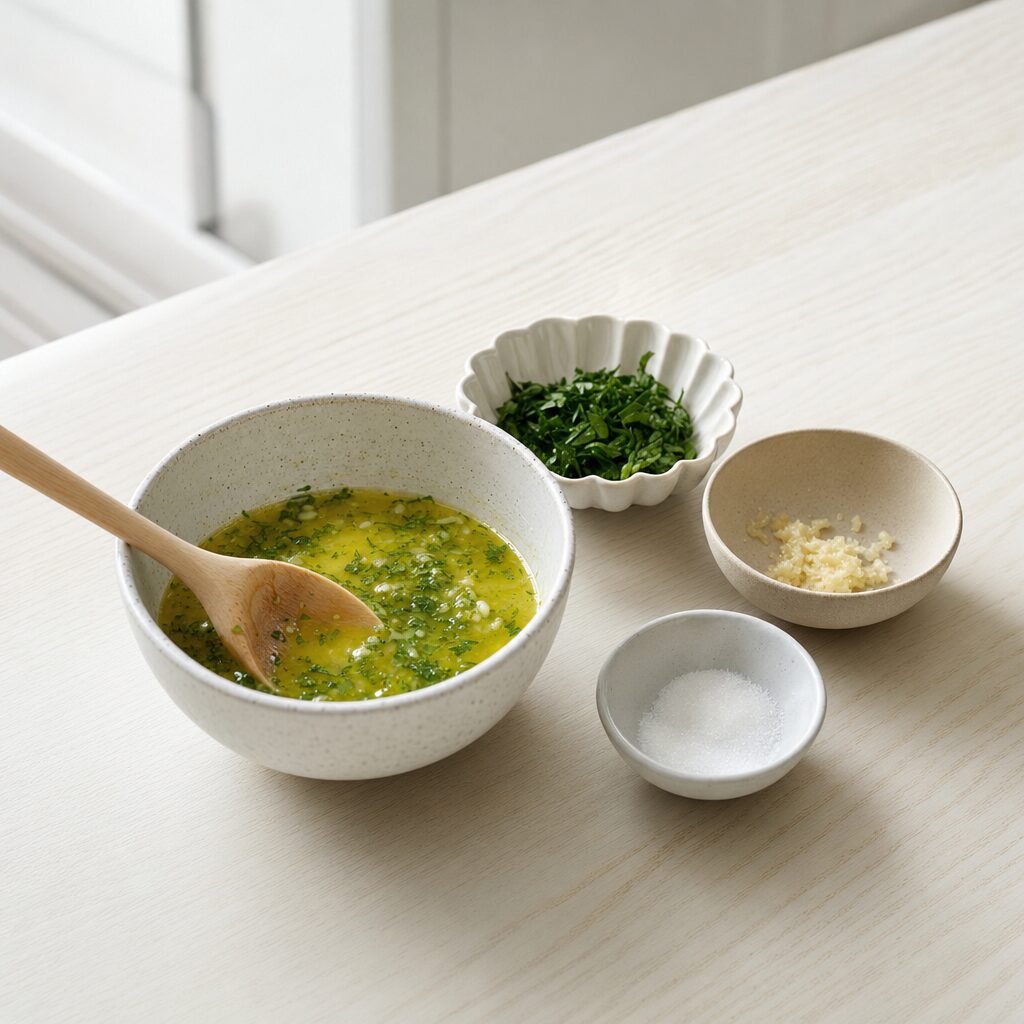
- Whisk 200 g cream cheese, 40 g icing sugar and 1 tbsp milk together into a smooth, soft cream. Put the cream into a piping bag or a freezer bag with a small corner snipped off.

- Melt 100 g butter and stir it together with 4 clove garlic, 1 pcs egg, 2 tbsp sugar, 0.5 tsp salt, 2 tbsp parsley and 1 tbsp milk into an even garlic butter.
- Cut the 4 burger buns each into 6 wedges from the top and almost all the way down to the base, so the buns are still joined together and can be folded out like a flower.
- Pipe the cream cheese filling down into all the slits in the buns, so they’re well filled.
- Brush plenty of garlic butter over the buns and down into the slits, so they’re covered on all sides.
Cooking in the airfryer
- Preheat the airfryer to 160 °C fan, and place a piece of airfryer-safe baking paper in the basket.
- Place the buns in the basket with plenty of space between them, and cook them at 160 °C for about 8 minutes, until the garlic butter is golden and set, and the cream cheese filling is slightly melted. Keep an eye on them for the last couple of minutes, as the egg and sugar in the butter browns quickly.

Serving
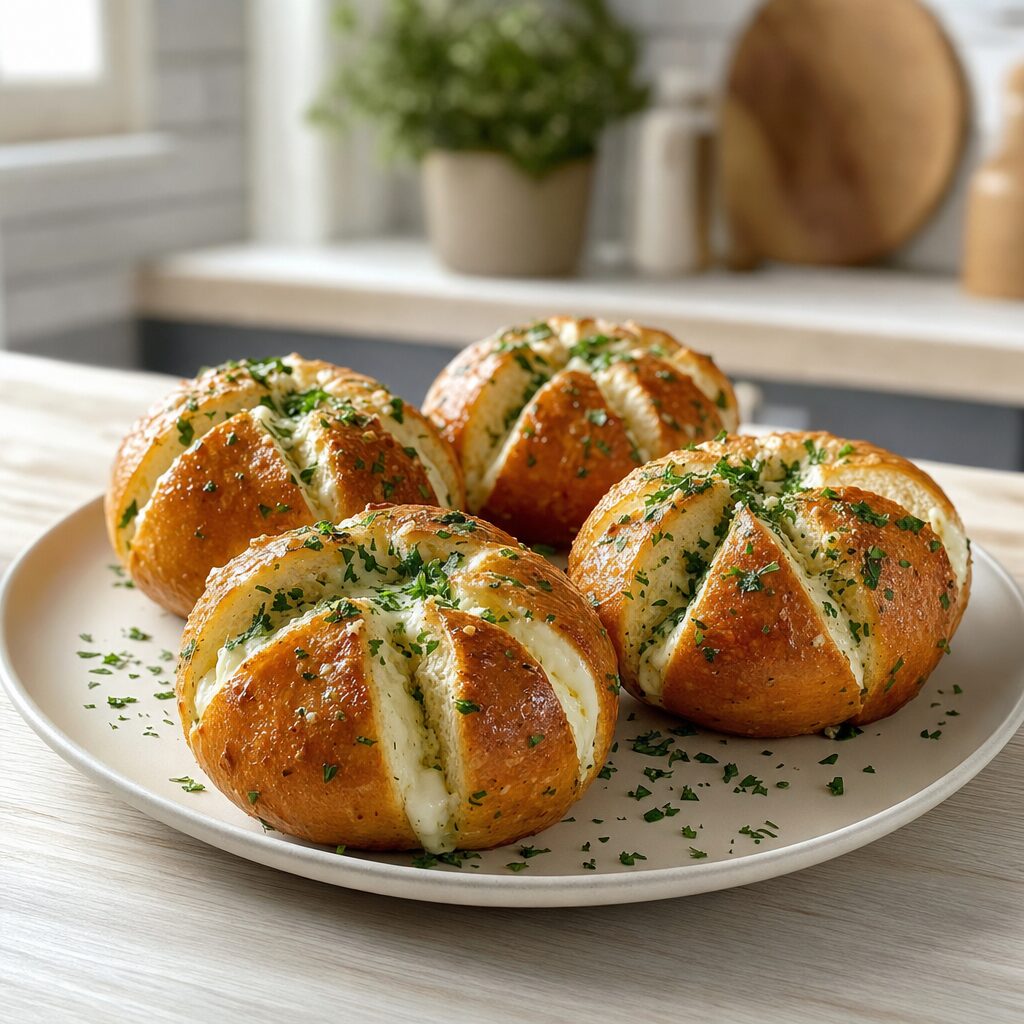
- Let the buns rest for a couple of minutes, so the filling sets slightly. Serve them warm, ideally sprinkled with a little extra chopped parsley.
Our notes for the recipe
Use soft, fresh buns, and cut almost all the way down to the base so the filling can get into every slit. Keep an eye on them for the last few minutes — the garlic butter with egg and sugar browns quickly. Variation:
Sprinkle with grated mozzarella before cooking for a cheesier version, or add a pinch of chilli to the garlic butter for a little contrast to the sweetness. Serving:
Serve the buns warm as a snack, for brunch, or as a sweet-salty treat on the cake table. They taste best freshly baked, while the filling is still soft. Portion size:
If your airfryer is smaller, you can cook the buns in two batches.
Your notes for the recipe
Nutrition per serving (Guideline)
Important about shelf life and nutrition
Nutrition per serving (guideline): Calculations are based on data from the United States Department of Agriculture (USDA). Shelf life (guideline): Shelf life data is provided, as far as possible, by public institutions, including national food authorities. Our information is therefore only indicative, and it is your responsibility to obtain and calculate accurate information about shelf life and nutrition for all recipes on airfryerkogebogen.dk
Easily share the recipe with others:
Via email or on Facebook
Open the recipe on your phone
Scan the QR code with your phone and get the recipe directly on your mobile while you cook.

Author
Airfryerkogebogen.dk