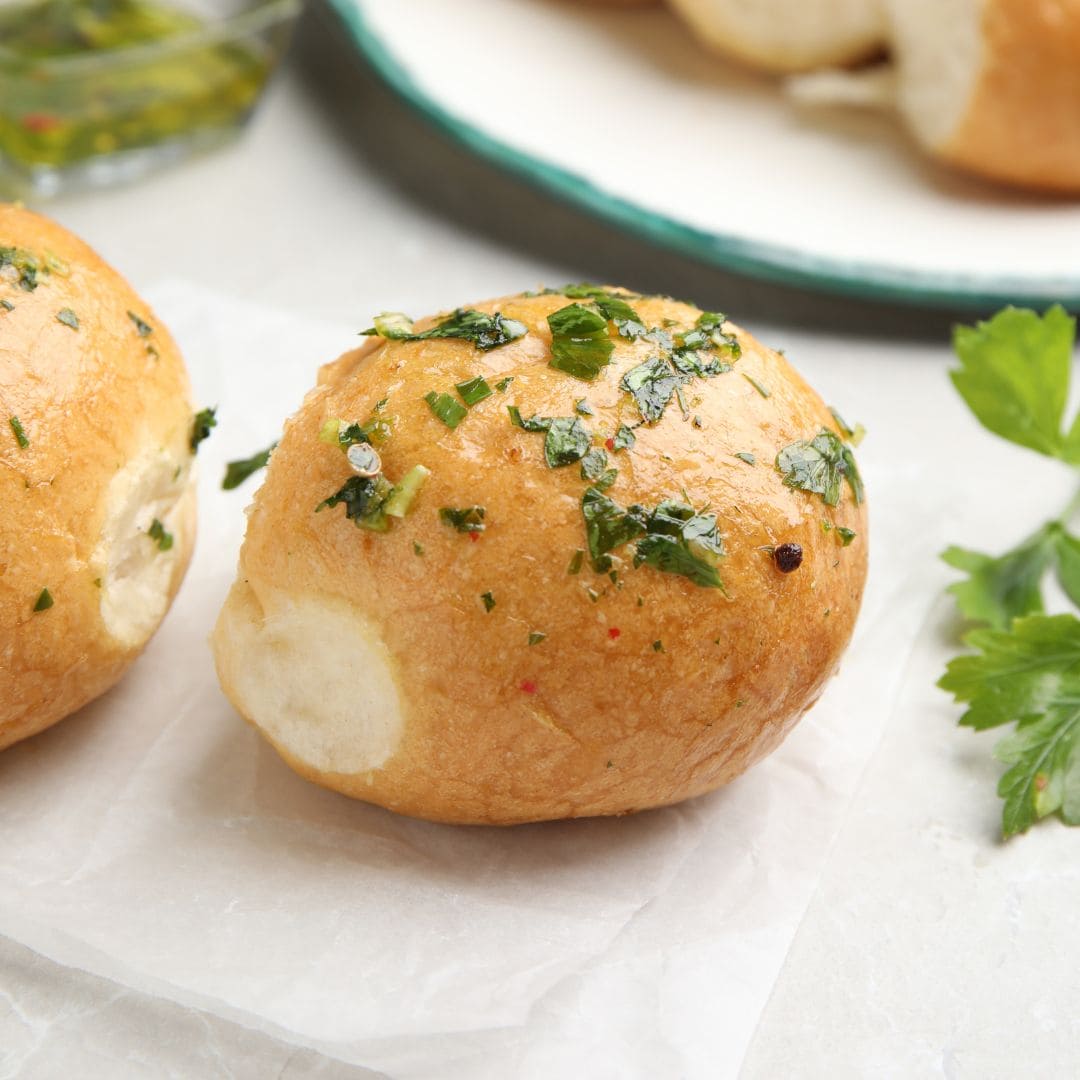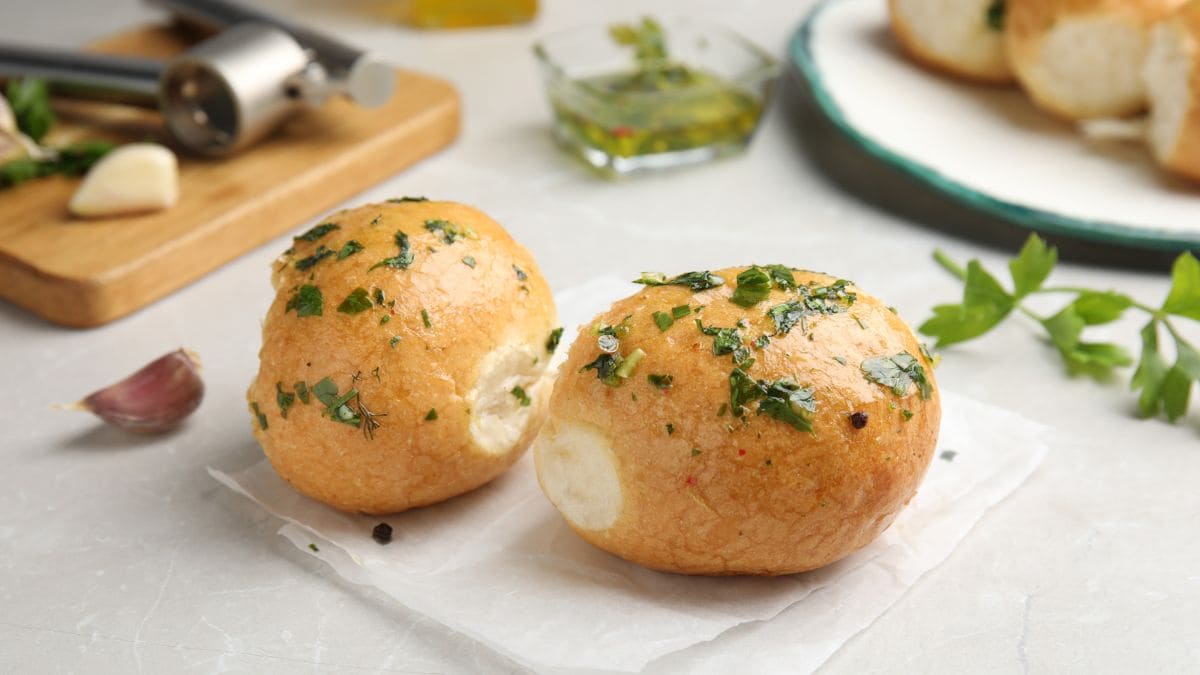
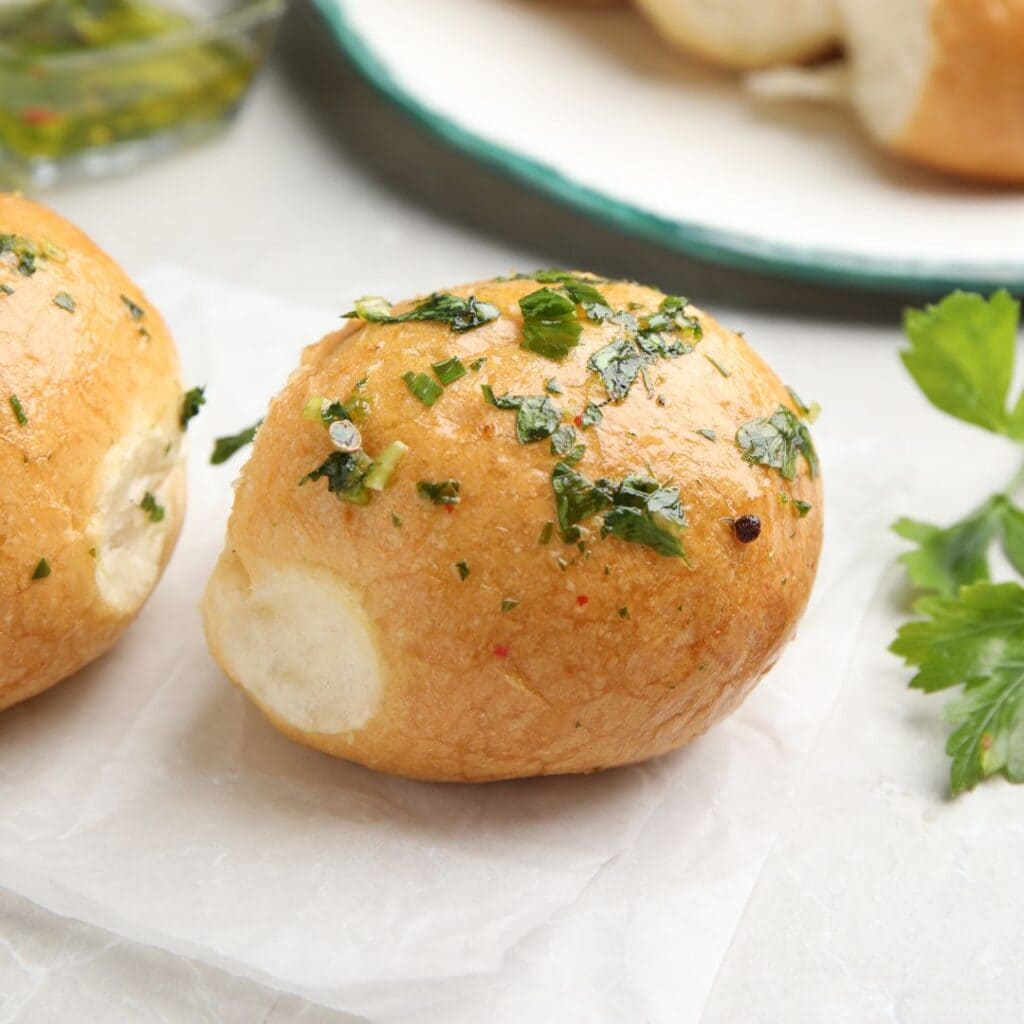
Pampushky in the air fryer are something quite different from the garlic-butter baguettes most people know from the supermarket. In Ukraine, pampushky are small, soft yeast rolls that are set close together in a pan so that they rise together and can be torn apart at the table. What makes them special happens the moment they come out of the heat: the rolls are brushed with oil, raw pressed garlic, salt and fresh dill, and the aroma spreads through the whole kitchen.

Advertisement: The page displays ads and contains advertising links (affiliate links). See our advertisers here.
Traditionally they belong with a steaming bowl of borscht, but they go just as well with other soups and stews. The dough is simple, and the air fryer handles the baking without you having to switch on the big oven.
Table of Contents
Why I love pampushky in the air fryer
I love pampushky because they are so straightforward: a soft wheat dough with milk, yeast and a little sunflower oil, which is kneaded smooth and left to rise in its own good time. When the eight balls are set close together in the pan, they grow together during the second rise, and that is exactly what keeps the sides soft and gives the bread its characteristic shape. The top gets a thin layer of egg wash and turns glossy and golden, while the crumb stays airy.
What really sets them apart from other garlic breads is the oil. Korean garlic bread, for example, is baked with garlic butter, but here the garlic is raw and goes on afterwards. The heat from the freshly baked rolls takes the edge off the raw garlic, and the oil soaks into the crust together with the dill and salt.
The difference between the air fryer and the oven
In the oven you have to heat up a large oven cavity for a single small pan. The air fryer reaches temperature quickly, and the circulating hot air gives the rolls colour on top without the crumb having time to dry out. On the other hand, the heating element sits close to the bread, so the egg wash browns quickly – which is why pampushky are baked at a moderate 160 °C, and you need to keep an eye on the colour for the last few minutes.
My kitchen test of pampushky
I baked the pampushky in my Cosori Dual Blaze, which has one basket with heating elements both above and below, so the pan also gets heat from underneath and the base is baked through. The 160 °C for 15 minutes from the recipe was spot on: the tops were golden brown, and the middle roll sounded hollow when I tapped it lightly. I turned the pan half a turn halfway through the baking time, and that gave an even colour all the way round.
Allow around 115 minutes from start to finish. By far most of that is rising time – 45 minutes for the dough and 30 minutes for the shaped rolls – while the actual work takes about 25 minutes. The pan matters: a round baking pan of 18-20 cm in thin metal conducts the heat well. In my Philips XXL it fits in the basket, but always measure first before you get started.
Brush the rolls with the garlic oil the very moment they come out of the air fryer. If you wait until they have cooled, the oil just sits on top, and the garlic tastes sharp instead of mellow.
Tips and tricks from the author: Morten Jensen
The typical mistakes and how to avoid them
The first mistake is sprinkling extra flour on the work surface because the dough sticks at the start. Don’t – knead it for 8-10 minutes and it will let go of the surface by itself. The second mistake is giving the rolls too much room. They should sit with about 1 cm of space between them, one in the middle and seven in a ring around it, so that they grow together during the second rise; otherwise you end up with ordinary rolls with a crust on the sides. The third mistake is about the garlic: it must not be heated in the air fryer. Stir the oil together while the rolls bake, and brush it on as soon as the pan is out.
How to serve pampushky
Pampushky should be eaten warm, while the crust is still glistening with oil. Put the pan in the middle of the table and let everyone tear off their own rolls:
- With borscht – the classic Ukrainian beetroot soup
- With other soups, for example a creamy potato soup or a clear vegetable soup
- With stews, where the soft rolls can soak up the sauce
- As a side bread with a green salad or a spread of small dishes
Storage and reheating
The rolls are best on the same day, but they keep for 1-2 days in the fridge if they are covered. Warm them in the air fryer at 160 °C for 2-3 minutes, and they become soft and fresh again. They can also be frozen for up to 3 months and warmed straight from frozen in the air fryer without thawing. If you know in advance that some of the rolls are going to be kept or frozen, leave them unbrushed and only give them garlic oil once they have been warmed through again.
Pampushky take a little patience during the rising, but the actual work is quickly done. You can also try swapping the dill for flat-leaf parsley, or make do with 2 garlic cloves if you want a milder flavour.
FAQ
Pampushky are soft Ukrainian yeast rolls that are baked close together in a pan and brushed with raw garlic oil, salt and dill while they are still warm. They are traditionally served as an accompaniment to borscht.
Use a round baking pan of 18-20 cm in thin metal that fits in the air fryer basket. If your air fryer is smaller, you can bake the rolls in two batches in a smaller pan.
Yes, the rolls can be frozen for up to 3 months. Freeze them unbrushed, warm them straight from frozen in the air fryer without thawing, and only brush them with garlic oil once they are warm.

Recipe
Pampushky in the Air Fryer
Cooking Guide
Keep the screen on and follow the recipe step by step while you cook.
Step 1:
Avoid the screen turning off while you cook.
Step 2:
Start the guide and follow the recipe one step at a time.
Cost of the dish
Prices may vary depending on where you shop.
Our estimate is based on average food prices for the current year 2026.
Estimated price for the whole dish:
Airfryer size
All our recipes are tested in a Philips Airfryer 2000 Series NA230/00 – 6.2 L
Does the recipe fit my Airfryer?
If you’re unsure, you can always reduce by one serving in the recipe, or click the 0.5x button.
You can also Ask the AI Chef
It’s easy! Just press the Ask the AI Chef button you see at the bottom.
Recommended equipment
- 1 Air fryer
- 1 Mixing bowl
- 1 Kitchen towel
- 1 Round pan - 18-20 cm, must fit in the basket
- 1 Brush
- 2 Small bowls
- 1 Garlic press
- 1 Cutting board
- 1 Knife
Shopping list
Ingredients


How to make it
Preparation
- Pour 1.5 dl milk into a mixing bowl – the milk should be lukewarm. Crumble in 15 g yeast, add 1 tbsp sugar and stir until the yeast has dissolved.
- Knead the dough on the work surface for 8-10 minutes, until it is smooth and supple. Do not add extra flour – the dough stops sticking to the work surface as you knead it.
- Place the dough back in the bowl, cover it with a kitchen towel and leave it to rise in a warm place for 45 minutes, until it has doubled in size.
- Press the air out of the dough and divide it into 8 equal pieces. Shape each piece into a smooth ball by folding the edges in towards the centre and rolling the ball around with the seam facing down.
- Brush a round 18-20 cm pan that fits in the air fryer basket with a little oil. Place the balls close together in the pan with the seam facing down: one in the middle and seven in a ring around it, with about 1 cm of space between them.
- Cover the pan with the kitchen towel and leave the rolls to rise a second time for 30 minutes, until they have grown together and fill the pan.
Cooking in the air fryer
- Preheat the air fryer to 160 °C fan.
- Beat 1 pcs egg in a small bowl and gently brush the surface of the rolls with a thin layer. You only need to use part of the egg.
- Place the pan in the basket and bake the rolls at 160 °C for 15 minutes.
- Turn the pan half a turn halfway through the baking time so that the rolls bake evenly. They are done when they are golden brown and sound hollow when you tap the middle roll lightly.
Garlic oil and serving
- Take the pan out of the air fryer and immediately brush the warm rolls with the garlic oil. Use a clean brush and spread the garlic and dill over all the rolls.
- Leave the rolls to stand in the pan for a few minutes so that the oil soaks in. Serve them warm and tear them apart at the table.
Our notes for the recipe
Place the rolls close together in the pan so that they grow together during the second rise. This keeps the sides soft and gives the bread its characteristic shape. Measure beforehand to make sure the pan fits in the basket, and choose one made of thin metal, which conducts heat well. The egg wash browns quickly close to the heating element, so keep an eye on the colour for the last few minutes. The garlic oil:
The garlic must be raw and must not be heated. Brush on the oil the moment the rolls come out – the heat from the bread takes the edge off the raw garlic and makes the oil soak in. It is the soft yeast rolls and the raw garlic oil that set pampushky apart from Korean garlic bread, which is baked with garlic butter. If you want to keep or freeze some of the rolls, leave them unbrushed and only give them garlic oil once they have been warmed through again. Variation:
Swap the dill for flat-leaf parsley, or use half of each. In many Ukrainian kitchens the garlic oil is stirred with a spoonful of cold water so that it spreads more easily. For a milder flavour, you can make do with 2 garlic cloves. Serving:
Pampushky are the classic accompaniment to borscht, but they go with all soups and stews. Eat them warm, while the crust is still glistening with oil. Portion size:
The recipe makes 8 rolls, which is 2 per serving. If your air fryer is smaller, you can make the dish in two batches in a smaller pan.
Your notes for the recipe
Nutrition per serving (Guideline)
Important about shelf life and nutrition
Nutrition per serving (guideline): Calculations are based on data from the United States Department of Agriculture (USDA). Shelf life (guideline): Shelf life data is provided, as far as possible, by public institutions, including national food authorities. Our information is therefore only indicative, and it is your responsibility to obtain and calculate accurate information about shelf life and nutrition for all recipes on airfryerkogebogen.dk
Easily share the recipe with others:
Via email or on Facebook
Open the recipe on your phone
Scan the QR code with your phone and get the recipe directly on your mobile while you cook.

Author
Airfryerkogebogen.dk