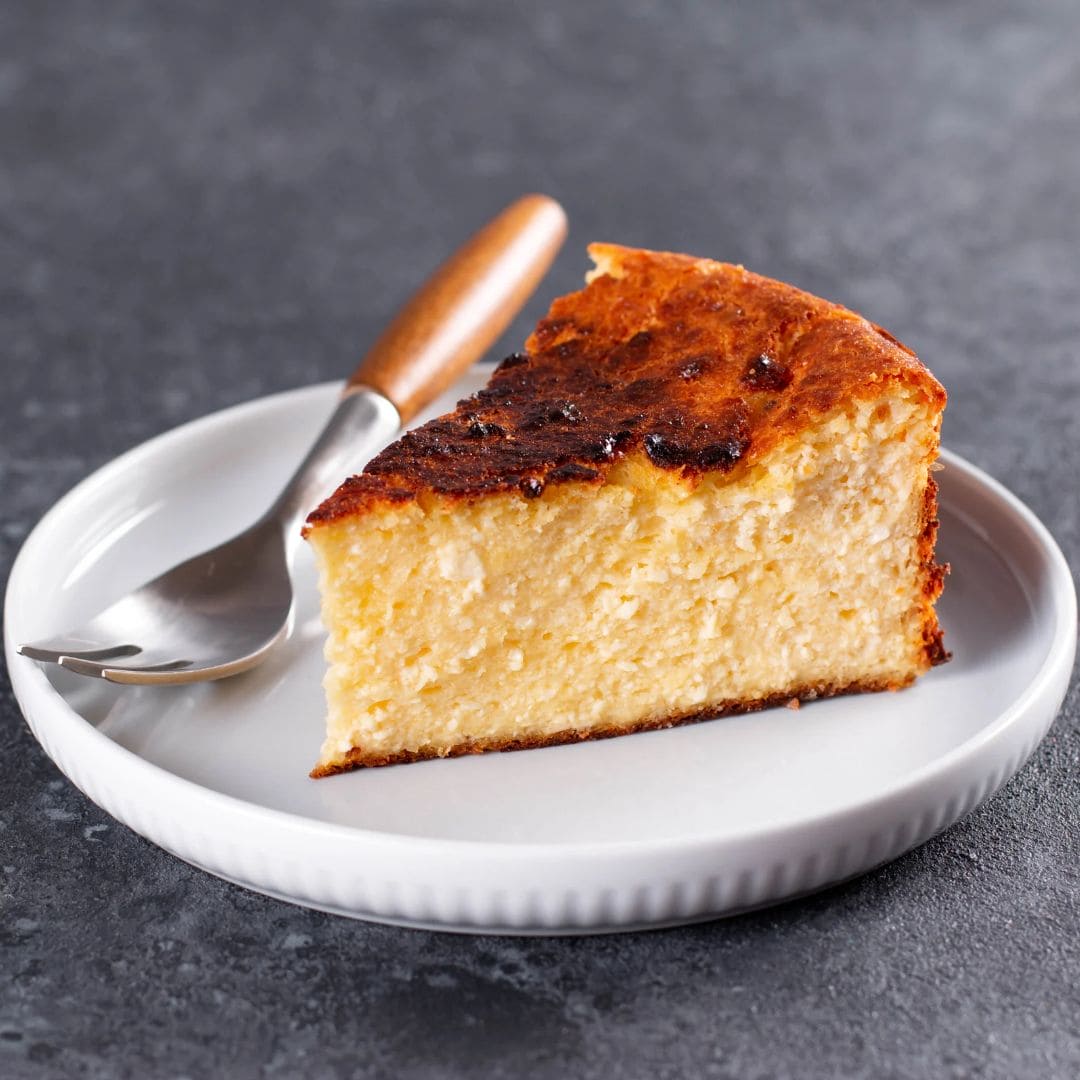
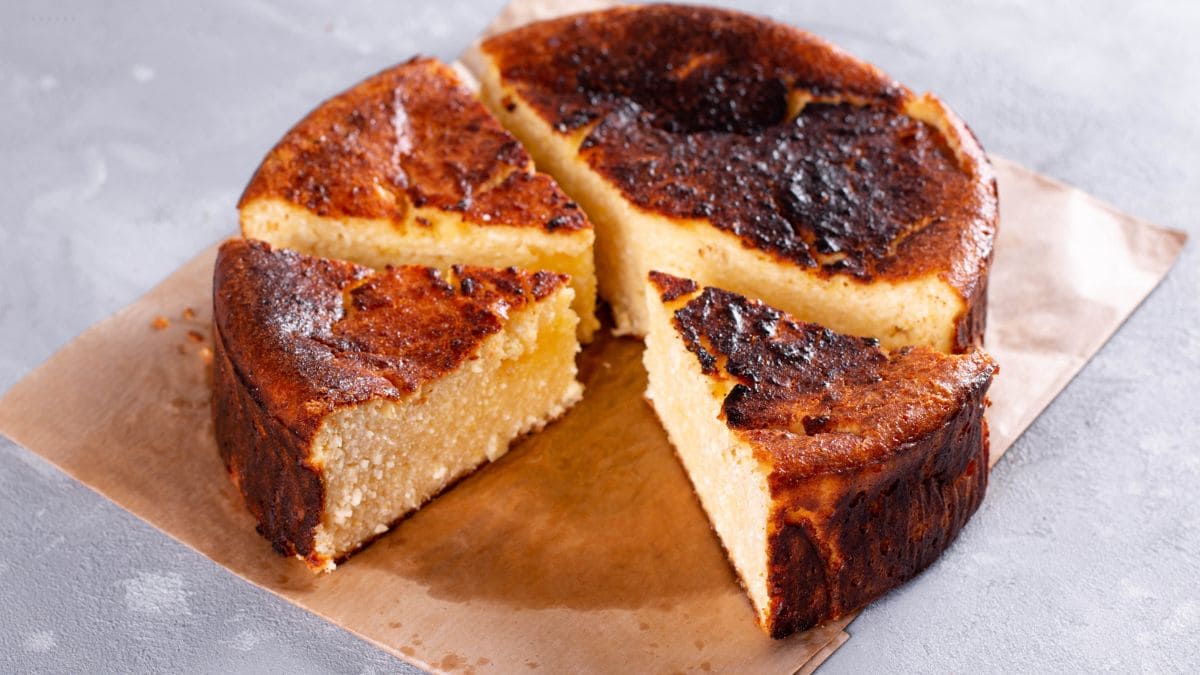
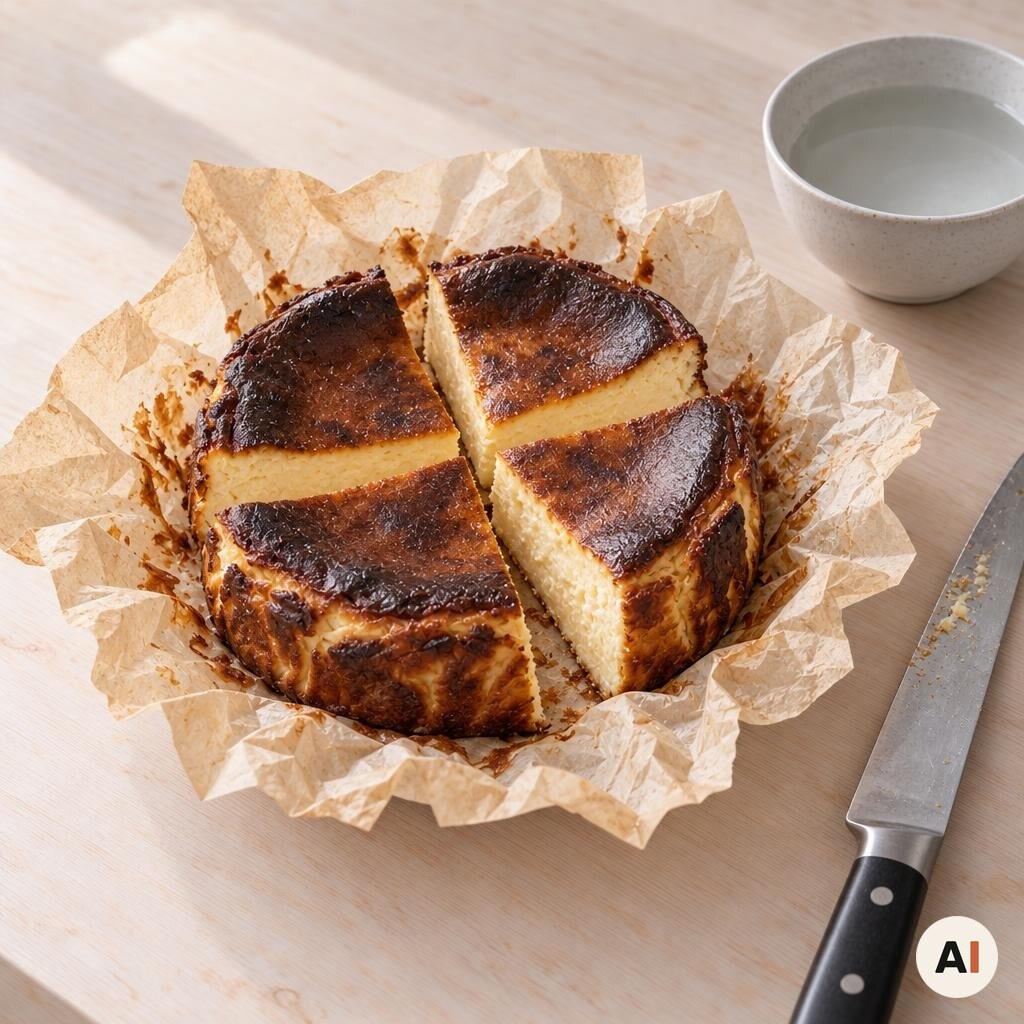
A Basque burnt cheesecake in the air fryer is cheesecake with no hassle at all. It has no biscuit base, doesn’t need a water bath, and cracks in the surface don’t matter. Instead, it gets such intense heat that the top turns deeply dark and caramelised, while the centre stays creamy and almost runny.

Advertisement: The page displays ads and contains advertising links (affiliate links). See our advertisers here.
The cake comes from the bar La Viña in San Sebastián. In the air fryer, the small springform sits close under the heating element, so the top gets its burnt colour without you having to turn on the oven. All you need is cream cheese, sugar, eggs, whipping cream, a little plain flour and a pinch of salt – plus a bit of patience, because the cake has to go in the fridge overnight.
Estimated reading time: 4 minutes
Table of Contents
Why I love Basque burnt cheesecake in the air fryer
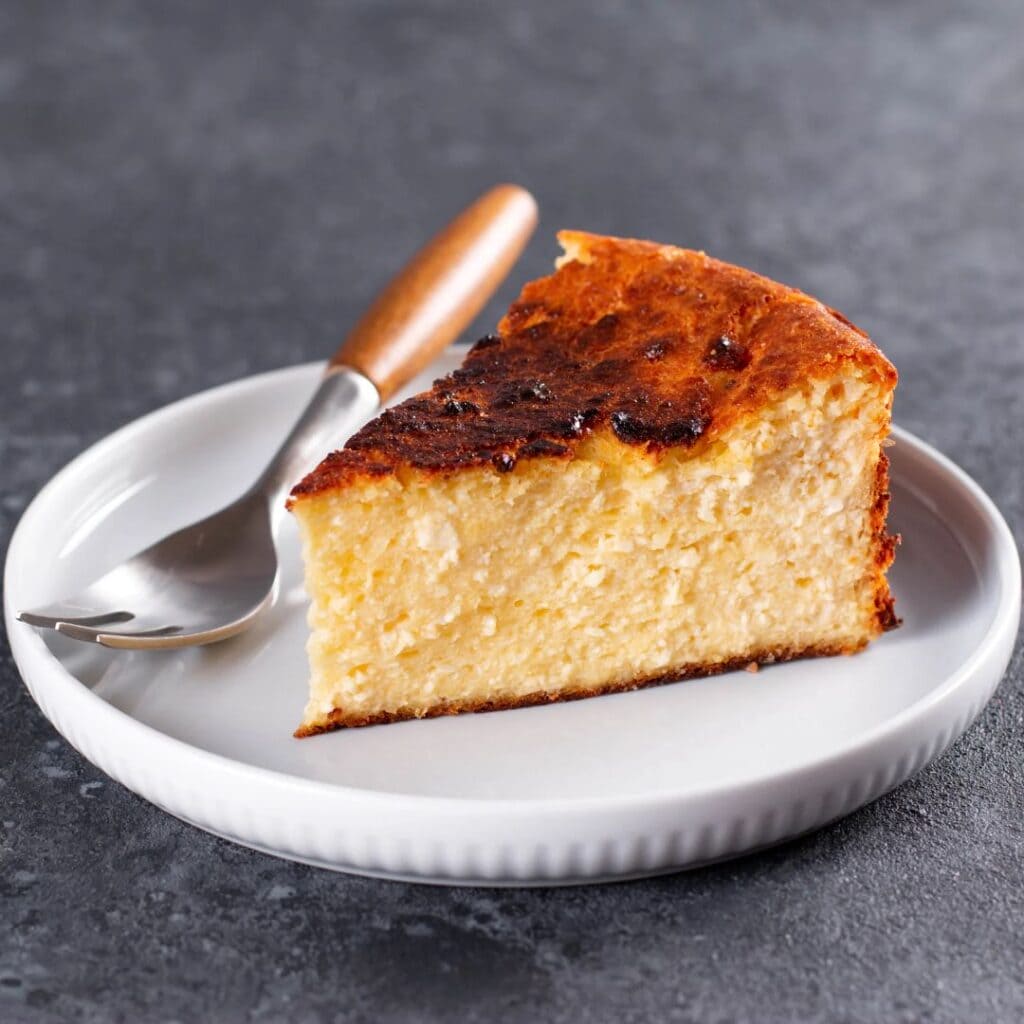
I love the contrasts. The top tastes deeply of caramel with a slightly bitter note, the edge is firm, and deep inside there’s a centre as creamy as a good vanilla custard. At the same time, the cake is incredibly forgiving: it’s meant to look rustic, the paper is welcome to stick out in every direction, and when it sinks as it cools, that’s exactly how it should be.
The secret behind the burnt top
The cake is named after its dark surface, and that takes intense heat up close. In the air fryer, the springform sits right under the heating element, so the sugar on the surface caramelises quickly while the centre is still soft. The recipe therefore starts hot at 200 °C to build colour and finishes at 170 °C, so the edge has time to set without the centre baking dry. That said, air fryers brown differently, so keep a close eye on the top the first time.
My kitchen test of Basque burnt cheesecake
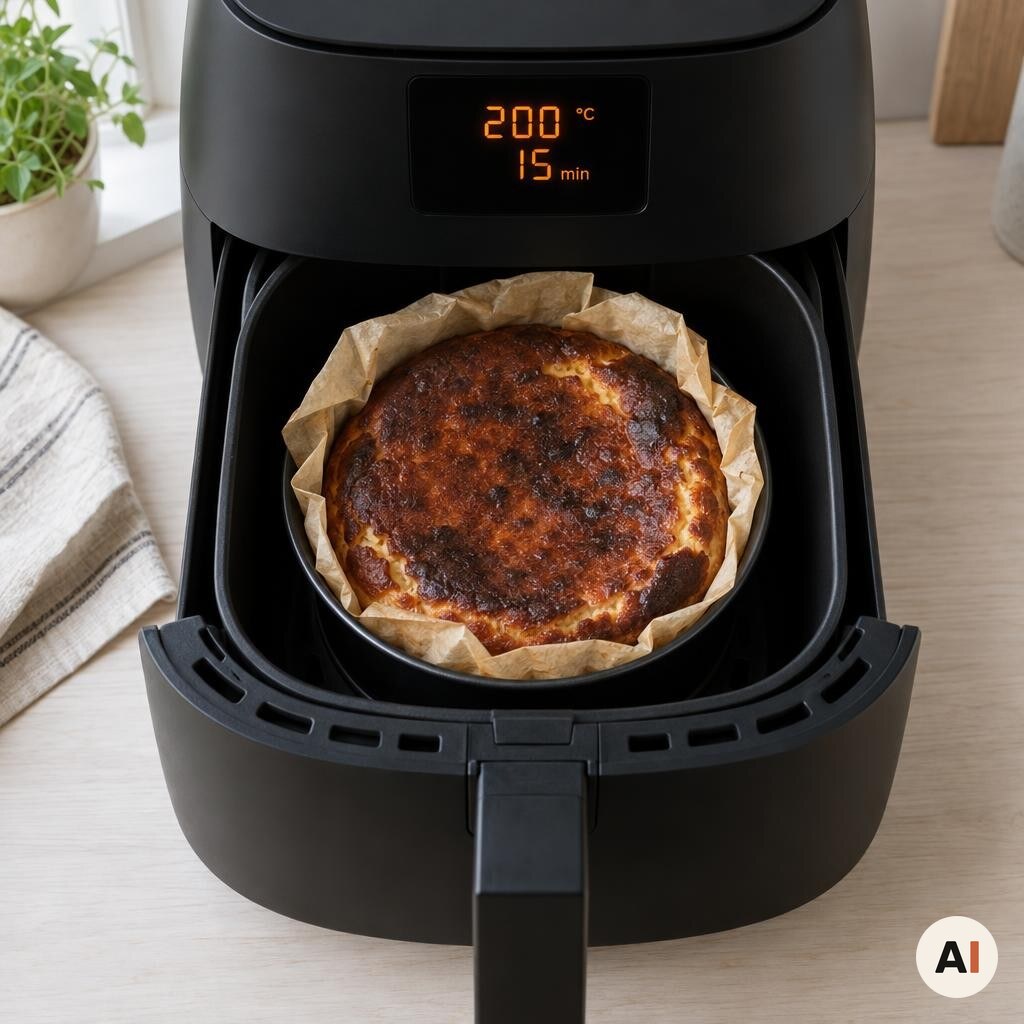
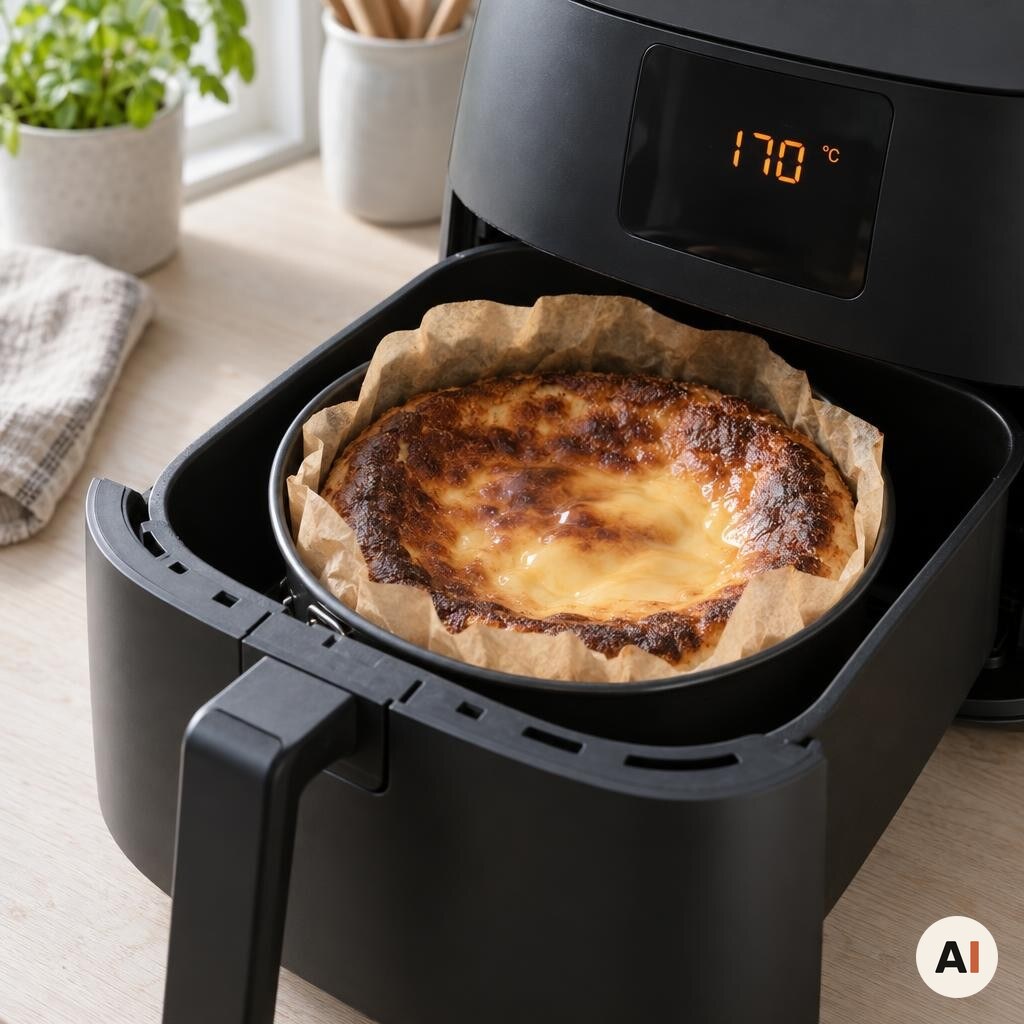
I’ve baked the cake in my Philips XXL, where a 16 cm springform fits nicely in the basket with air all the way around it. The first 15 minutes at 200 °C are the most important: the cake rises, and the top goes from golden to deep dark brown with black spots here and there. Then I turn it down to 170 °C for 12 minutes. When I gently shake the basket, the edge should be set while the centre wobbles clearly – a bit like a loose pudding.
It takes a little self-discipline to take it out at that point, but the centre only sets while the cake cools: about 1 hour at room temperature and then at least 8 hours in the fridge. The actual work is done with 15 minutes of preparation and 27 minutes in the air fryer – the rest is waiting time.
Take the cake out while the centre still wobbles like a loose pudding. If you bake it until it’s firm, you lose exactly the creamy centre that makes the cake special.
Tips and tricks from the author: Morten Jensen
The typical mistakes and how to avoid them
The first mistake is cold ingredients. Cold cream cheese turns lumpy, and the lumps can’t be whisked out once the mixture is thin. So take the cream cheese, eggs and cream out of the fridge in good time, and choose full-fat cream cheese – light cream cheese makes the cake watery. The second mistake is whisking too much air into the mixture, so the cake rises high up towards the heating element. Whisk on low speed, add the eggs one at a time, and stop as soon as they’re mixed in.
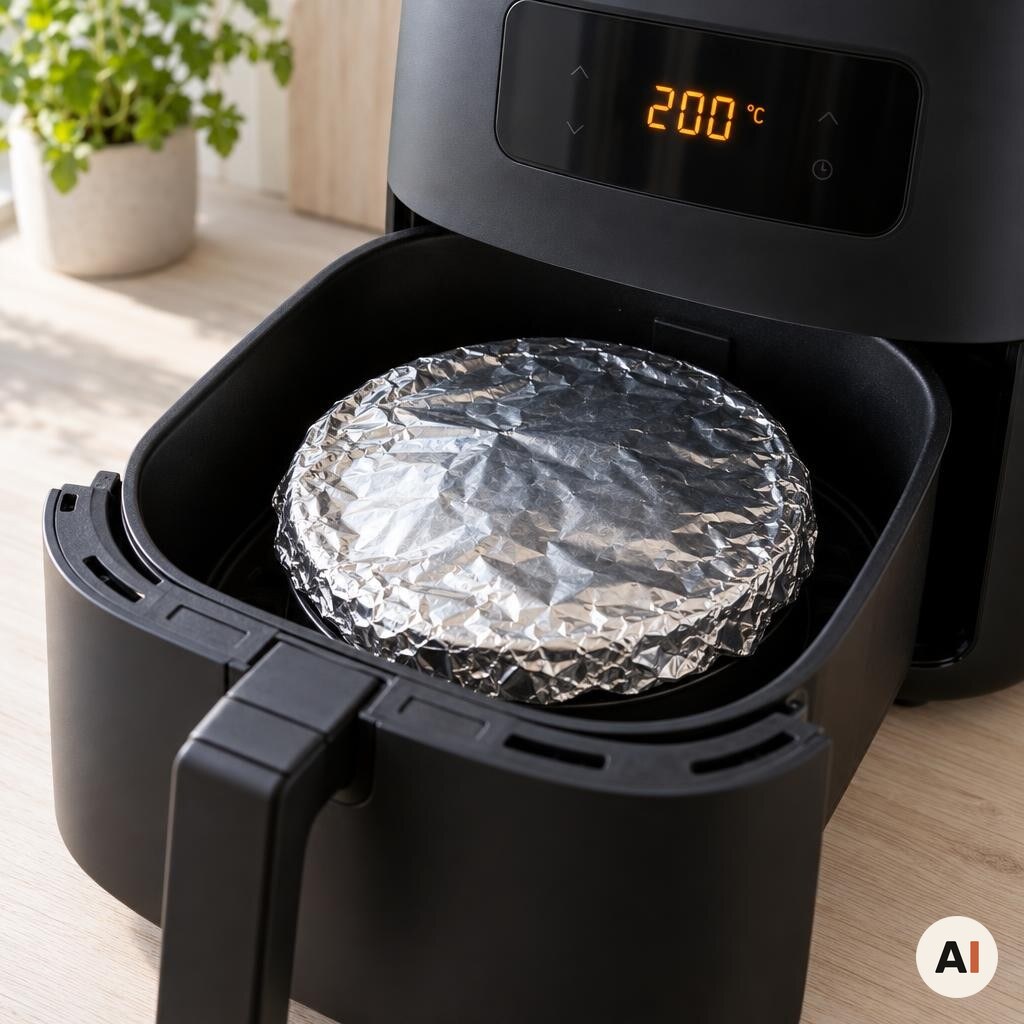
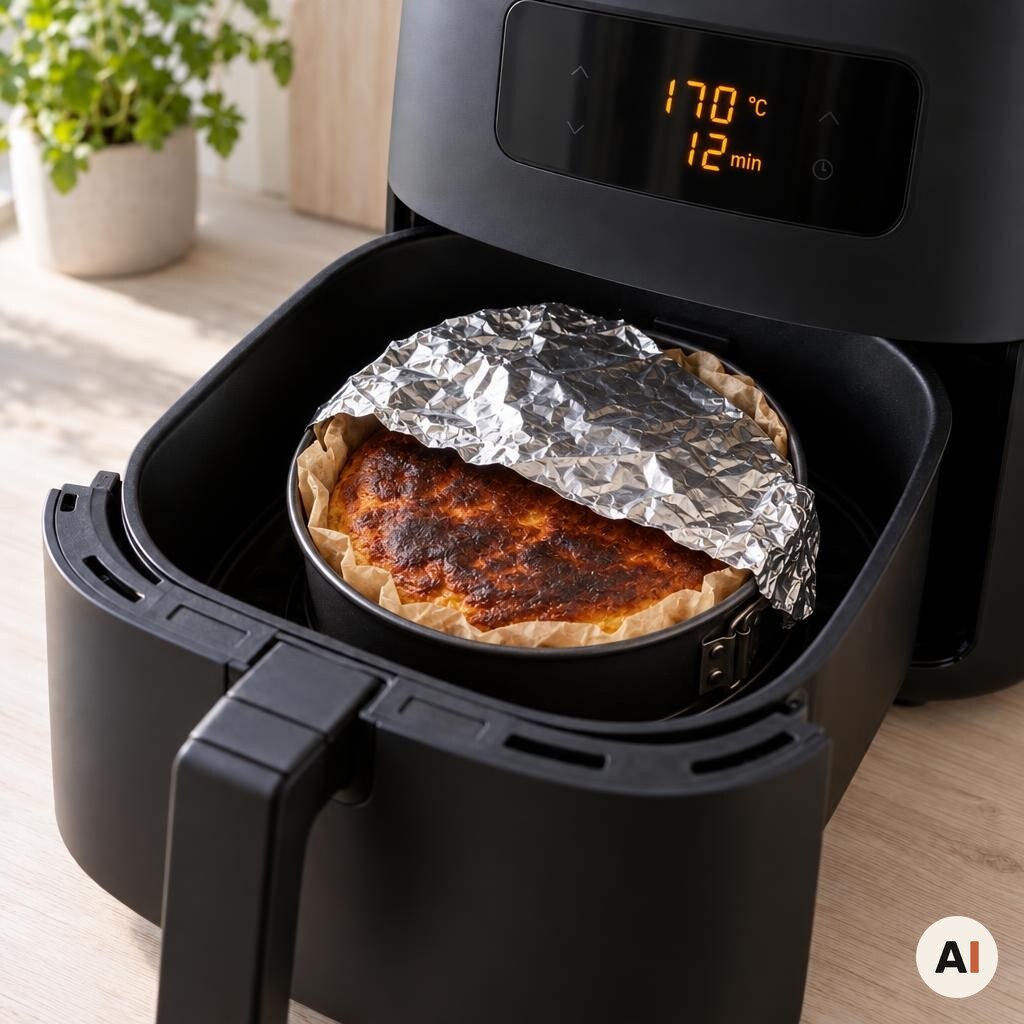
The third mistake is panicking along the way. Black spots are perfectly normal, but if the top turns black all over too early, lay a piece of aluminium foil over it and press it tightly around the edge of the springform – loose foil can blow up into the heating element. And only keep baking, a couple of minutes at a time, if the whole cake wobbles all the way out to the edge.
How to serve Basque burnt cheesecake
The cake is best slightly cool, so take it out of the fridge a little before serving. Cut it with a sharp knife that you dip in hot water and wipe dry between each cut. The recipe makes 4 large slices or 6-8 smaller ones. Here are my favourites to go with it:
- Plain – it has plenty of flavour on its own
- Fresh berries such as raspberries, strawberries or blueberries
- A tangy berry compote that cuts through the creamy filling
- A cup of strong coffee or an espresso
Storage and reheating
Store the cake in the fridge for up to 3 days in an airtight container. It isn’t suitable for reheating – serve it cool, so the centre keeps its creamy consistency. If you want to keep it longer, you can freeze it for up to 3 months. Thaw it in the fridge overnight.
Basque burnt cheesecake proves that a cake doesn’t have to look perfect to taste perfect. With a small springform, crumpled baking paper and an air fryer that gives the top full blast, you get a rustic dessert – and it takes more patience than talent.
FAQ
Yes. The edge should be set while the centre still wobbles clearly when you gently shake the basket. The centre sets as the cake cools and sits in the fridge overnight.
That’s the whole idea. The intense heat caramelises the sugar on the surface, so the top turns dark with a slightly bitter caramel flavour. If it turns black all over too early, cover it with aluminium foil, pressing it tightly around the edge of the springform.
A 15-16 cm springform that fits in the basket, lined with crumpled baking paper. The paper must never be able to reach the heating element. In an 18 cm pan the cake will be lower and ready a few minutes earlier.

Recipe
Basque burnt cheesecake in the Air Fryer
Cooking Guide
Keep the screen on and follow the recipe step by step while you cook.
Step 1:
Avoid the screen turning off while you cook.
Step 2:
Start the guide and follow the recipe one step at a time.
Cost of the dish
Prices may vary depending on where you shop.
Our estimate is based on average food prices for the current year 2026.
Estimated price for the whole dish:
Airfryer size
All our recipes are tested in a Philips Airfryer 2000 Series NA230/00 – 6.2 L
Does the recipe fit my Airfryer?
If you’re unsure, you can always reduce by one serving in the recipe, or click the 0.5x button.
You can also Ask the AI Chef
It’s easy! Just press the Ask the AI Chef button you see at the bottom.
Recommended equipment
- 1 Air fryer
- 1 Springform pan - 15-16 cm
- 1 Parchment paper
- 1 Mixing bowl
- 1 Electric mixer
- 1 Kitchen scale
- 1 Measuring cup
- 1 Aluminum foil
- 1 Oven mitts
- 1 Sharp knife
Shopping list
Ingredients


How to make it
Preparation
- Crumple a large sheet of baking paper into a ball, smooth it out a little again, and press it into a 15-16 cm springform that fits in the basket. The paper must cover the base and sides and stick up 2-3 cm above the rim, but it must not be able to reach the heating element.
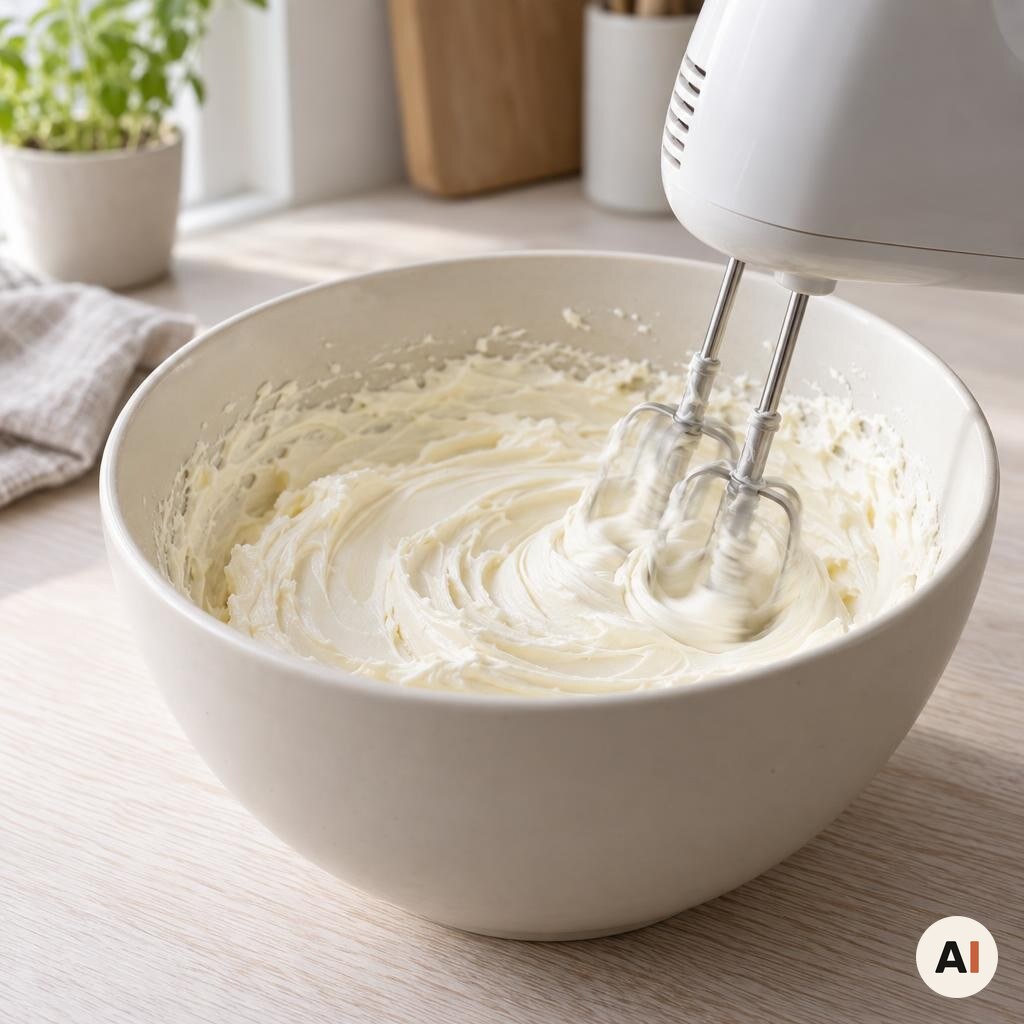
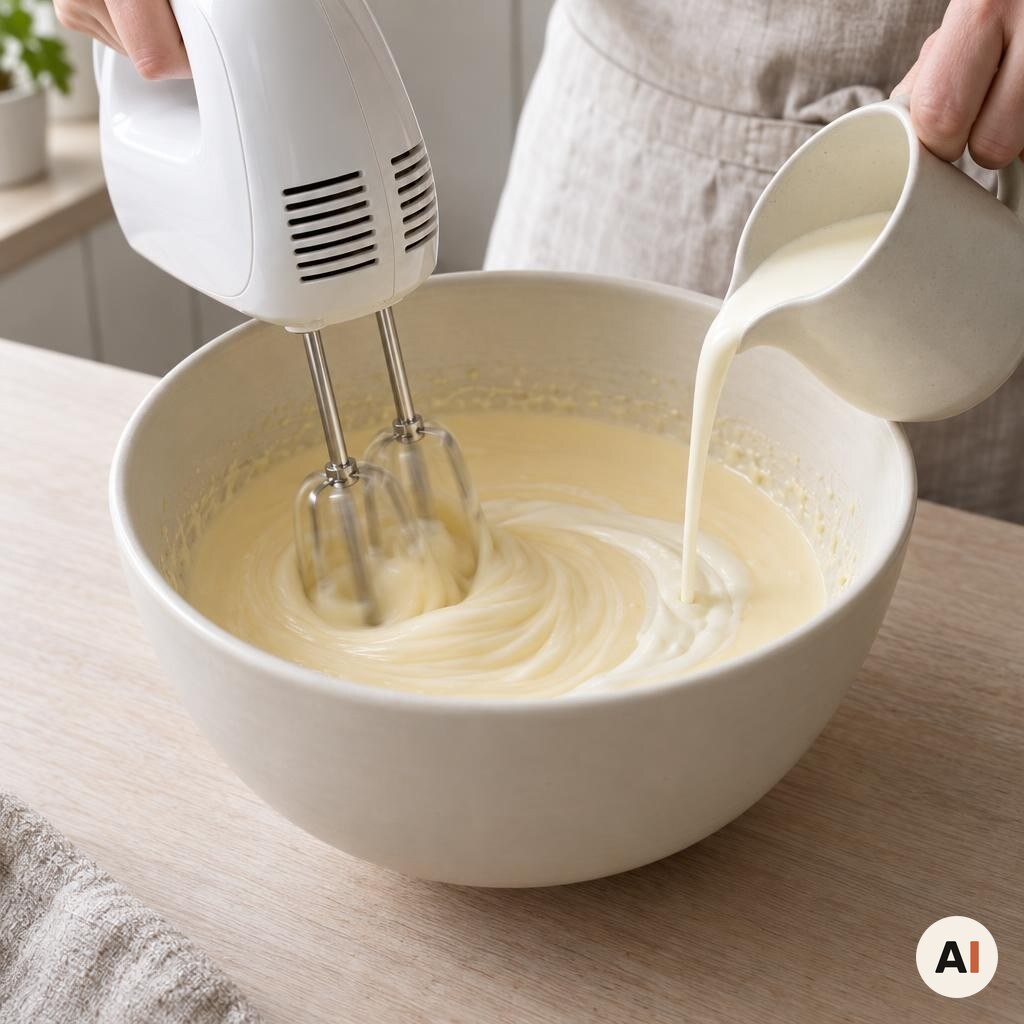
- In a mixing bowl, whisk 400 g cream cheese with an electric whisk on low speed until completely smooth, about 1 minute.

- Add 3 pcs eggs one at a time. Whisk only until the egg is just mixed in before you add the next – the less air that gets into the mixture, the less the cake will rise towards the heating element.
- Pour in 200 ml whipping cream a little at a time while whisking on low speed. The mixture should be smooth and quite thin.
- Pour the mixture into the lined springform and tap it lightly against the work surface a few times, so the largest air bubbles rise to the top.
Cooking in the air fryer
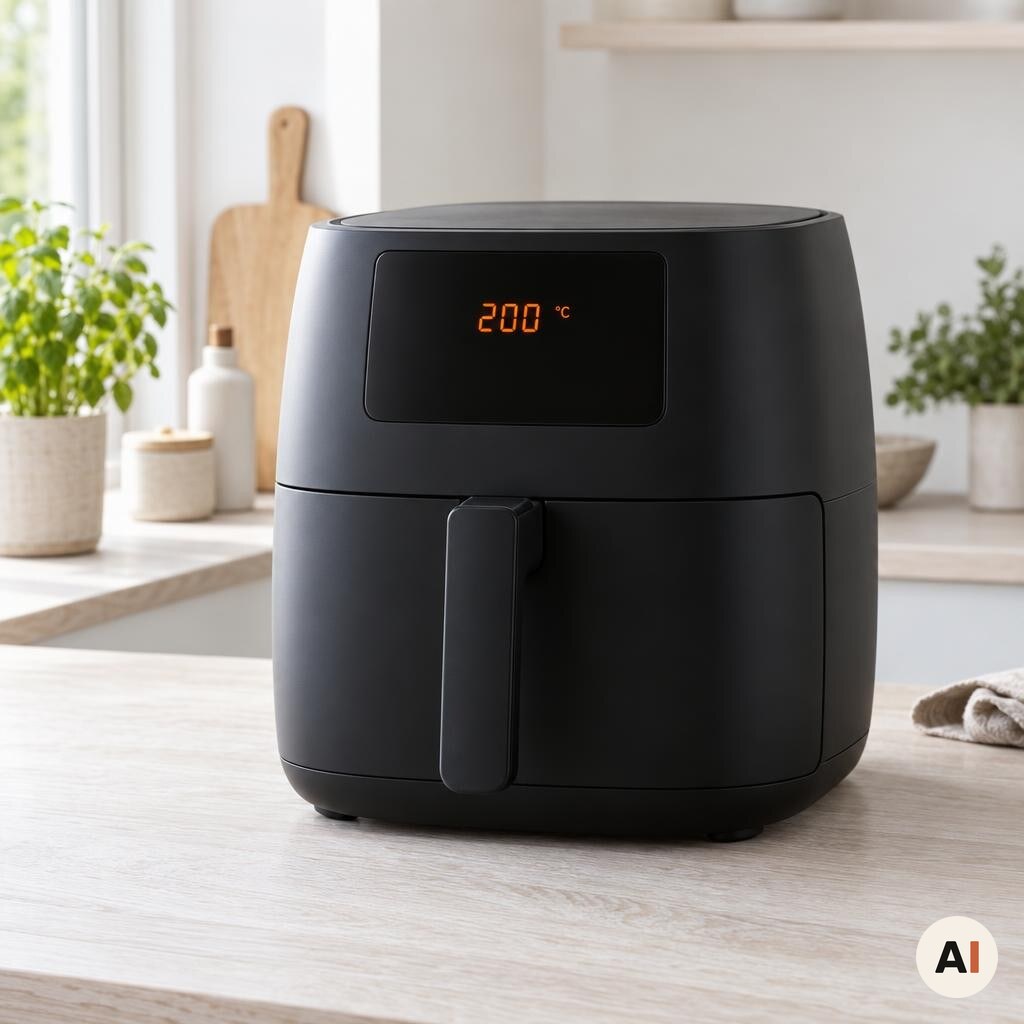
- Preheat the air fryer to 200 °C fan.
- Place the springform in the basket and bake the cake at 200 °C for 15 minutes, until it has risen well and the top is deep dark brown. Black spots here and there are perfectly normal. Check on the cake after 10 minutes.
- If the top is already black all over before the 15 minutes are up, lay a piece of aluminium foil over the springform and press it tightly around the edge, so the airflow cannot lift it up into the heating element. Leave the foil on for the rest of the baking time.
- Turn the temperature down to 170 °C and bake the cake for 12 more minutes.
- Check the cake: the edge should be set and risen, while the centre still wobbles clearly when you gently shake the basket – a bit like a loose pudding. If the whole cake wobbles all the way out to the edge, keep baking at 170 °C for 2-3 minutes at a time. The centre sets as the cake cools, so it is better to take it out a little too early than too late.
Cooling and serving
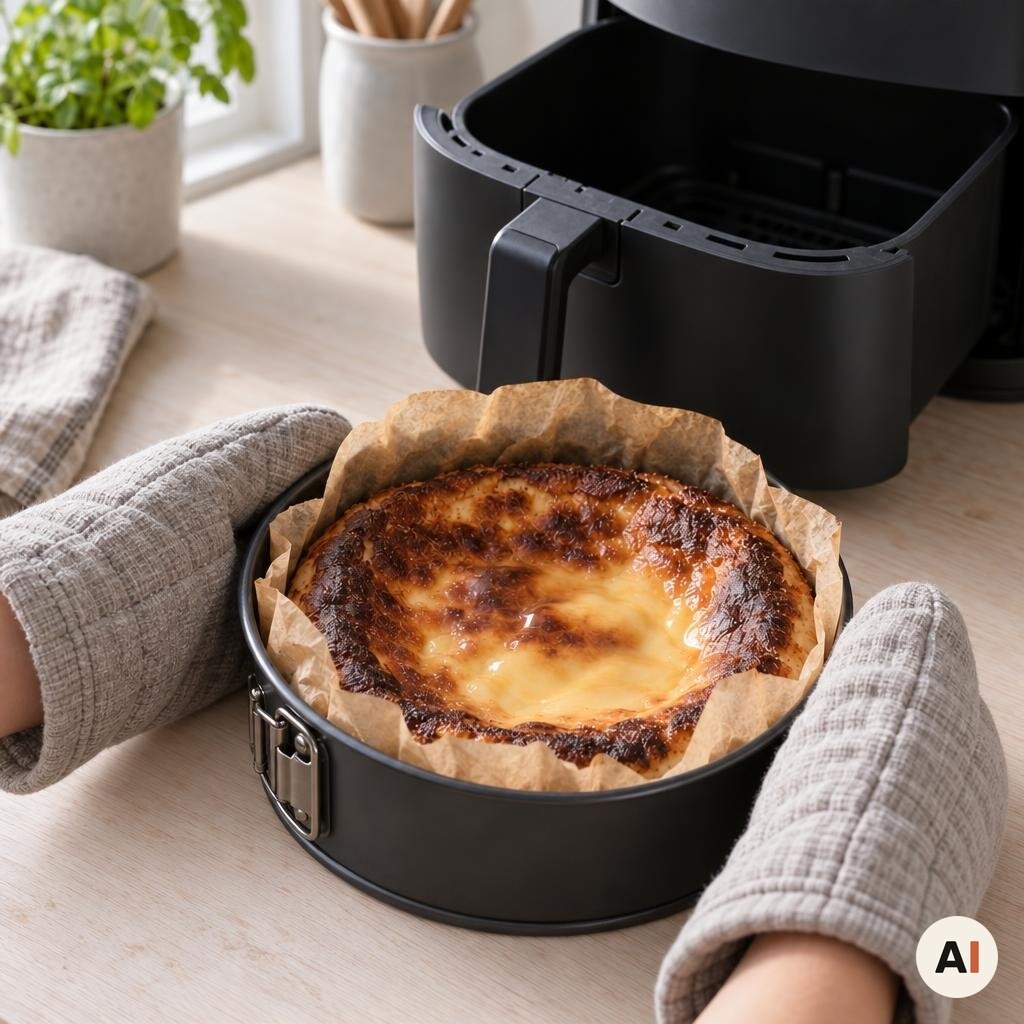
- Carefully lift the springform out of the basket using oven gloves, and let the cake cool in the springform at room temperature for about 1 hour. It will sink as it cools – that is exactly how it should be.
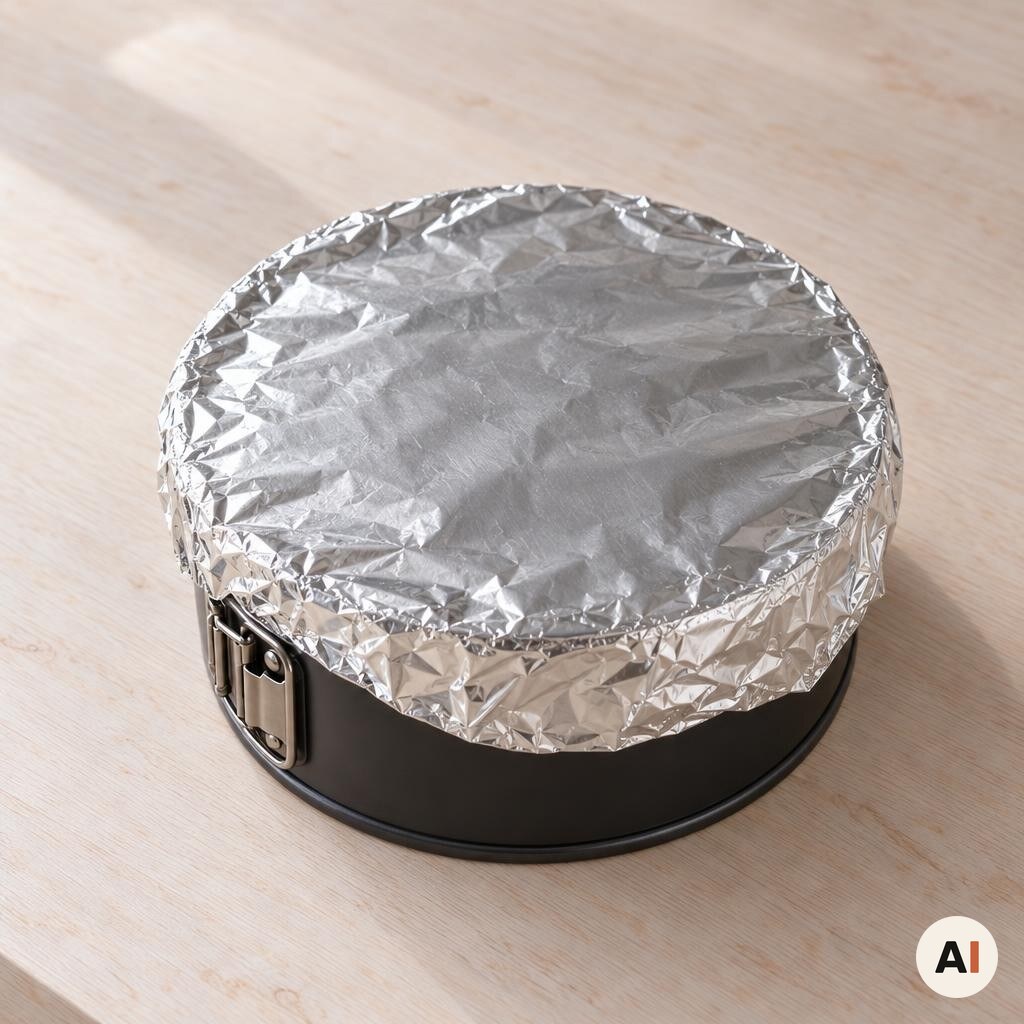
- Cover the springform with aluminium foil and put the cake in the fridge overnight, for at least 8 hours. Only then is the centre creamy and firm enough to slice.
- If you like, take the cake out of the fridge 20-30 minutes before serving, so the centre becomes soft and creamy. Open the springform, lift the cake out in the baking paper, and carefully peel the paper off. Cut the cake into 4 slices with a sharp knife that you dip in hot water and wipe dry between each cut.
Our notes for the recipe
The cream cheese, eggs and cream must be at room temperature, so take them out of the fridge about 1 hour beforehand. Cold cream cheese gives small lumps that do not disappear in the thin batter. Use full-fat plain cream cheese – light versions give a watery cake that does not set properly. If your air fryer browns unevenly, you can turn the springform half a turn after 10 minutes. The burnt top:
The heat right above the cake caramelises the sugar on the surface and gives the dark, slightly bitter top that the cake is named after. Every air fryer browns differently, so keep an eye on the cake the first time. If the top turns black too early, cover it with aluminium foil, pressing it tightly around the edge of the springform – loose foil can blow up into the heating element. Variation:
Whisk the seeds from half a vanilla pod or a little finely grated lemon zest in with the sugar. If you replace the plain flour with the same amount of cornflour (cornstarch), the cake becomes gluten-free. Serving:
Serve the cake plain or with fresh berries, a tangy berry compote and a cup of strong coffee. Portion size:
The recipe makes 4 large slices, but the cake can also be cut into 6-8 smaller slices. If you use an 18 cm springform, the cake will be lower and ready a few minutes earlier.
Your notes for the recipe
Nutrition per serving (Guideline)
Important about shelf life and nutrition
Nutrition per serving (guideline): Calculations are based on data from the United States Department of Agriculture (USDA). Shelf life (guideline): Shelf life data is provided, as far as possible, by public institutions, including national food authorities. Our information is therefore only indicative, and it is your responsibility to obtain and calculate accurate information about shelf life and nutrition for all recipes on airfryerkogebogen.dk
Easily share the recipe with others:
Via email or on Facebook
Open the recipe on your phone
Scan the QR code with your phone and get the recipe directly on your mobile while you cook.

Author
Airfryerkogebogen.dk