


Scones belong to the kind of baking that seems simple, but where the details decide everything. A good scone is light and fluffy inside with a golden, crisp crust outside — and that exact contrast is something the airfryer is surprisingly good at hitting. The hot air circulates tightly around the dough and gives a quick, even crust without drying out the centre.

Advertisement: The page displays ads and contains advertising links (affiliate links). See our advertisers here.
In under fifteen minutes you have freshly baked morning bread that fills the whole kitchen with its scent, without firing up the big oven for a handful of scones. That makes them the sort of luxury you can throw yourself into on a perfectly ordinary weekday morning.
Estimated reading time: 4 minutes
Table of Contents:
Why I love scones in the airfryer
The biggest advantage is the speed. Where the oven needs to preheat for 10-15 minutes, the airfryer is ready in a couple of minutes, and the baking itself takes only 8-12 minutes. That turns scones into something you can decide on spontaneously one morning without planning the night before.
At the same time, the closed basket gives a result that is crisp outside and soft inside at once. The crust turns crunchy while the crumb stays buttery and light. That is exactly the texture you chase in a classic plain scone — and which often slips away in a large, slowly heated oven.
The difference between airfryer and oven
In the oven, scones bake with radiant and convection heat spread across a larger space. In the airfryer the dough sits close to a powerful fan, so the crust sets faster. That is why the temperature usually needs to be set 10-15 degrees lower than a regular oven recipe prescribes, otherwise the surface goes dark before the centre is baked all the way through.
My kitchen test of scones
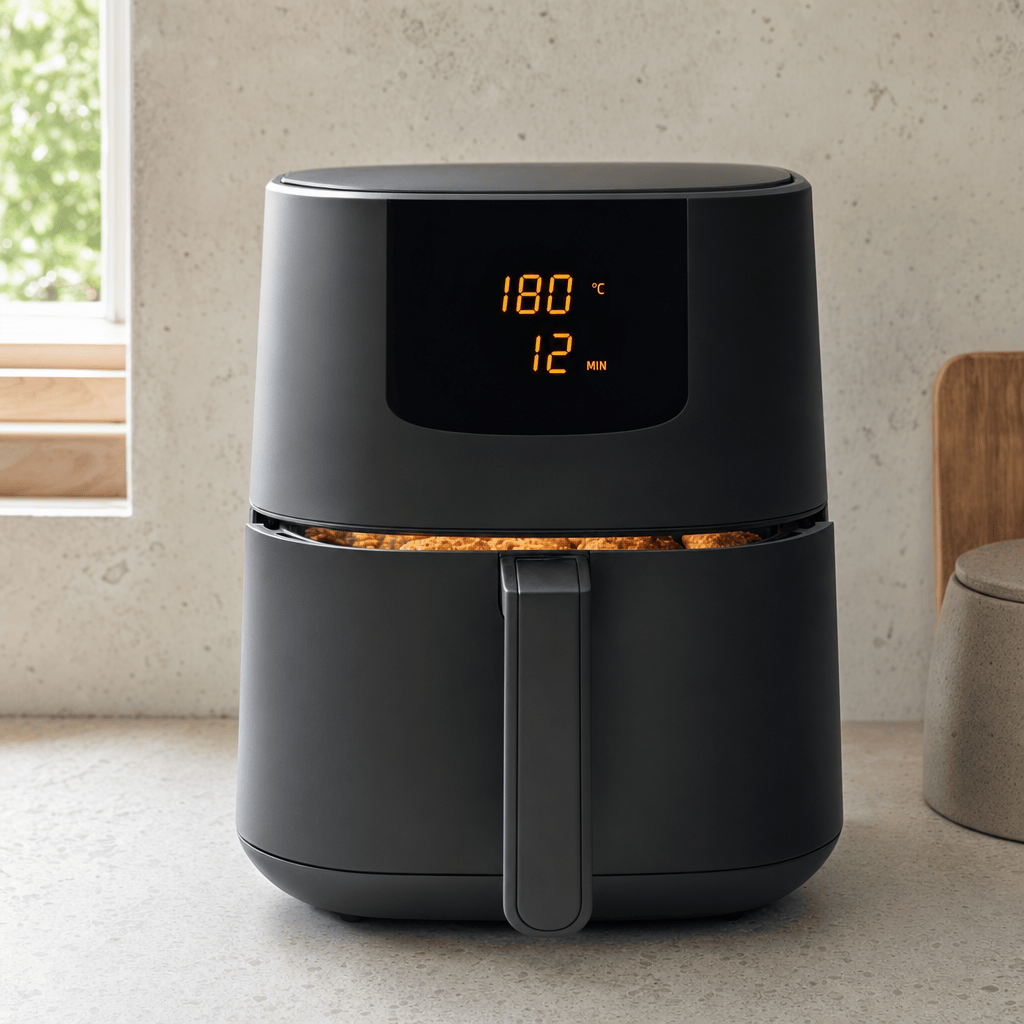
I have baked scones in my Cosori Dual Blaze at 180 °C, and 10 minutes hits the sweet spot for normal-sized scones of about 60 grams of dough. For a double batch I used my Philips XXL, where the larger basket lets the air circulate freely — here I kept the same temperature but extended it to 12 minutes. A finger press is the best test: the scone should feel firm with a slight springy give, and the bottom should sound hollow when you tap it. Compared with my usual oven recipe, I saved roughly 25 % of the time.
Brush the top with beaten egg or a little milk just before baking — it is the simplest route to the deep, golden colour without making the crust hard.
Tips and tricks from the author: Morten Jensen
The typical mistakes and how to avoid them
The most common mistake is kneading the dough for too long. Scones should be brought together lightly and quickly — if the gluten is worked up, they turn tough instead of tender, so stir only until the dough just barely holds together. The other classic is too hot an airfryer: if you set it to 200 °C as many oven recipes prescribe, the crust burns before the middle is done, so stick to 175-185 °C. Finally, many overlook the spacing in the basket; if the scones are placed right up against each other, they steam each other soft at the sides instead of getting a crisp crust all the way round, so always leave a finger’s width between each one.
How to serve scones
Plain scones are a blank canvas, and they taste best warm. Here are my preferred companions:
- Butter and a good jam — strawberry or elderflower
- Clotted cream and lemon curd for the English version
- A thick layer of cream cheese with honey on top
- Scrambled eggs and bacon for a filling breakfast
- Just warm butter melting down into the fresh crumb
Storage and reheating
Scones are at their very best the same day, but can be stored in an airtight container at room temperature for up to two days. Give them new life in the airfryer at 160 °C for 2-3 minutes — then the crisp crust comes back, where a microwave would only make them rubbery. They can also be frozen fully baked; warm them straight from frozen at 160 °C for 5-6 minutes.
With a free morning and fifteen minutes you have freshly baked morning bread on the table. Once you have captured the temperature and time, scones become the quick luxury you return to again and again.
Frequently Asked Questions
Yes, give it 2-3 minutes at the baking temperature. A preheated basket sets the crust right away and gives a more even rise.
It is most often down to old baking powder or too much kneading. Use fresh baking powder and stir the dough as little as possible, so the air is kept in the crumb.
Yes, but trim it so it doesn’t stick out over the edge, where it can blow up into the heating element. A perforated baking tray gives the best air circulation under the bottom.
Recipe

Air Fryer Scones
Cooking Guide
Keep the screen on and follow the recipe step by step while you cook.
Step 1:
Avoid the screen turning off while you cook.
Step 2:
Start the guide and follow the recipe one step at a time.
Cost of the dish
Prices may vary depending on where you shop.
Our estimate is based on average food prices for the current year 2026.
Estimated price for the whole dish:
Airfryer size
All our recipes are tested in a Philips Airfryer 2000 Series NA230/00 – 6.2 L
Does the recipe fit my Airfryer?
If you’re unsure, you can always reduce by one serving in the recipe, or click the 0.5x button.
You can also Ask the AI Chef
It’s easy! Just press the Ask the AI Chef button you see at the bottom.
Shopping list
Ingredients
- 250 g wheat flour
- 2 tsp baking powder
- 1 tbsp sugar
- 0.5 tsp salt

- 75 g butter (Cold, cubed)
- 1.5 dl milk
- 1 pcs egg (For brushing, beaten)
How to make it
Preparation
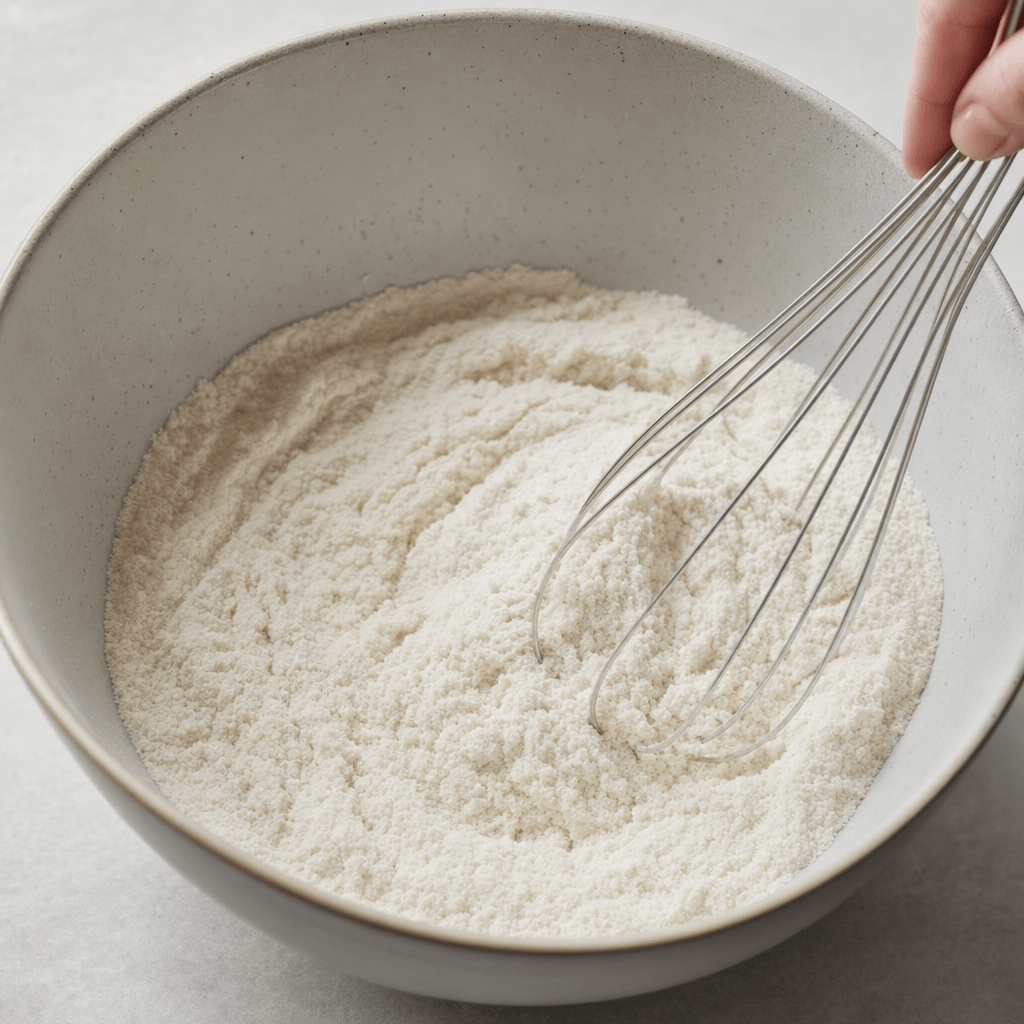
- Mix 250 g wheat flour, 2 tsp baking powder, 1 tbsp sugar and 0.5 tsp salt thoroughly in a mixing bowl.

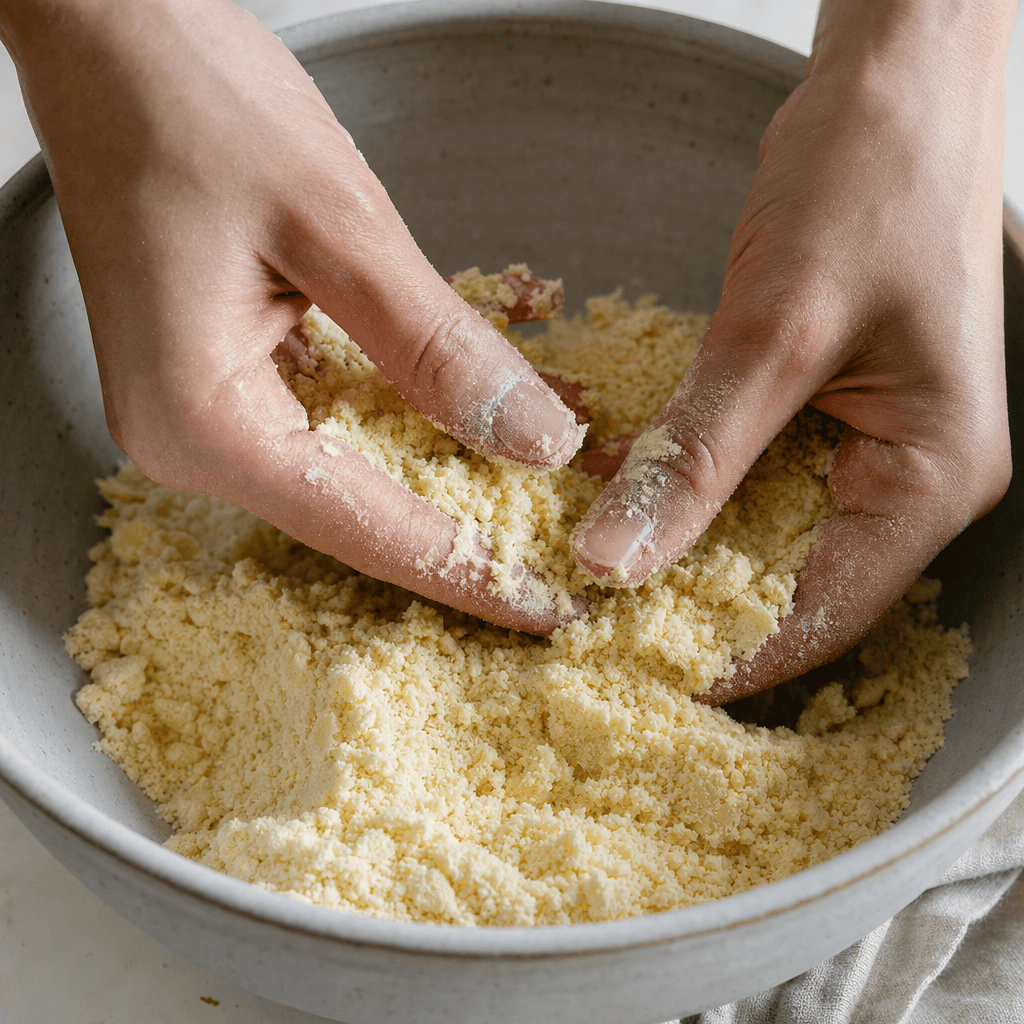
- Rub 75 g butter into the flour mixture with your fingertips until the texture resembles coarse sand. Work quickly so the butter stays cold.
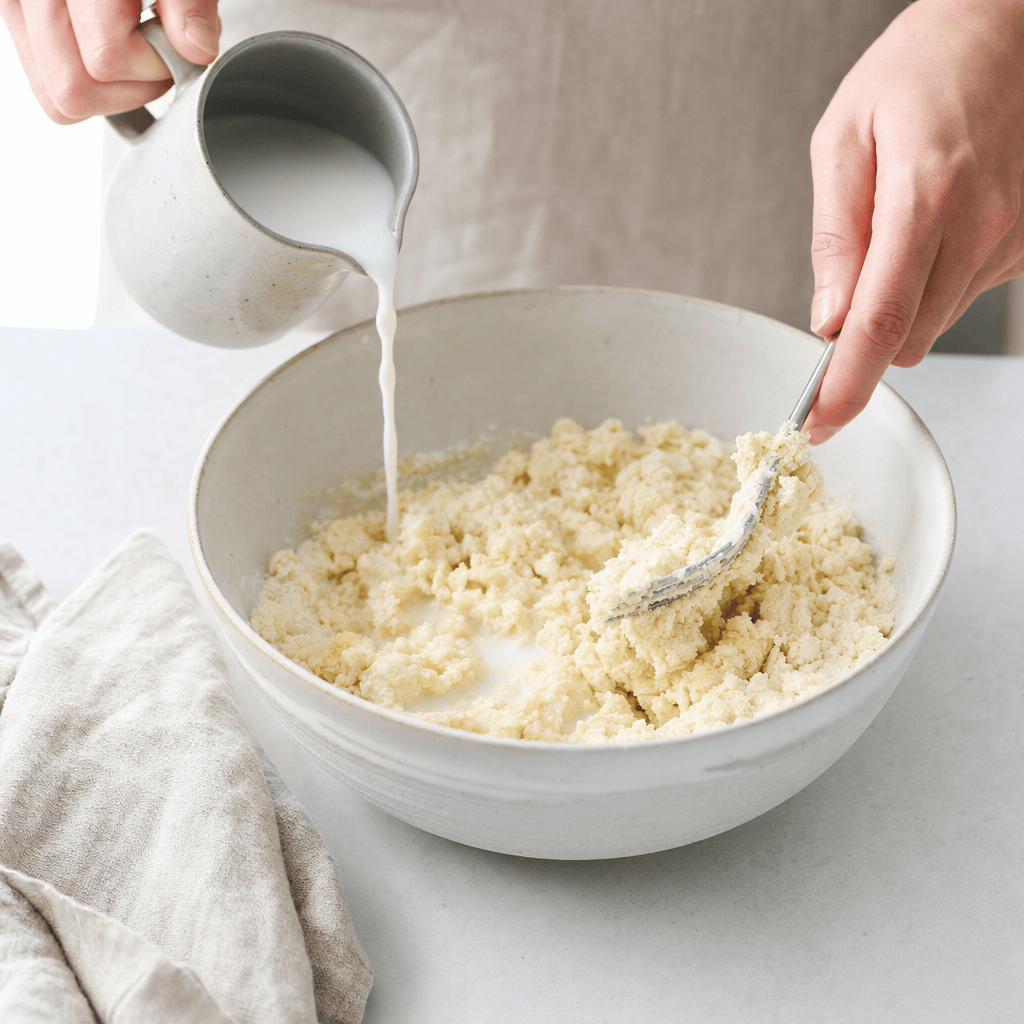
- Add 1.5 dl milk a little at a time and bring the dough together quickly. Knead only just enough — overworking makes the scones tough rather than light.
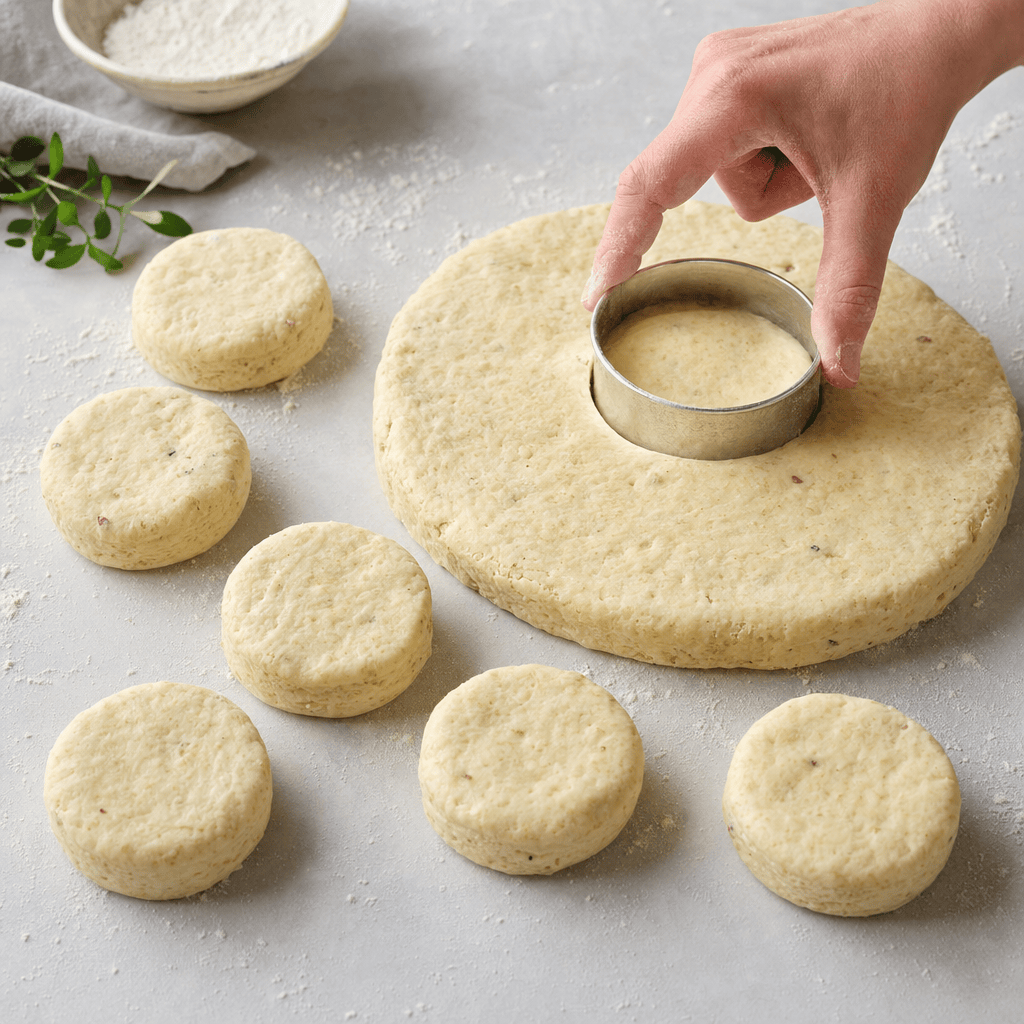
- Press the dough out to a slab about 3 cm thick on a floured surface and cut out 8 scones, or divide the dough into 8 equal pieces by hand.
Cooking in the air fryer
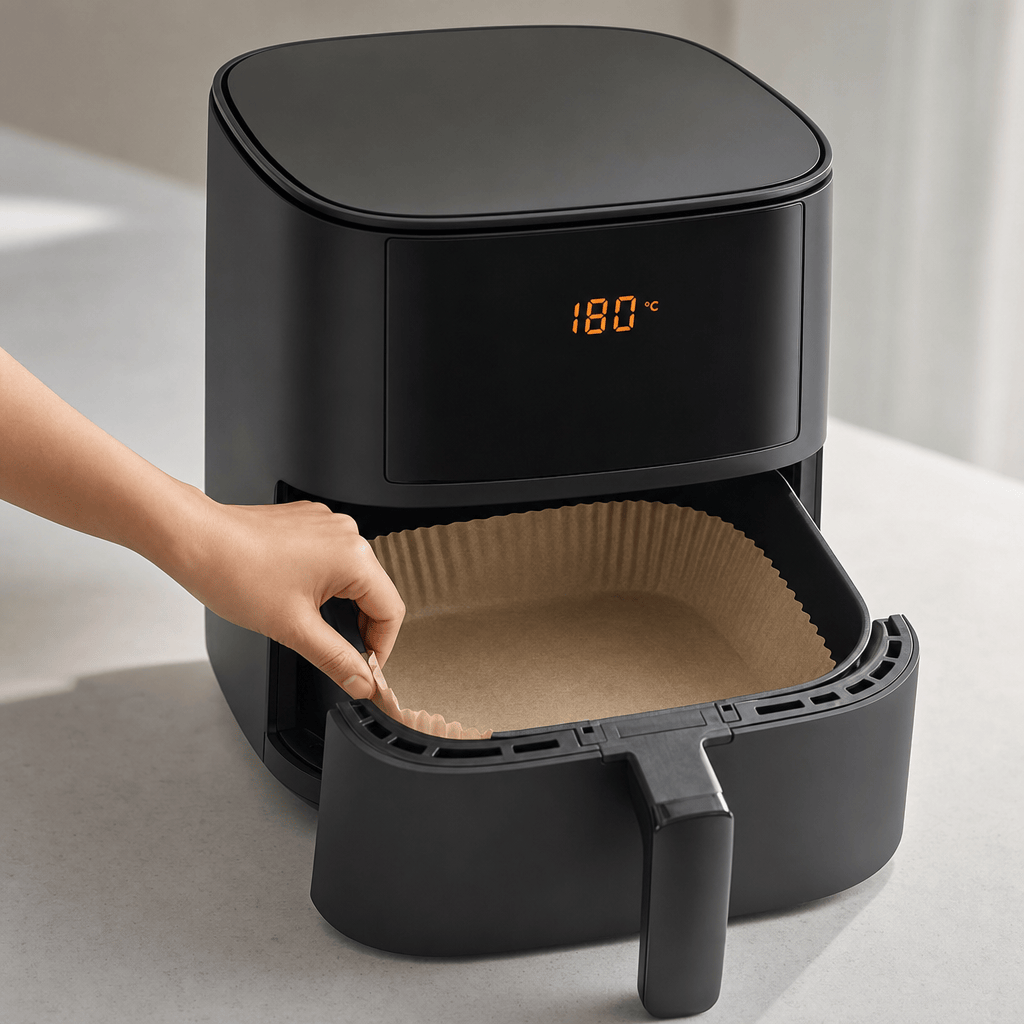
- Preheat the air fryer to 180 °C fan. Place a sheet of air fryer baking paper in the basket.
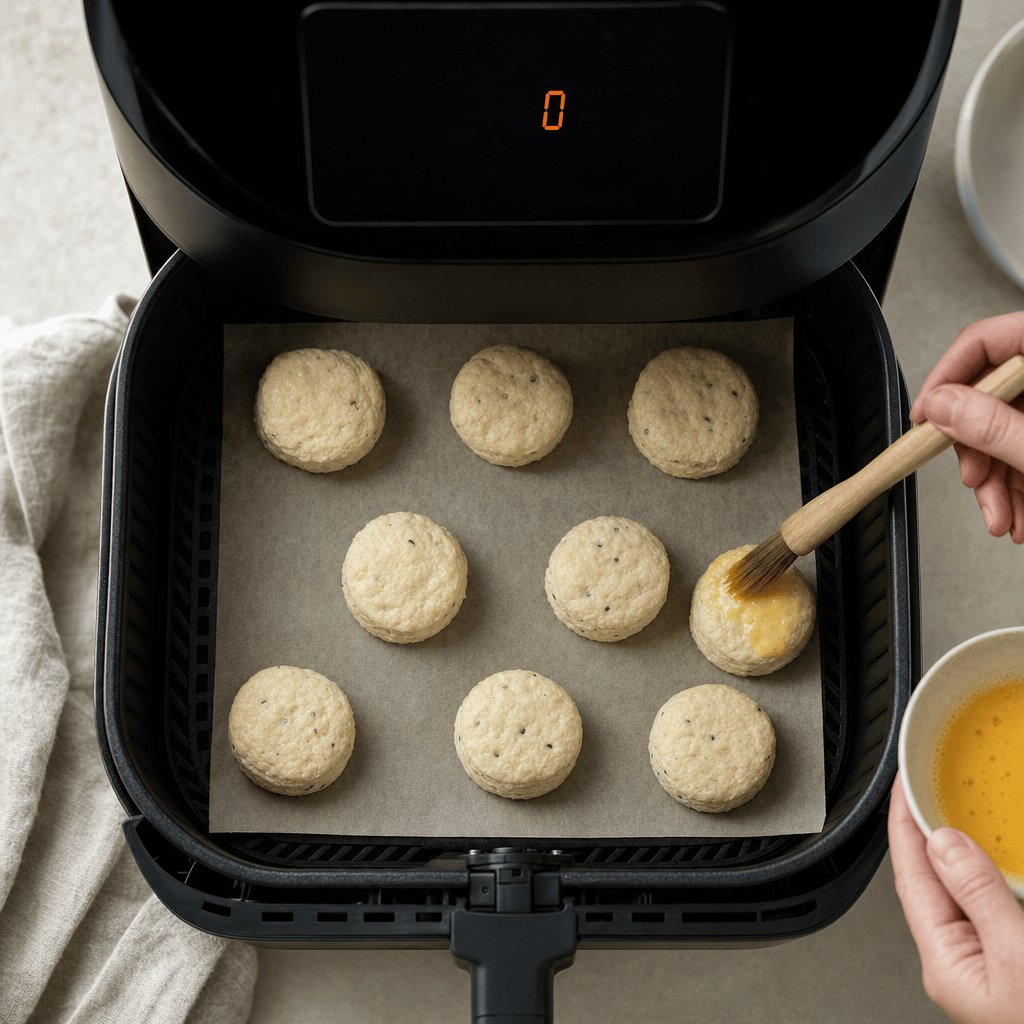
- Place the scones on the baking paper well spaced so they don’t touch. Brush the tops with beaten 1 pcs egg for a shiny, golden crust.
- Bake the scones at 180 °C for 11-13 minutes, until golden and crisp. Don’t turn them during baking. They are done when they sound hollow when lightly pressed on the bottom.
Serving
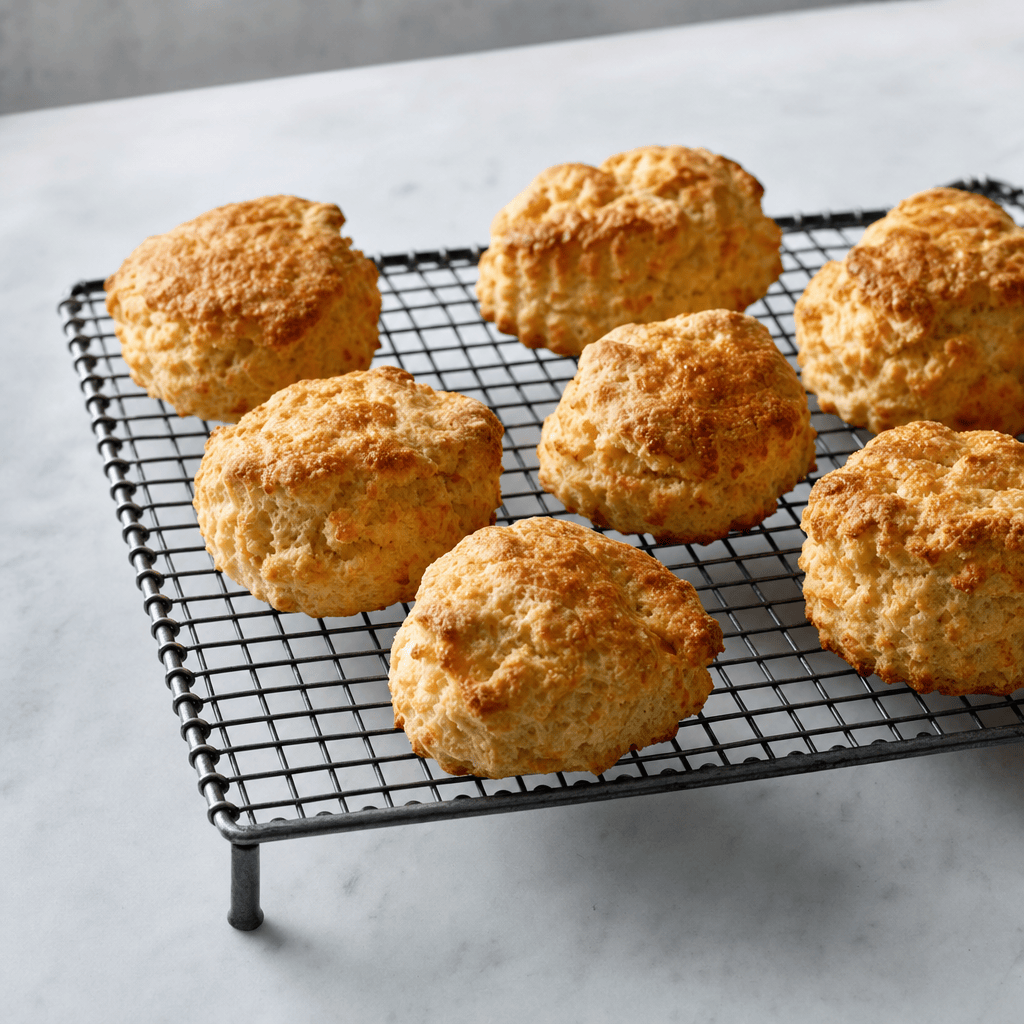
- Let the scones cool on a wire rack for a couple of minutes so the soft centre sets. Serve them warm plain or with butter and jam.
Our notes for the recipe
Keep the butter and milk cold and handle the dough as little as possible — that gives the fluffiest inside. Air fryer baking paper makes sure the bottom doesn’t burn while the crust turns crisp. Variation:
Fold a handful of raisins, grated lemon zest or coarsely grated cheese into the dough before adding the milk for a quick flavour twist. Serving:
Serve the warm scones with butter, homemade jam or cheese — perfect for breakfast, brunch or the afternoon coffee. Portion size:
If your air fryer is smaller, bake the scones in two batches so they have room to rise and crisp up all the way around.
Your notes for the recipe
Nutrition per serving (Guideline)
Important about shelf life and nutrition
Nutrition per serving (guideline): Calculations are based on data from the United States Department of Agriculture (USDA). Shelf life (guideline): Shelf life data is provided, as far as possible, by public institutions, including national food authorities. Our information is therefore only indicative, and it is your responsibility to obtain and calculate accurate information about shelf life and nutrition for all recipes on airfryerkogebogen.dk
Easily share the recipe with others:
Via email or on Facebook
Open the recipe on your phone
Scan the QR code with your phone and get the recipe directly on your mobile while you cook.

Author
Airfryerkogebogen.dk