

Today, we’re taking the beloved dream cake to new heights by preparing it in an airfryer. I loooove this cake, and always have. Ever since I had it as a child, when I’d always beg my grandma to make a double batch of the “gooey topping” — yum! Come along on this reinterpreted and flavorful journey, where tradition meets innovation, and let’s create an airy, heavenly Dream Cake in the Airfryer!

Advertisement: The page displays ads and contains advertising links (affiliate links). See our advertisers here.
Estimated reading time: 3 minutes
Table of Contents:
What is the story behind the dream cake?
The dream cake holds a special place in the hearts of many Danes. Originally, this treat comes from Jutland, where it was created back in the 1960s by a Danish homemaker.
Many believe that this delicious cake was born in Brovst, marketed by Amo as the “Dream Cake from Brovst”. But its origins actually go back to the village of Klokkerholm in Vendsyssel. Here, Jytte Andersen learned the recipe from her grandmother Marie Nielsen Højgaard, who lived at Østergaard. Within the family, the cake was known as the Østergaard Cake. Jytte later took part in a baking competition in Brovst, organized by the local homemakers’ association in 1960. Six months later, she discovered to her astonishment that Amo had printed her grandmother’s recipe under the name “Dream Cake from Brovst”.
I recommend this refreshing elderflower soda with our dream cake
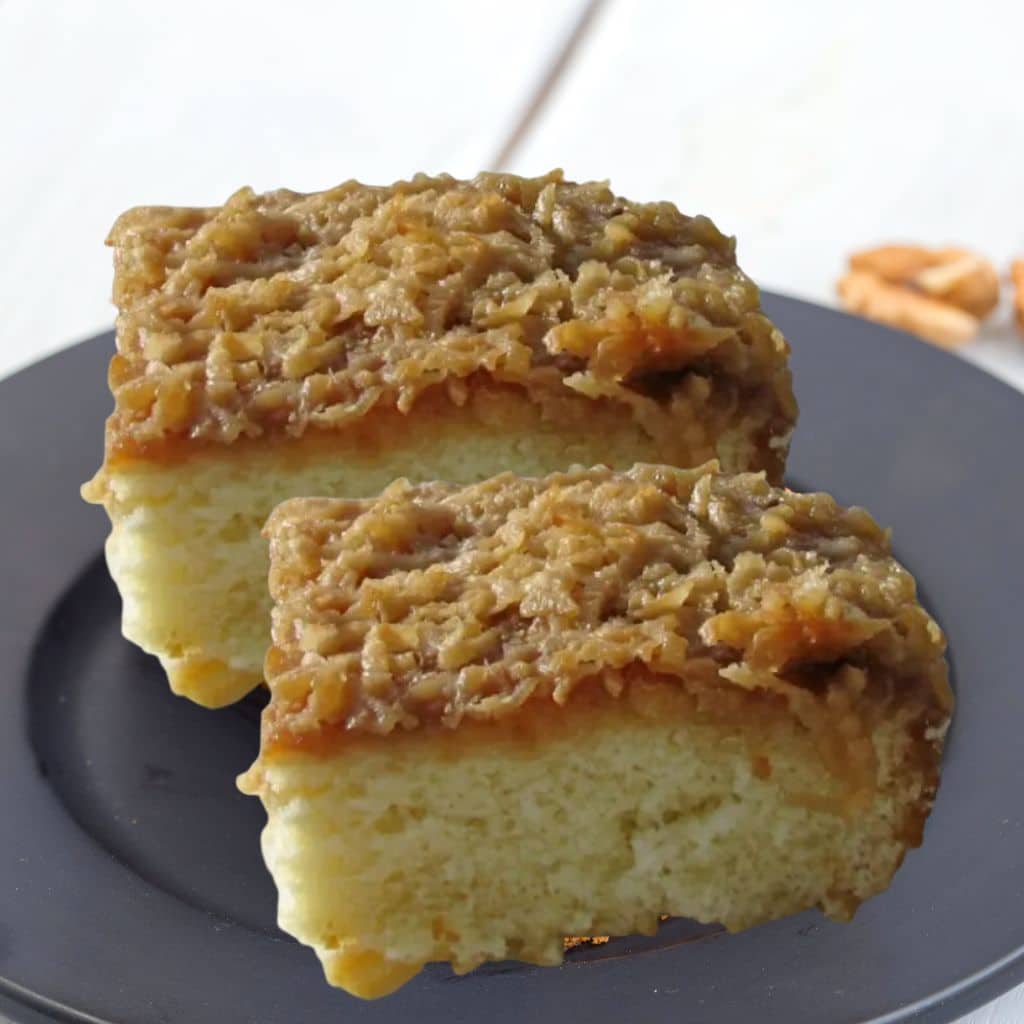
The dream cake has a rich, caramelized coconut topping with plenty of sweetness and an airy, spongy base – and for that, I find a light, floral soda to be the perfect counterpoint. The fresh elderflower flavor cuts elegantly through the richness of the butter and the brown sugar, lifting the entire taste experience to something truly special. I can warmly recommend Naturfrisk Hyldebrus – it’s made from natural ingredients and provides the perfect, light contrast to the cake’s sweet depth.
The cake most likely got its name because of its amazing flavor, which makes anyone drift off into a daydream. With its soft cake base and caramelized coconut topping, the dream cake has since spread joy at coffee tables all over Denmark.
But is the dream cake really Danish?
The dream cake more likely originates from the USA. A “Lazy Daisy Cake” was recorded by homemaker Margaret Hill from Iowa as early as the start of the 1900s, sharing striking similarities with what is known today as the dream cake.
Source: Danish Wikipedia
Tips and variations for baking the cake:
- Nut topping:Add chopped nuts such as walnuts or pecans to the coconut topping for an extra crunch and flavor.
- Vanilla flavor:Add a teaspoon of vanilla extract to the cake batter to give it a subtle vanilla flavor.
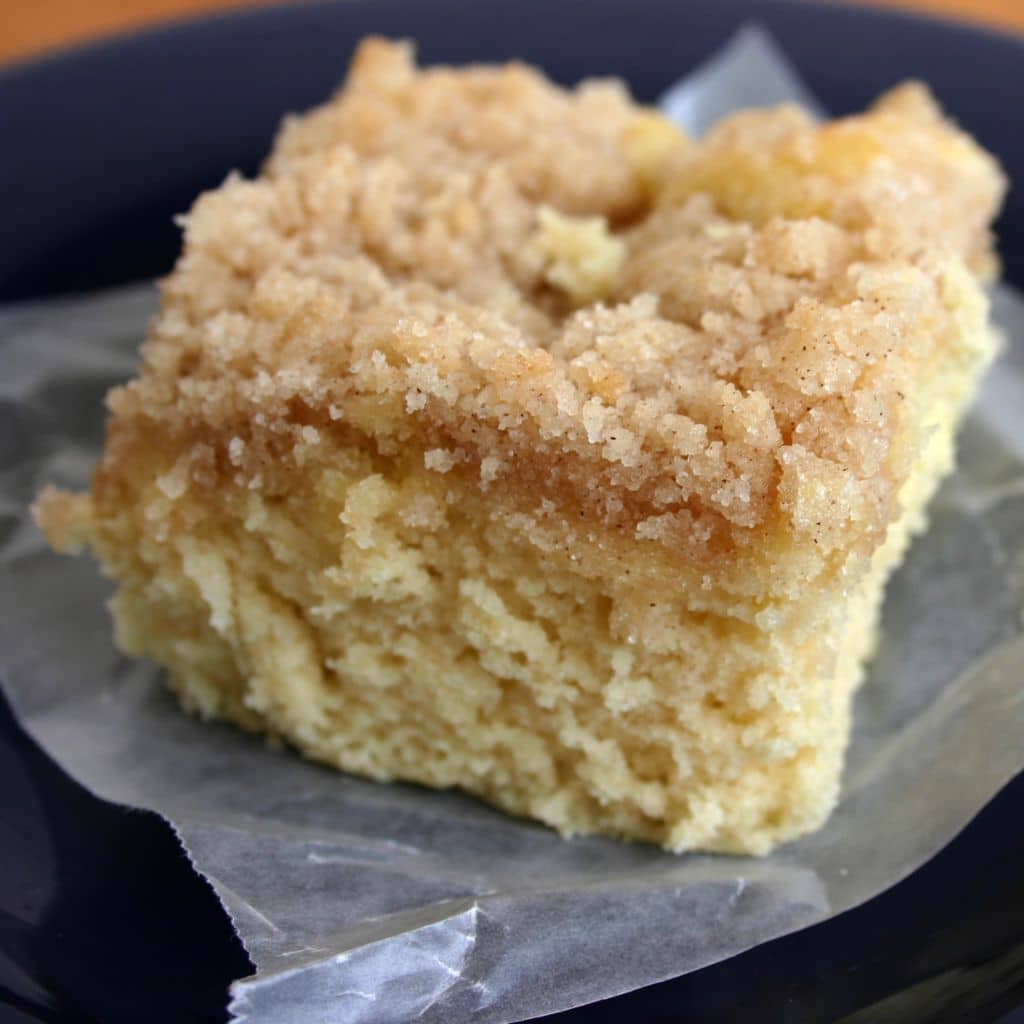
- Different toppings:Besides coconut, you can experiment with different toppings such as chocolate chips, dried fruit, or chopped caramel.
- Sugar reduction:If you prefer a less sweet cake, you can reduce the amount of sugar in both the cake batter and the coconut topping to taste.
- Fruit filling:Add fresh or canned fruit as a filling between the cake base and the coconut topping for a fresh and juicy surprise.
These tips and variations let you adapt the recipe to your preferences and experiment with different flavor combinations.
Frequently Asked Questions
First, bake the cake base at 320°F (160°C) for 15-20 minutes. Add the coconut topping and bake for another 5-8 minutes until it’s golden and caramelized.
Yes, you can absolutely use a traditional springform pan. Choose one that’s 6-8 inches (15-20 cm) in diameter so it fits in your airfryer basket.
Yes, the airfryer circulates the heat efficiently and creates an incredibly delicious, caramelized coconut topping. Keep an eye on the last few minutes so it doesn’t burn.
Recipe
Dream Cake in the Airfryer
Cooking Guide
Keep the screen on and follow the recipe step by step while you cook.
Step 1:
Avoid the screen turning off while you cook.
Step 2:
Start the guide and follow the recipe one step at a time.
Cost of the dish
Prices may vary depending on where you shop.
Our estimate is based on average food prices for the current year 2026.
Estimated price for the whole dish:
Airfryer size
All our recipes are tested in a Philips Airfryer 2000 Series NA230/00 – 6.2 L
Does the recipe fit my Airfryer?
If you’re unsure, you can always reduce by one serving in the recipe, or click the 0.5x button.
You can also Ask the AI Chef
It’s easy! Just press the Ask the AI Chef button you see at the bottom.
Shopping list
Ingredients
For the cake base:
- 2 pcs eggs
- 150 g sugar
- 1 pinch salt

- 150 g plain flour
- 1 tsp baking powder
- 50 ml milk
- 50 g butter
For the coconut topping:
- 100 g butter
- 200 g brown sugar
- 100 g desiccated coconut
- 50 ml milk
How to make it
- Whisk 2 pcs eggs and 150 g sugar together in a mixing bowl until pale and fluffy.
- Add 150 g plain flour, 1 tsp baking powder, 50 ml milk. 1 pinch salt and melted 50 g butter to the egg mixture. Gently fold the ingredients together until well combined.
- Line your springform tin with baking paper and pour the cake batter into the tin.
- Place the tin in the airfryer and bake the cake base for 20-25 minutes at 160°C until golden brown and baked through. Start online køkkenuret herYou can test with a toothpick to check whether it is done.
- While the cake bakes, prepare the coconut topping. Melt 100 g butter in a saucepan over low heat and add 200 g brown sugar, 100 g desiccated coconut and 50 ml milk.Let it simmer for a few minutes until it becomes thick and creamy.
- When the cake base is done, take it out of the airfryer and spread the coconut topping evenly over the cake.
- Put the cake back in the airfryer and bake it for a further 5-7 minutes at the same temperature, until the coconut topping is golden brown and lightly crisp.Start online køkkenuret her
- Take the cake out of the airfryer and let it cool slightly before you cut it into slices and serve.
Our notes for the recipe
Your notes for the recipe
Nutrition per serving (Guideline)
Important about shelf life and nutrition
Nutrition per serving (guideline): Calculations are based on data from the United States Department of Agriculture (USDA). Shelf life (guideline): Shelf life data is provided, as far as possible, by public institutions, including national food authorities. Our information is therefore only indicative, and it is your responsibility to obtain and calculate accurate information about shelf life and nutrition for all recipes on airfryerkogebogen.dk
Easily share the recipe with others:
Via email or on Facebook
Open the recipe on your phone
Scan the QR code with your phone and get the recipe directly on your mobile while you cook.

Author
Airfryerkogebogen.dk