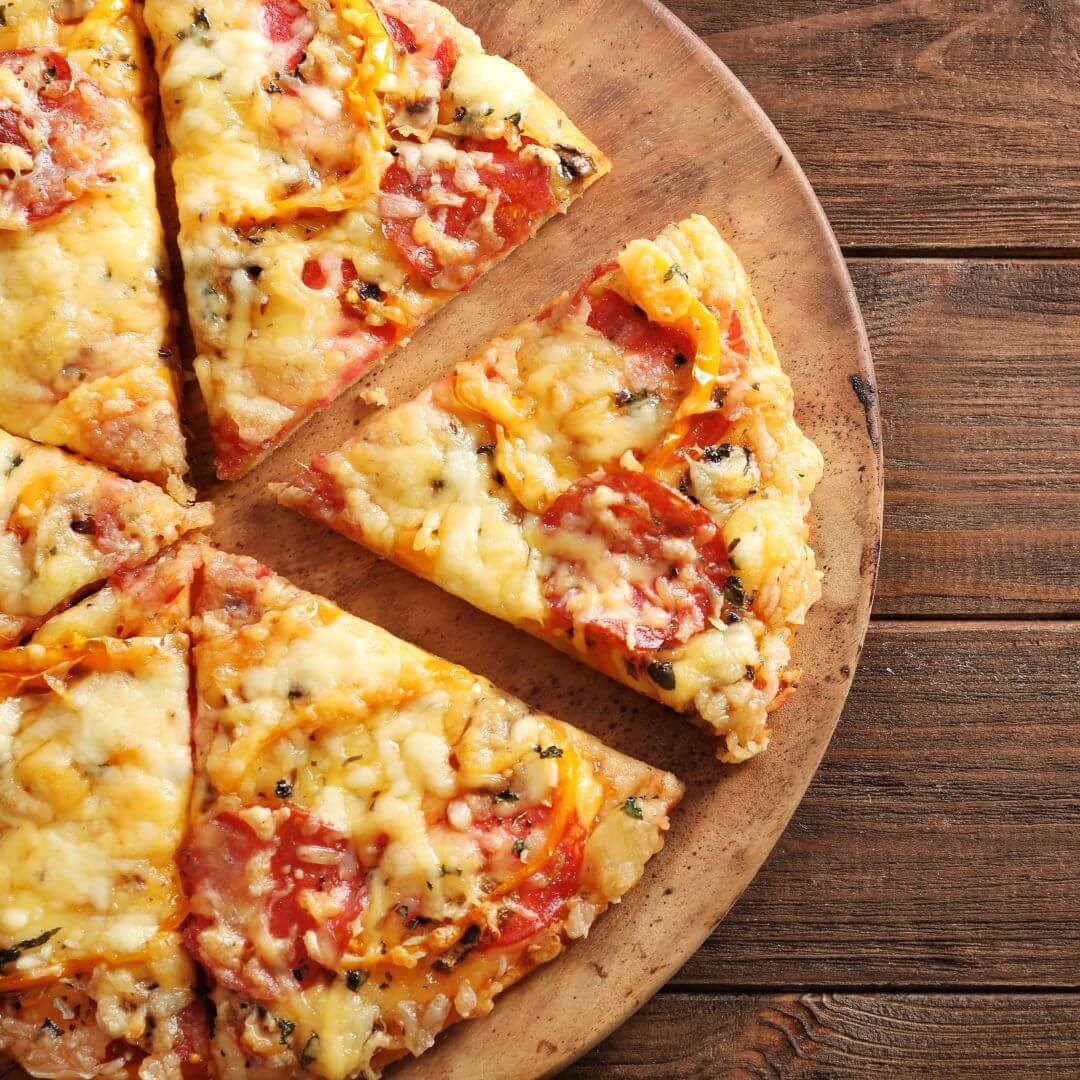

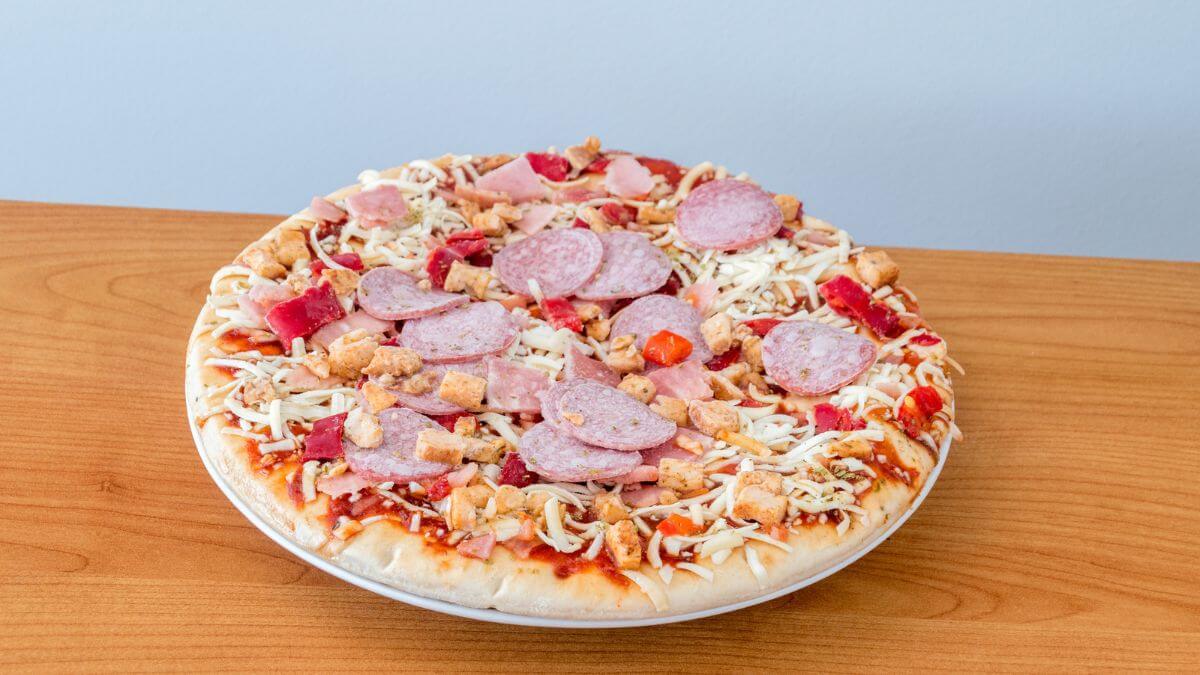
Frozen pizza has a permanent spot in most of our freezers. It’s the rescue on those evenings when the plan falls apart, and there’s neither time for dough nor energy for a shopping trip. The problem is that the oven rarely delivers the crispy base the box promises — the result is often pale and soggy in the middle.

Advertisement: The page displays ads and contains advertising links (affiliate links). See our advertisers here.
The airfryer solves that. The hot air circulates all the way around the base instead of only hitting the pizza from above, which gives you the crunchy crust that would otherwise need a pizza stone. Best of all, the pizza doesn’t need to thaw first: straight from the freezer into the basket at 180°C, and 15 minutes later it’s on the table.
Estimated reading time: 4 minutes
Table of Contents
Table of Contents:
Why I love frozen pizza in the airfryer
The big difference is in the base. In the oven, the pizza sits on a tray that first has to heat up, and the moisture from the topping has nowhere to go. In the airfryer, the circulating air hits the base directly through the rack, so the moisture gets blown away instead of collecting. The result is a base that’s crunchy all the way to the edge — whether the pizza is a thin margherita or a heavily topped pepperoni.
Then there’s the practical side. You skip heating up an entire oven for just one pizza, and the whole process takes 15 minutes from freezer to plate.
What the airfryer does to the base
A frozen pizza is partly baked and then frozen again, and it’s the freezing that makes the base tricky. The ice in the dough needs to evaporate quickly, otherwise the base steams instead of bakes. At 180°C with strong air circulation, that happens from below and above at the same time, so the cheese has time to melt without the edge burning.
My kitchen test with frozen pizza
I’ve run a string of frozen pizzas through my Philips XXL, because the basket is big enough to take a regular pizza whole. 180°C and 10 minutes of cooking is the point where the base is crispy all the way through, and the cheese has picked up a little colour. With the five minutes of prep — unwrapping and getting the pizza in place — the whole exercise lands at 15 minutes.
In my Cosori Dual Blaze, the baskets are narrower, and the pizza can rarely lie whole. The solution is the same every time: let it sit on the counter for a couple of minutes until it can be cut in half without cracking, and put one half in each basket. Neither the temperature nor the time changes, and the edges actually get slightly better airflow.
Don’t turn up the temperature just because it feels slow. At 180°C, the base has time to turn crispy before the cheese burns — at higher heat, it happens the other way round.
Tips and tricks from the author: Morten Jensen
The typical mistakes and how to avoid them
The mistake I see most often is forcing the pizza into a basket it doesn’t fit in. It bends at the edge, the topping slides, and the base gets squashed together. Instead, let it sit for a couple of minutes until it can be cut in half, and bake the two halves side by side. The second classic is baking paper under the pizza. It sounds sensible, but it blocks the air from below, and you end up with exactly the soggy base you were trying to avoid — put the pizza directly on the rack. The third is leaving it to look after itself without checking. The topping varies wildly from brand to brand, and a thinly topped pizza is done before one with double cheese. Check it halfway through, and pull it out when the edge is golden and the cheese is bubbling.
How to serve frozen pizza
A frozen pizza gets noticeably better with a couple of minutes of attention once it comes out of the basket. It doesn’t need to be more than this:
- Fresh basil leaves or a sprinkle of dried oregano right before serving
- A drizzle of good olive oil or chilli oil over the hot cheese
- Freshly ground pepper and a few shaved slices of parmesan
- A simple green salad with lemon and oil on the side
Storage and reheating
Leftovers keep for a couple of days in the fridge in an airtight box. Avoid the microwave unless you don’t care about the base — it goes soft in no time. The airfryer, on the other hand, is superb for reheating: put the slices directly on the rack at 180°C, and give them a couple of minutes, until the cheese is soft again and the base is crunchy.
Frozen pizza doesn’t become fancier than it is, but the airfryer turns it into something you actually want to eat, rather than something you settle for. 180°C, 10 minutes, and a base that crunches — that’s the whole secret.
FAQ
No. The pizza goes straight from the freezer into the basket. The only exception is if it’s too big to lie flat — then let it sit for a couple of minutes until it can be cut in half, and bake the halves separately.
180°C for 10 minutes hits the balance between a crispy base and melted cheese. Count on 15 minutes in total once you include prep time.

Recipe
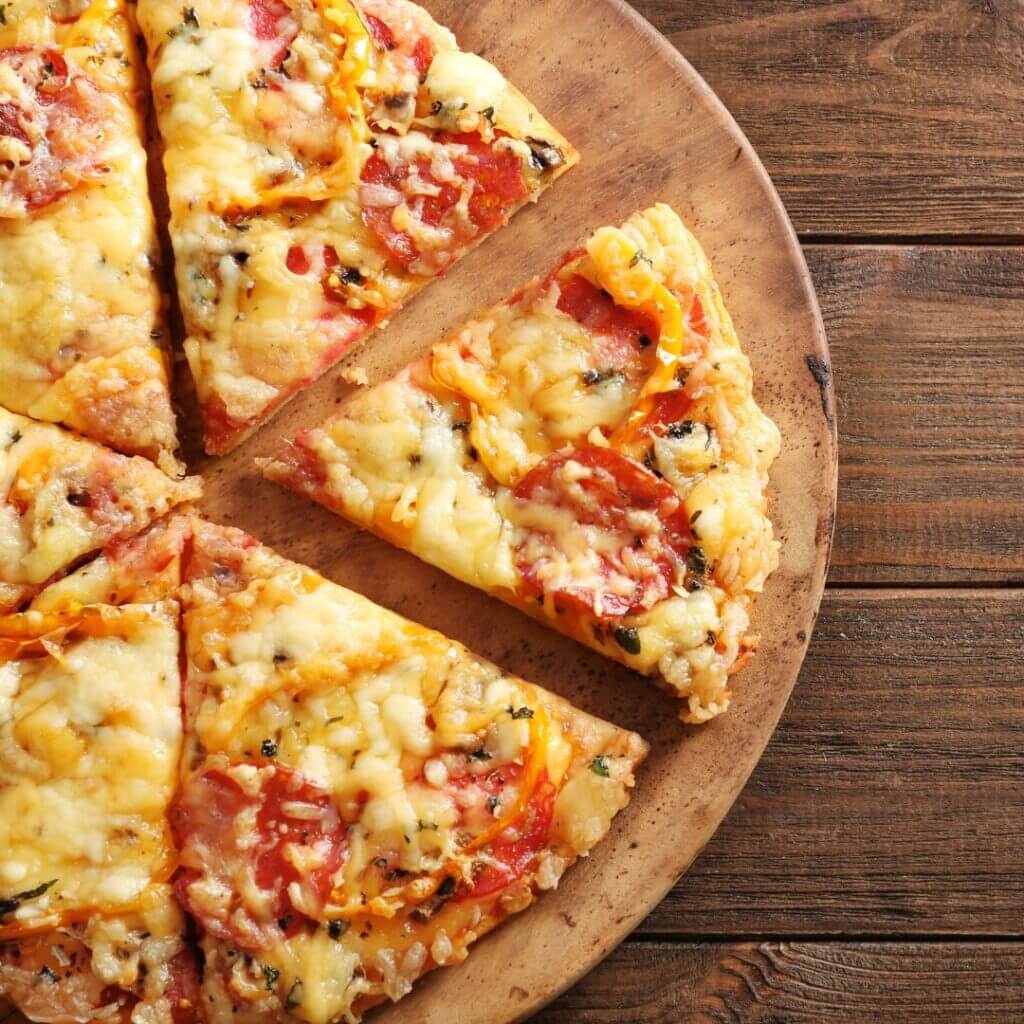
Frozen pizza in the airfryer
Cooking Guide
Keep the screen on and follow the recipe step by step while you cook.
Step 1:
Avoid the screen turning off while you cook.
Step 2:
Start the guide and follow the recipe one step at a time.
Cost of the dish
Prices may vary depending on where you shop.
Our estimate is based on average food prices for the current year 2026.
Estimated price for the whole dish:
Airfryer size
All our recipes are tested in a Philips Airfryer 2000 Series NA230/00 – 6.2 L
Does the recipe fit my Airfryer?
If you’re unsure, you can always reduce by one serving in the recipe, or click the 0.5x button.
You can also Ask the AI Chef
It’s easy! Just press the Ask the AI Chef button you see at the bottom.
Shopping list
Ingredients
Pizza
- 2 pcs frozen pizza (Approx. 350 g each, straight from the freezer)
- 1 tbsp olive oil (For brushing the edge)


Extra topping (optional)
- 50 g grated mozzarella
- 1 tsp dried oregano
- 1 tsp chilli flakes (For serving)
- 10 g fresh basil (Til servering)


How to make it
Preparation
- If the pizza is too big for the basket, let it sit for 5-10 minutes at room temperature until the surface gives a little. Then cut it in half on the cutting board, so each half lies flat without bending up the sides of the basket.
- If you want to upgrade the pizza, sprinkle 50 g grated mozzarella and 1 tsp dried oregano over it and brush the edge with 1 tbsp olive oil. Keep all the topping inside the base, so nothing drips down into the heating element.
Cooking in the airfryer
- Preheat the airfryer to 180 °C, hot air setting.
Serving
- Sprinkle 1 tsp chilli flakes and 10 g fresh basil over the hot pizza, let it rest for a minute, and cut it into pieces before serving.
Our notes for the recipe
The pizza needs to go into the preheated basket ice-cold from the freezer — it gets crispiest when the base meets the hot air straight away. Add only one layer at a time, and never stack two halves on top of each other. If the pizza doesn’t fit in the basket:
Let it sit for 5-10 minutes at room temperature until it can be cut without crumbling. Baking two halves one after the other gives a noticeably better result than one pizza bent up the sides. Variation:
Extra grated cheese, a few slices of pepperoni or some thin strips of pepper on top of the frozen pizza lift a cheap base pizza. All toppings need to be dry — wet toppings make the base soggy. Serving:
Serve with a green salad with lemon dressing or a few raw vegetable sticks on the side. Portion size:
Two pizzas can rarely be baked at the same time. Allow 8-10 minutes per round, and keep the finished slices warm in the oven at 75 °C while the next one bakes.
Your notes for the recipe
Nutrition per serving (Guideline)
Important about shelf life and nutrition
Nutrition per serving (guideline): Calculations are based on data from the United States Department of Agriculture (USDA). Shelf life (guideline): Shelf life data is provided, as far as possible, by public institutions, including national food authorities. Our information is therefore only indicative, and it is your responsibility to obtain and calculate accurate information about shelf life and nutrition for all recipes on airfryerkogebogen.dk
Easily share the recipe with others:
Via email or on Facebook
Open the recipe on your phone
Scan the QR code with your phone and get the recipe directly on your mobile while you cook.

Author
Airfryerkogebogen.dk