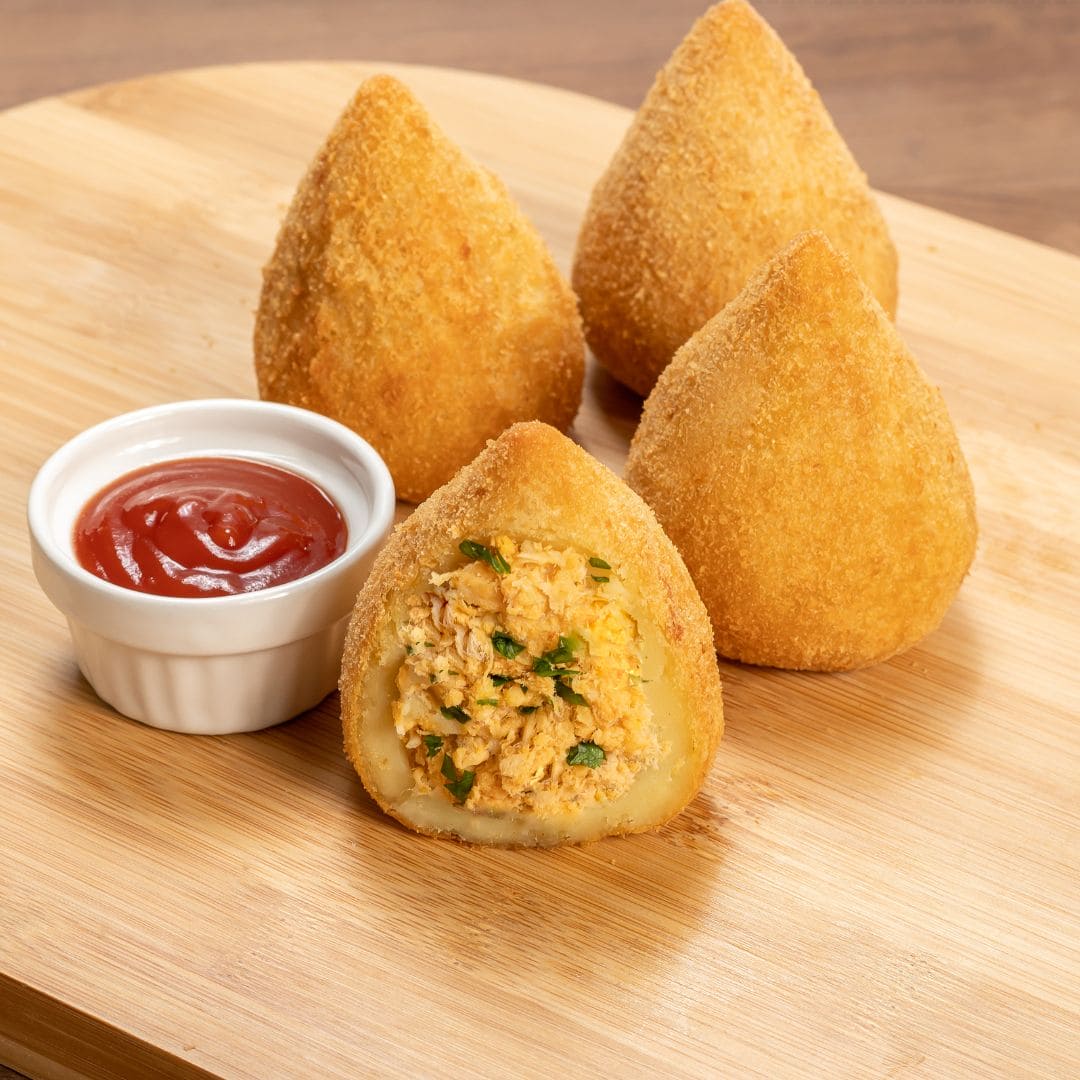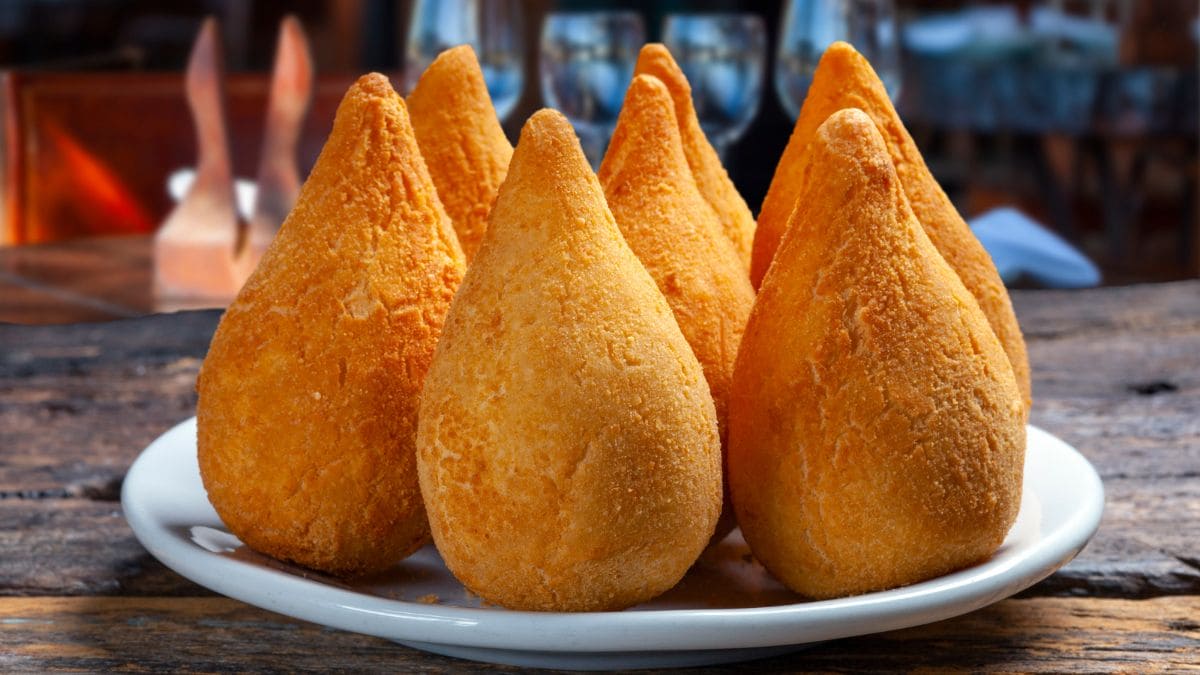
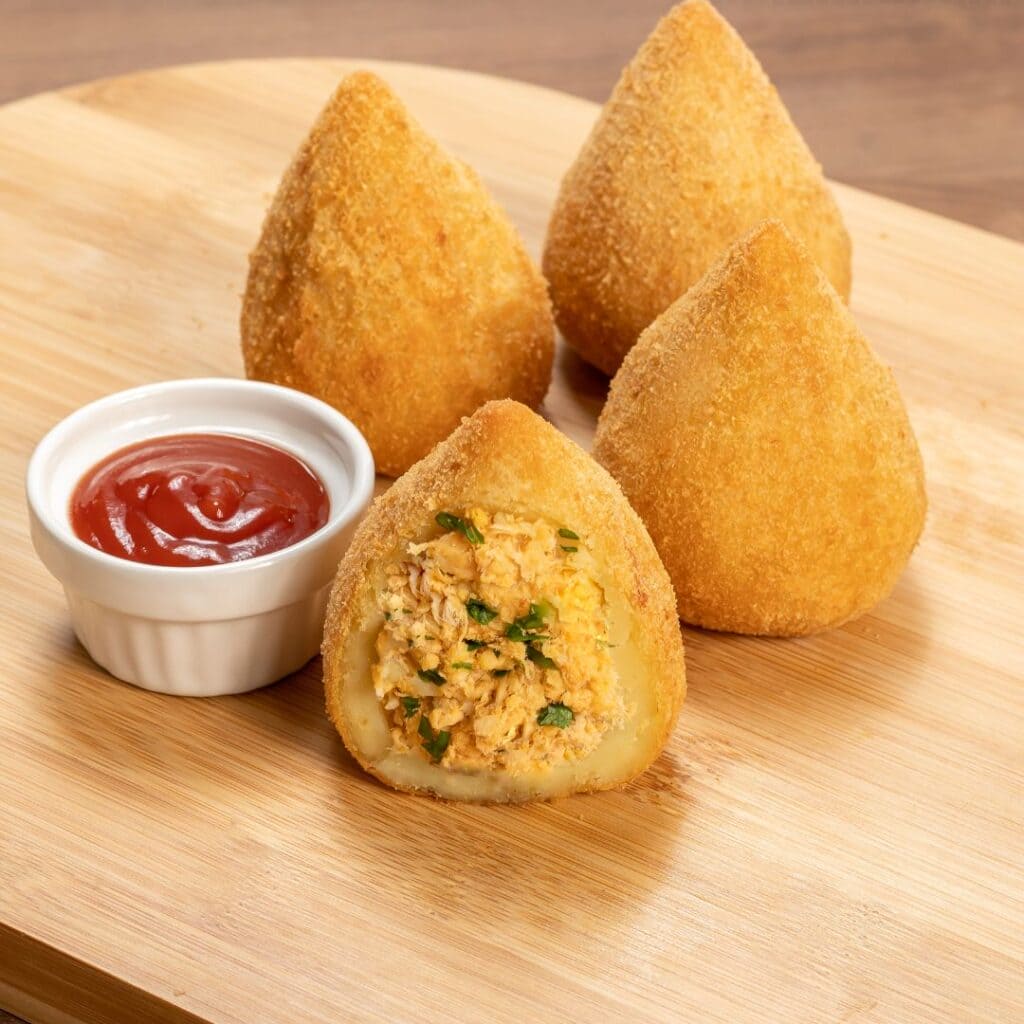
Coxinha is Brazil’s beloved party snack: a soft dough cooked in chicken stock, filled with shredded chicken and a creamy dollop of cheese, shaped like a teardrop and coated in crisp breadcrumbs. The name means ‘little thigh’ in Portuguese and refers to the shape, which is meant to resemble a chicken drumstick. With this recipe for coxinha in the air fryer, you can make them at home – entirely without a deep fryer.

Advertisement: The page displays ads and contains advertising links (affiliate links). See our advertisers here.
Traditionally they are deep-fried, but in the air fryer a thin layer of oil on all sides is enough to give them a golden, crisp crust. It takes a little patience, because both the dough and the filling need to be cold before you can shape them. On the plus side, you skip a pot full of hot oil on the hob.
Estimated reading time: 4 minutes
Table of Contents
Why I love coxinha in the air fryer
Coxinhas are some of the best finger food I know. The contrast between the crisp crust, the soft dough and the seasoned chicken filling with a creamy core of cream cheese is hard to resist. And because the dough is made from the stock the chicken was cooked in, the whole coxinha tastes of chicken – not just the filling.
The best thing about the air fryer is that the deep fryer can stay in the cupboard. There’s no oil to heat up and get rid of afterwards, and no greasy fumes in the kitchen. If you’re making a lot, you cook them in batches, so the first ones can be served while the next batch is in the basket.
Air fryer instead of a deep fryer
In a deep fryer, coxinhas sit completely submerged in the oil, and the breadcrumbs soak up fat. In the air fryer, it’s the hot, circulating air that does the work, while the oil you brush on gives colour and crispness. The crust turns out lighter and less greasy, and because the dough closes tightly around the filling, the chicken stays juicy.
My kitchen test of coxinha
I’ve cooked coxinhas in my Cosori Dual Blaze, which has a single basket with heating elements both above and below. At 200 °C for 15 minutes, with one gentle turn halfway through, they came out evenly golden on top and bottom, and if I see pale patches when I turn them, I dab on a little extra oil. I simmer the chicken in the stock until the meat thermometer shows 75 °C at the core, before I shred it into strips. All in all, the recipe takes 120 minutes: 75 minutes of preparation, 30 minutes of chilling time and just 15 minutes in the air fryer. In my Philips XXL there’s room for more at a time, but with a smaller basket you simply cook them in two batches.
Press the dough out flat on a dish and lay cling film directly on the surface before it goes in the fridge. That way it doesn’t dry out, and the cold dough is much easier to shape around the filling.
Tips and tricks from the author: Morten Jensen
Common mistakes and how to avoid them
The most common mistake is shaping the coxinhas while the dough or the filling is still lukewarm. Lukewarm dough is sticky, and warm filling makes the dough so soft that it cracks. So give both of them the 30 minutes in the fridge, and grease your hands with a little oil if the dough still sticks. The second mistake is a seam that isn’t closed properly, because then the cream cheese leaks out during cooking. Pinch the edges together firmly before you twist the top into a point. The third mistake is too little oil, because breadcrumbs without oil turn pale and dry in the air fryer. Brush each coxinha on all sides, place them in a single layer with a little space between them, and dab extra oil on any pale patches when you turn them halfway through.
How to serve coxinha
Coxinhas work just as well as a snack, for a party or as a light lunch. Let them rest for a couple of minutes before you serve them, because the filling is very hot. Here are my favourites to serve alongside:
- Chilli sauce for dipping
- Lime mayo made with mayonnaise, lime juice and grated lime zest
- A fresh, green salad when they’re served as lunch
- Cold drinks and more small snacks on the party table
Storing and reheating
Store leftovers covered in the fridge for up to 3-4 days. Reheat them in the air fryer at 180 °C for 5-7 minutes, until they are crisp and heated through again – the microwave makes the crust soft. Coxinhas can also be frozen uncooked and breaded for up to 3 months. Brush them with oil and cook them straight from frozen at 190 °C for 20-24 minutes.
Making coxinhas takes a little time, but the shaping soon becomes a pleasant routine, especially if a few of you do it together. The reward is a crisp, golden snack with a creamy chicken filling, which tends to disappear from the dish in record time.
FAQ
Yes, when they are coated in egg and breadcrumbs and brushed with a thin layer of oil on all sides, they get a golden, crisp crust at 200 °C for 15 minutes. Turn them gently halfway through, and dab a little extra oil on any pale patches.
Catupiry is a soft and creamy Brazilian cheese that is hard to find in Denmark. Plain cream cheese is the closest substitute you can buy in Danish supermarkets, and it gives the filling a similar creamy core.
Yes, they can be frozen uncooked and breaded for up to 3 months. Brush them with oil and cook them straight from frozen at 190 °C for 20-24 minutes.

Recipe
Coxinha in the Air Fryer
Cooking Guide
Keep the screen on and follow the recipe step by step while you cook.
Step 1:
Avoid the screen turning off while you cook.
Step 2:
Start the guide and follow the recipe one step at a time.
Cost of the dish
Prices may vary depending on where you shop.
Our estimate is based on average food prices for the current year 2026.
Estimated price for the whole dish:
Airfryer size
All our recipes are tested in a Philips Airfryer 2000 Series NA230/00 – 6.2 L
Does the recipe fit my Airfryer?
If you’re unsure, you can always reduce by one serving in the recipe, or click the 0.5x button.
You can also Ask the AI Chef
It’s easy! Just press the Ask the AI Chef button you see at the bottom.
Recommended equipment
- 1 Air fryer
- 1 Pot
- 1 Pan
- 1 Cutting board
- 1 Knife
- 1 Meat thermometer
- 1 Measuring cup
- 1 Wooden spoon
- 1 Bowl
- 1 Dish
- Plastic wrap
- 2 Deep plate
- 1 Brush
Shopping list
Ingredients
- 400 g chicken breast

- 1 l chicken stock (For cooking the chicken)
- 1 pcs bay leaf
- 1 tbsp olive oil
- 1 pcs onion (Finely chopped)
- 2 clove garlic (Finely chopped)
- 1 tbsp tomato purée
- 2 pcs spring onions (Finely sliced)
- 2 tbsp parsley (Finely chopped)
- 0.5 tsp salt
- 1 pinch black pepper (Freshly ground)
- 150 g cream cheese (Plain – replaces Brazilian catupiry)


Coating
- 2 pcs eggs
- 150 g breadcrumbs
- 3 tbsp rapeseed oil (For brushing)


How to make it
Chicken filling
- Bring 1 l chicken stock to the boil in a saucepan with 1 pcs bay leaf. Add 400 g chicken breast, turn the heat down and let it simmer with the lid on for 15-18 minutes, until the chicken has a core temperature of 75 °C.
- Remove the chicken and the bay leaf from the saucepan. Measure out 5 dl chicken stock for the dough in a measuring jug, and pour off the rest or save it for a soup.
- Shred the chicken into fine strips with two forks once it has cooled slightly.
- Sauté 1 pcs onion and 2 clove garlic in 1 tbsp olive oil in a frying pan over a medium heat for 3-4 minutes, until the onion is soft.
- Add 1 tbsp tomato purée and the shredded chicken, and stir for 2 minutes. Season with 0.5 tsp salt and 1 pinch black pepper.
- Stir 2 pcs spring onions and 2 tbsp parsley into the filling. Transfer it to a bowl and put it in the fridge.
Dough
- Bring the stock and 25 g butter to the boil in the saucepan.
- Add 300 g plain flour all at once and stir vigorously with a wooden spoon over a low heat for 2-3 minutes, until the dough comes together in a ball and pulls away from the saucepan.
- Knead the dough on a clean worktop for 1-2 minutes until smooth and pliable, as soon as it is cool enough to handle.
- Chill the dough in the fridge for 30 minutes together with the filling: press it out flat on a dish and cover it with cling film, laid directly on the surface so it doesn’t dry out. Both the dough and the filling must be cold, otherwise they can’t be shaped.
Shaping and coating
- Divide the dough into 16 equal pieces of about 50 g each.
- Shape one piece of dough at a time into a flat, round disc of about 8 cm in the palm of your hand. Grease your hands with a little oil if the dough sticks.
- Fill the centre with about 1 generous tbsp of the chicken filling and a small dollop of cream cheese – 150 g cream cheese in total, divided between the 16 pieces.
- Shape the dough around the filling: gather the edges and pinch them together firmly so there are no cracks. Twist the top into a point, so the coxinha looks like a teardrop or a small chicken drumstick, and press the base lightly flat.
- Beat 2 pcs eggs together in a deep plate, and pour 150 g breadcrumbs into another.
- Dip each coxinha in the egg, then turn it in the breadcrumbs until it is coated all over.
Cooking in the air fryer
- Preheat the air fryer to 200 °C fan.
- Gently brush the breaded coxinhas on all sides with 3 tbsp rapeseed oil, and place them in the basket in a single layer with a little space between them.
- Cook them at 200 °C for 15 minutes, until golden, crisp and heated through. Gently turn them halfway through.
Serving
- Let them rest for 2-3 minutes before serving, as the filling is very hot. They taste wonderful with chilli sauce or a lime mayo.
Our notes for the recipe
The dough and the filling must be cold before you shape the coxinhas. Lukewarm dough gets sticky, and warm filling makes the dough soft, so it cracks. Pinch the seam together firmly so the cream cheese doesn’t leak out during cooking. Air fryer instead of a deep fryer:
Coxinhas are traditionally deep-fried. In the air fryer, a thin layer of oil brushed all the way around gives the same golden, crisp crust with far less fat. If you see pale patches when you turn them, dab on a little extra oil. Variation:
Use chicken thighs instead of breast for a juicier filling, or add a little finely chopped chilli. Small party coxinhas of about 25 g of dough are cooked at 200 °C for 10-12 minutes. Serving:
Serve coxinhas as a snack, for a party or as a lunch with a fresh salad and chilli sauce. Portion size:
The recipe makes about 16 coxinhas, so 4 per portion. If your air fryer is smaller, you can cook them in two batches. About catupiry:
In Brazil, catupiry is used, a soft and creamy Brazilian cheese. Plain cream cheese is the closest substitute you can find in ordinary supermarkets.
Your notes for the recipe
Nutrition per serving (Guideline)
Important about shelf life and nutrition
Nutrition per serving (guideline): Calculations are based on data from the United States Department of Agriculture (USDA). Shelf life (guideline): Shelf life data is provided, as far as possible, by public institutions, including national food authorities. Our information is therefore only indicative, and it is your responsibility to obtain and calculate accurate information about shelf life and nutrition for all recipes on airfryerkogebogen.dk
Easily share the recipe with others:
Via email or on Facebook
Open the recipe on your phone
Scan the QR code with your phone and get the recipe directly on your mobile while you cook.

Author
Airfryerkogebogen.dk