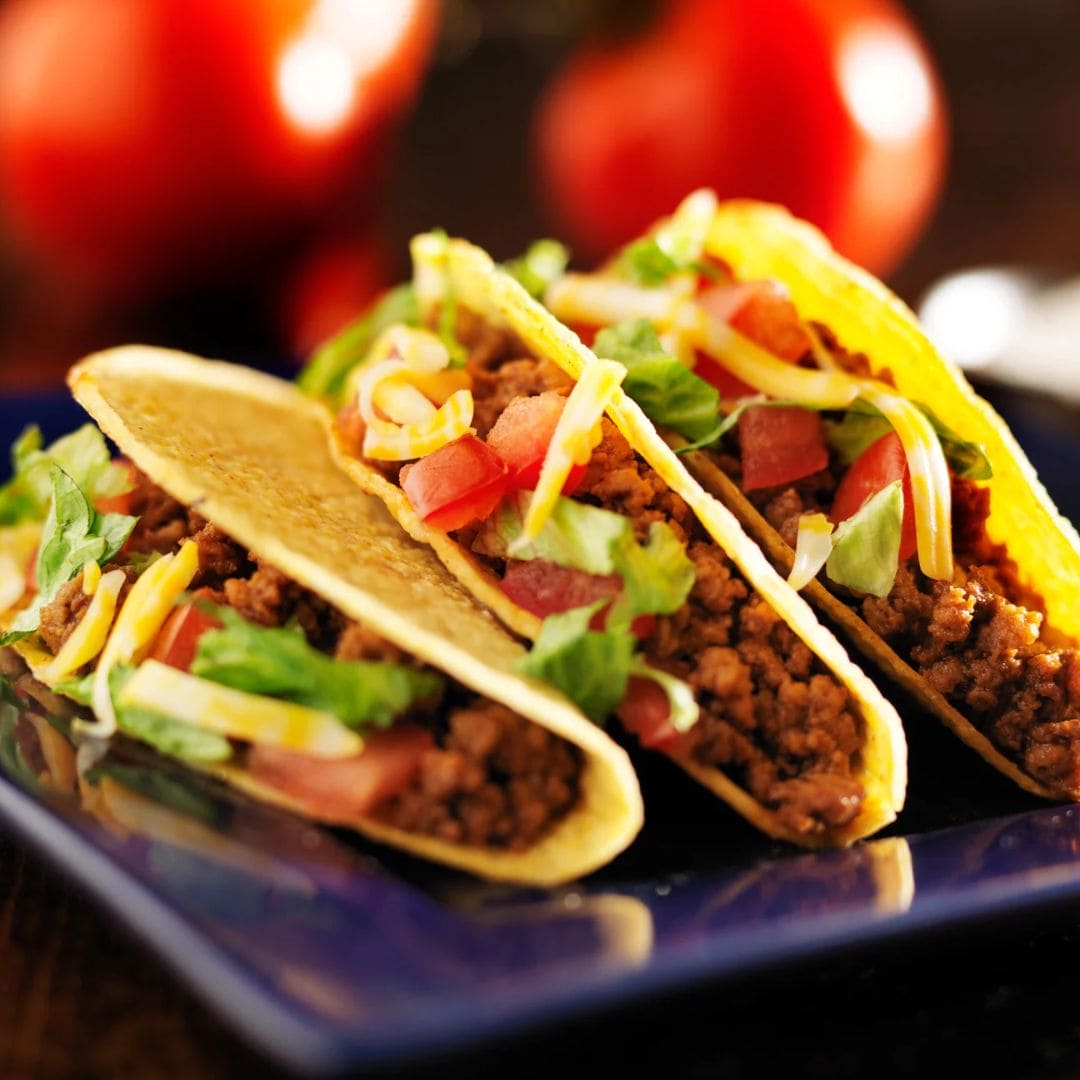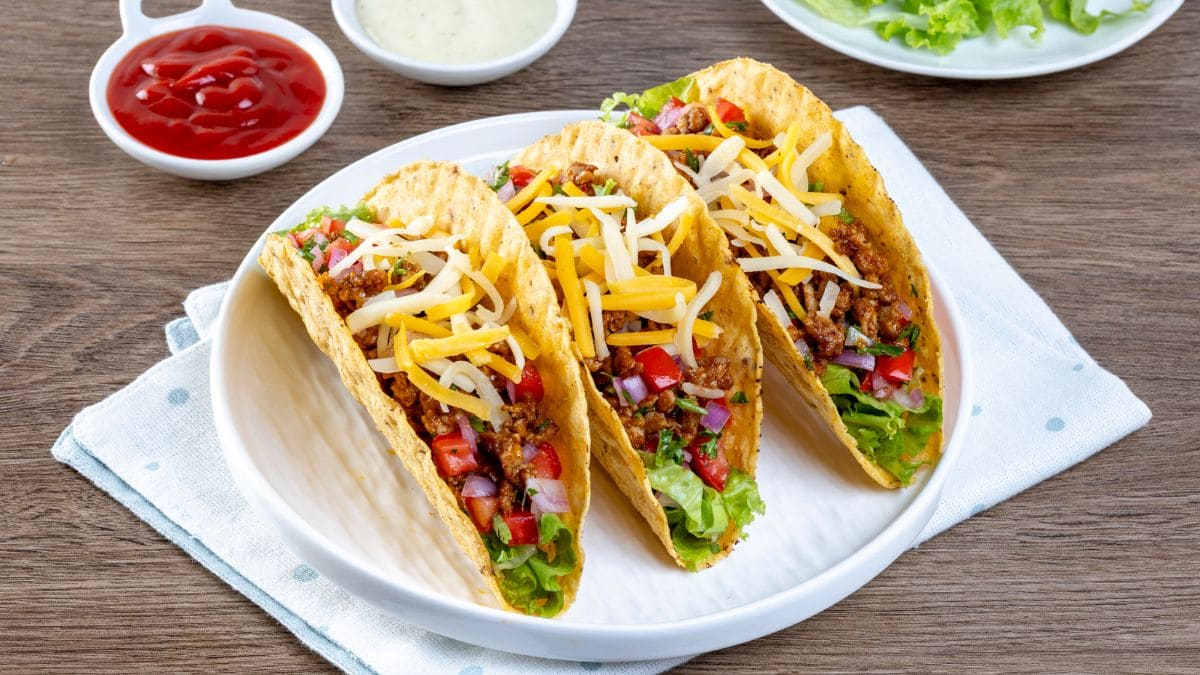
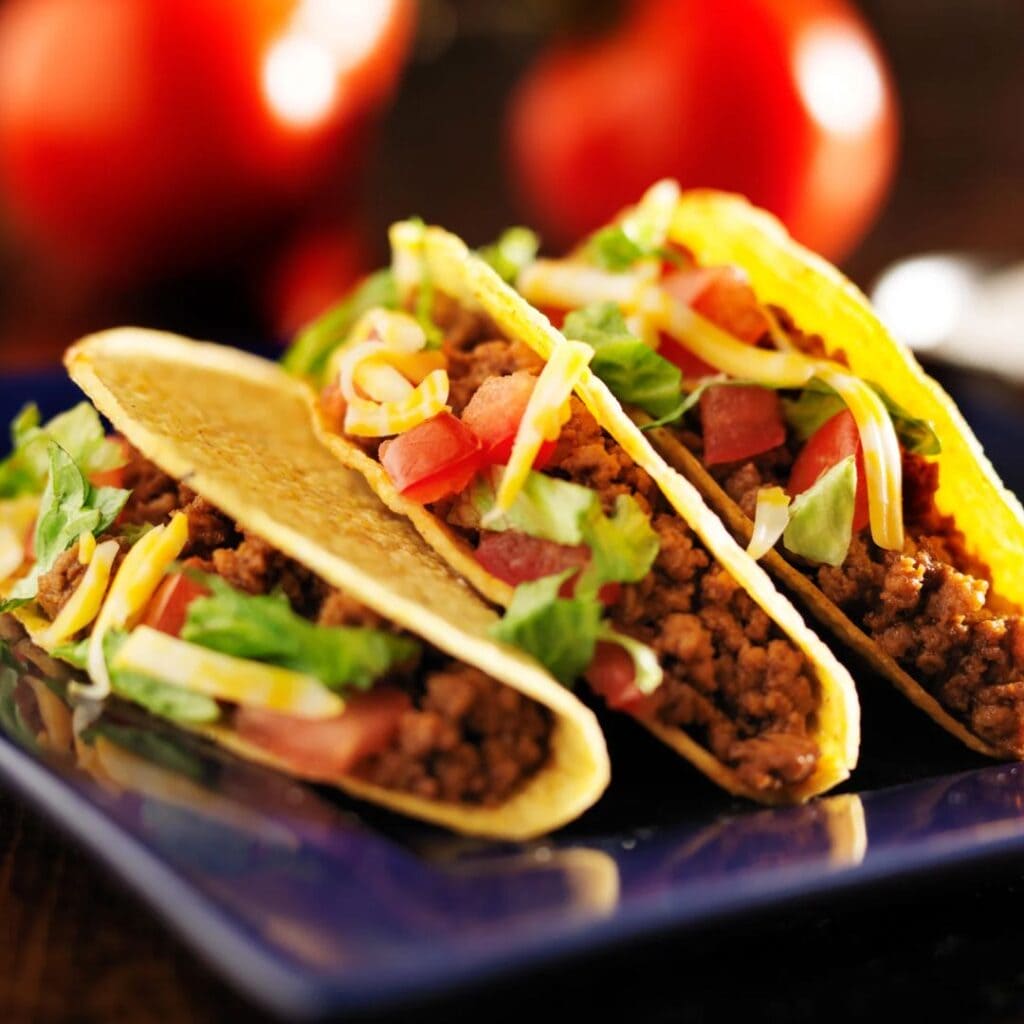
Taco shells in the air fryer are my shortcut to Friday tacos, where the shells are extra crispy and the cheese has melted all the way down into the filling. This is the Scandinavian Tex-Mex that most Danes grew up with: hard corn shells with spiced minced beef, grated cheese and plenty of cold vegetables on top – not the soft Mexican tacos.

Advertisement: The page displays ads and contains advertising links (affiliate links). See our advertisers here.
You brown the meat filling in a frying pan, then stand the filled shells close together and upright in a dish that fits in the basket. They are baked at 180 °C until the cheese has melted and the edges are lightly golden. Lettuce, onion, tomato, cucumber and sweetcorn go on only afterwards, so the vegetables stay cold and crisp. The whole dish is ready in 35 minutes.
Estimated reading time: 4 minutes
Table of Contents
Why I love taco shells in the air fryer
Taco shells straight from the packet are crisp enough, but they taste a little flat, and the cheese sits cold on top of the meat. A short stay in the air fryer changes everything. The hot air toasts the corn shells, so they get more flavour and a distinct snap, and the cheese melts down over the filling and holds it in place, so it does not spill out at the first bite.
I also like that the dish brings the whole table together. The shells come out warm with meat and cheese, and then everyone tops their own with whatever vegetables they feel like.
The difference between the air fryer and the oven
In the oven, preheating usually takes longer than the shells need to bake. The air fryer reaches 180 °C quickly, and each batch takes only 4-5 minutes. On the other hand, the basket is smaller: there is room for about 6 taco shells at a time, so the 12 shells are baked in two batches. That does not matter, because the first batch can be topped and passed around while the second one bakes.
My kitchen test of taco shells
I tested the recipe in my Cosori Dual Blaze, which has one basket with heating elements both above and below. That gives even heat all the way around the dish, so the cheese melts evenly in all the shells. At 180 °C, the cheese had melted and the edges were lightly golden after 4-5 minutes per batch.
My oven-safe dish of about 20 x 20 cm held 6 shells when they stood tightly together. The meat filling took about 10 minutes in the pan: first 5-6 minutes over high heat, until the meat was cooked through, and then 4-5 minutes over medium heat with taco seasoning and water, until the liquid had almost cooked away. With 15 minutes of preparation and 20 minutes of cooking, the whole dish comes in at 35 minutes.
My best trick is the dish: pack the taco shells so tightly that they lean against each other. That way they stay upright, and the cheese melts down into the filling instead of out over the bottom.
Tips and tricks from the author: Morten Jensen
The typical mistakes and how to avoid them
The first mistake is a wet meat filling. If there is still liquid in the pan, the shells soak it up and turn soggy at the bottom, so let the filling simmer until the liquid has almost cooked away – it should be juicy, but not wet. The second mistake is standing the shells too loosely. Then they tip over during baking, and the filling runs out. So pack them tightly in the dish, and fill them only about halfway, so there is room for the cheese. The third mistake is walking away from the air fryer. The edges darken quickly, so check on the shells from the 3-minute mark, and take the dish out as soon as the cheese has melted.
How to serve taco shells
Top the warm taco shells with lettuce, onion, tomato, cucumber and sweetcorn, and serve them straight away. Put the rest of the vegetables on the table together with a few extra accompaniments, so everyone can build their own:
- Crème fraîche, which takes the edge off the spice
- Salsa – mild for the children and hot for the adults
- Guacamole or diced avocado
- Pickled jalapeños for those who want more of a kick
Storing and reheating
Filled taco shells taste best freshly baked, so only bake the ones you expect to eat. The meat filling, on the other hand, can easily be stored: it keeps in an airtight container in the fridge for up to 3 days and can be frozen for up to 3 months. Filled taco shells and fresh vegetables are not suitable for freezing. If you do have filled shells left over, reheat them without the vegetables in the air fryer at 160 °C for 4-5 minutes, until the filling is heated through, and add fresh toppings afterwards.
Taco shells in the air fryer are Friday food that almost makes itself: one pan, one dish and two short batches in the basket. Put the bowls of vegetables on the table, and let everyone top their own. Enjoy your meal.
FAQ
A standard air fryer has room for about 6 taco shells at a time in an oven-safe dish of about 20 x 20 cm. The 12 shells in the recipe are therefore baked in two batches of 4-5 minutes each at 180 °C. If your air fryer is smaller, you can bake them in three batches.
Yes. You can swap the beef for minced chicken or make a vegetarian version with black beans. Whatever the filling, it must not be wet when it goes into the shells.
The meat filling can be made in advance and keeps in an airtight container in the fridge for up to 3 days. Heat it through, fill the shells and bake them just before serving, because filled taco shells taste best freshly baked.

Recipe
Taco Shells in the Air Fryer
Cooking Guide
Keep the screen on and follow the recipe step by step while you cook.
Step 1:
Avoid the screen turning off while you cook.
Step 2:
Start the guide and follow the recipe one step at a time.
Cost of the dish
Prices may vary depending on where you shop.
Our estimate is based on average food prices for the current year 2026.
Estimated price for the whole dish:
Airfryer size
All our recipes are tested in a Philips Airfryer 2000 Series NA230/00 – 6.2 L
Does the recipe fit my Airfryer?
If you’re unsure, you can always reduce by one serving in the recipe, or click the 0.5x button.
You can also Ask the AI Chef
It’s easy! Just press the Ask the AI Chef button you see at the bottom.
Recommended equipment
- 1 Air fryer
- 1 Oven-safe dish - Approx. 20 x 20 cm, must fit in the basket
- 1 Frying pan
- 1 Ladle
- 1 Cutting board
- 1 Knife
- 1 Sieve
- 1 Spoon
- 1 Serving platter
Shopping list
Ingredients
- 12 pcs taco shells
- 500 g minced beef (8-12% fat)

- 1 tbsp rapeseed oil (For frying)
- 28 g taco seasoning (Equivalent to 1 packet)
- 1 dl water
- 150 g grated cheese (E.g. cheddar or mozzarella)


How to make it
Preparation
- Finely chop 1 pcs onion, and leave 150 g sweetcorn to drain in a sieve. Set the vegetables aside until the taco shells are baked.
Meat filling
- Heat 1 tbsp rapeseed oil in a frying pan over high heat, and brown 500 g minced beef for 5-6 minutes, until cooked through. Break the meat into small pieces with a ladle as you go.
- Add 28 g taco seasoning and 1 dl water, and stir well.
- Let the meat simmer over medium heat for 4-5 minutes, until almost all the liquid has cooked away. The filling should be juicy but not wet, so the taco shells do not turn soggy.
Cooking in the air fryer
- Preheat the air fryer to 180 °C fan.
- Divide the meat filling between 12 pcs taco shells with a spoon, so each shell is about half full.
- Sprinkle 150 g grated cheese over the meat filling in the shells.
- Stand half of the filled taco shells close together and upright in an oven-safe dish that fits in the basket, so they support each other and do not tip over.
- Place the dish in the basket, and bake the taco shells at 180 °C for 4-5 minutes, until the cheese has melted and the edges are lightly golden. Keep an eye on them from the 3-minute mark, as the edges darken quickly.
- Take the dish out, and move the baked taco shells onto a serving platter. Bake the rest of the taco shells in the same way at 180 °C for 4-5 minutes.
Serving
- Top the warm taco shells with lettuce, onion, tomato, cucumber and sweetcorn, and serve them straight away. Put the rest of the vegetables on the table to serve on the side.
Our notes for the recipe
Stand the taco shells tightly packed in the dish, so they hold each other upright. If they stand too loosely, they tip over and the filling runs out. Let the meat filling cook down well before it goes into the shells, because a wet filling makes the bottom soggy. Add the fresh vegetables only after baking, so they stay cold and crisp. Variation:
Swap the beef for minced chicken, or make a vegetarian version with black beans. If you want more of a kick, stir a little chilli into the meat filling or top with pickled jalapeños. Serving:
The recipe makes 12 taco shells, which is 3 per person. Put the vegetables out on the table, so everyone can top their own, and serve with crème fraîche, salsa or guacamole. Portion size:
A standard air fryer has room for about 6 taco shells at a time, so they are baked in two batches. If your air fryer is smaller, you can make the dish in three batches.
Your notes for the recipe
Nutrition per serving (Guideline)
Important about shelf life and nutrition
Nutrition per serving (guideline): Calculations are based on data from the United States Department of Agriculture (USDA). Shelf life (guideline): Shelf life data is provided, as far as possible, by public institutions, including national food authorities. Our information is therefore only indicative, and it is your responsibility to obtain and calculate accurate information about shelf life and nutrition for all recipes on airfryerkogebogen.dk
Easily share the recipe with others:
Via email or on Facebook
Open the recipe on your phone
Scan the QR code with your phone and get the recipe directly on your mobile while you cook.

Author
Airfryerkogebogen.dk