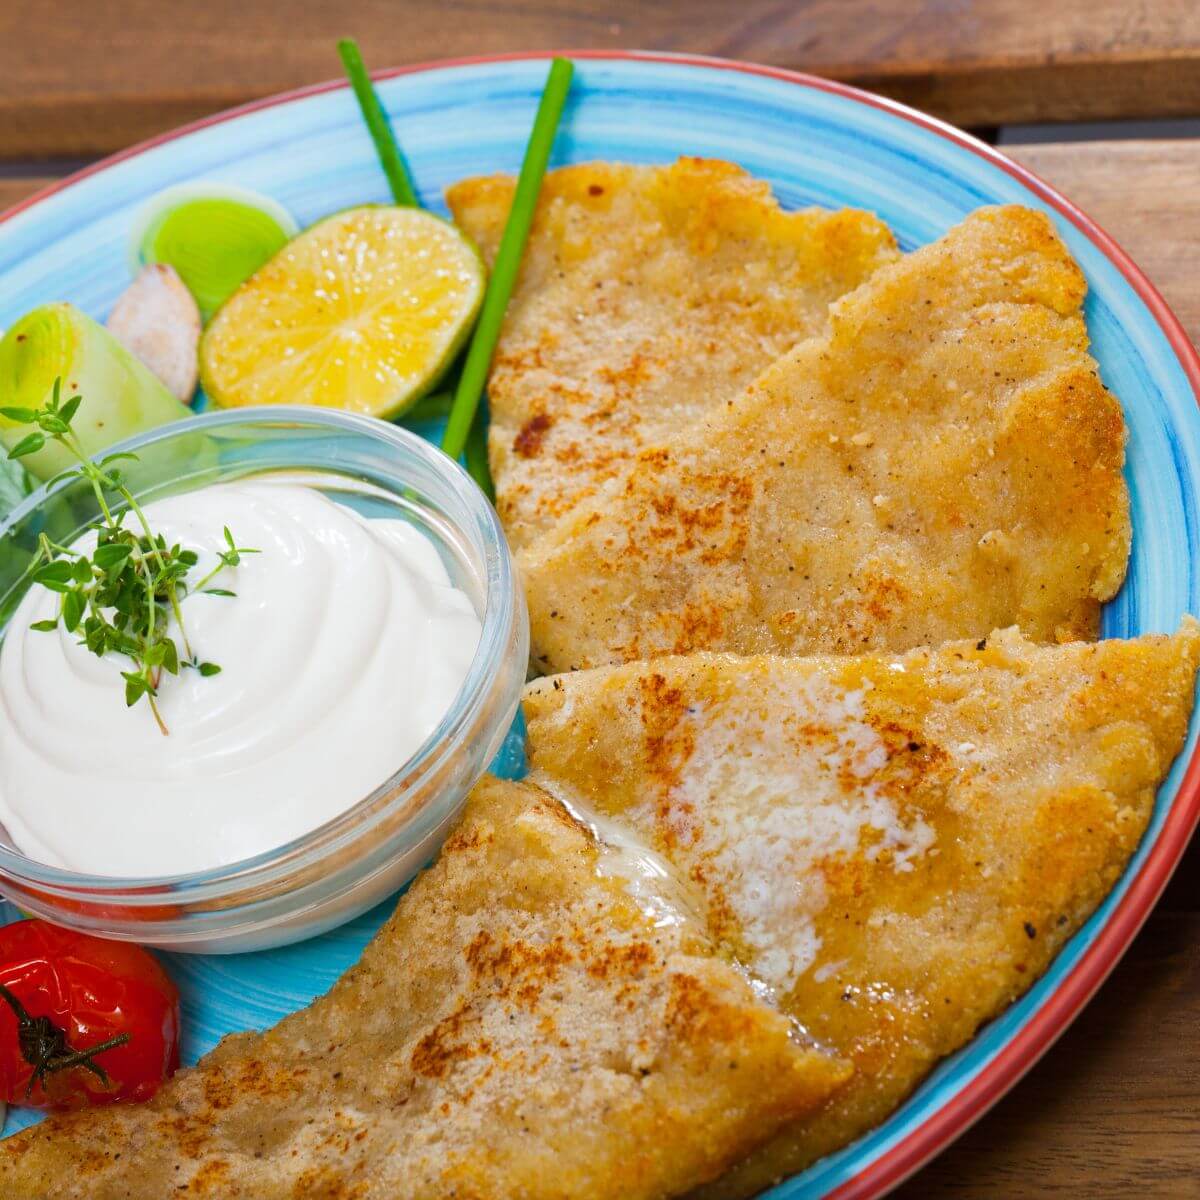

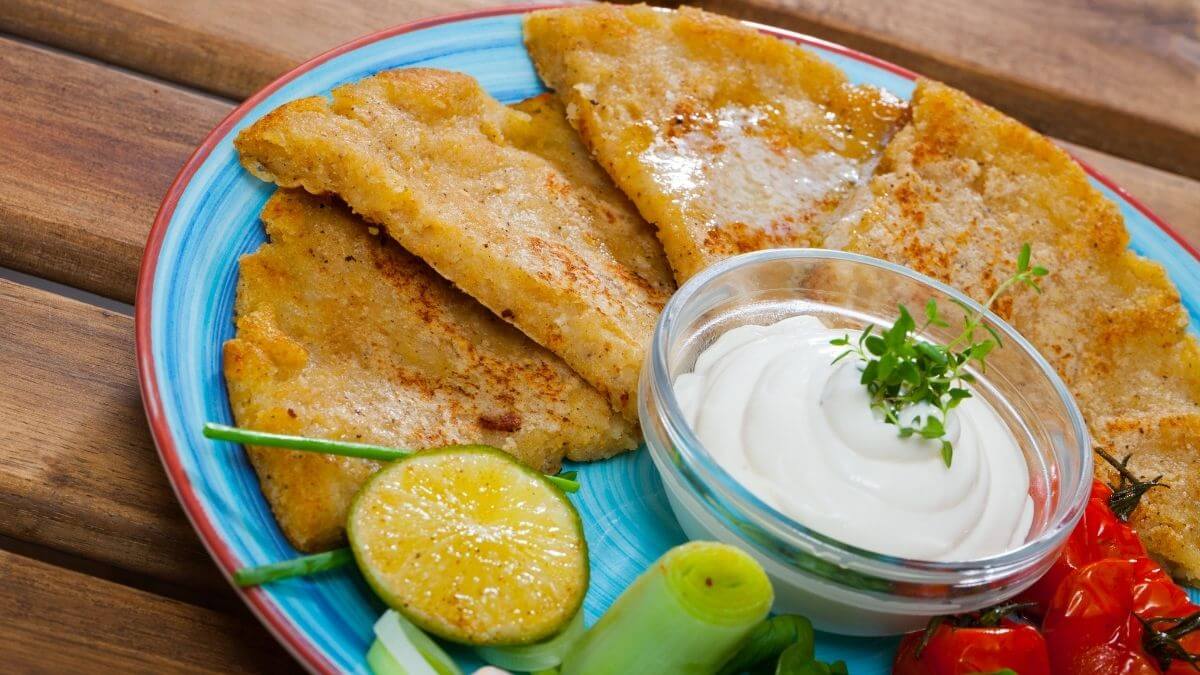
If you have ever sat down to a proper Scottish breakfast, you have met it: a flat, triangular bread of mashed potato, flour and butter, fried golden and a little uneven around the edges. The tattie scone – or potato scone – is everyday home baking in its purest form, born out of the urge to turn yesterday’s boiled potatoes into something good.

Advertisement: The page displays ads and contains advertising links (affiliate links). See our advertisers here.
There is no yeast, no proving time and no special equipment involved. In the air fryer the scone gets something a frying pan struggles to deliver: an even, crisp surface all the way round, while the middle stays soft and clearly tastes of potato. Here you get my method, the mistakes I have made along the way, and the small details that decide whether the result turns out light or leathery.
Estimated reading time: 4 minutes
Table of Contents:
Why I love tattie scones in the air fryer
A tattie scone is cheap, quick and forgiving. The potatoes have to be boiled anyway, and once the mash is cold it takes a few minutes to bring the dough together and roll it out. It is the kind of baking you make without having planned it – usually because there was a bowl of boiled potatoes left over from dinner.
The air fryer does two things really well here. It circulates hot air around the whole surface, so the scone dries off lightly on the outside and gets that characteristic golden, faintly floury crust without soaking up fat. And it holds a steady temperature, which means every piece comes out the same – unlike the frying pan, where the piece sitting right over the heat always ends up darkest.
The difference between an air fryer and a frying pan
Traditionally, tattie scones are baked on a dry girdle, the thick Scottish griddle, where they are turned just once. That gives you two dark sides and two pale edges. In the air fryer the result is more even: the edges end up more or less the same colour as the faces, and you are spared standing over the pan. The trade-off is that the pieces need space – if they lie on top of each other, they steam instead of browning.
My kitchen test: the tattie scone
I have baked them in my Philips XXL at 180 °C, and 12 minutes is exactly the point where the surface is golden and the middle still soft. Any less, and they taste of raw flour; any longer, and they start to dry out from the edge inwards. The whole process takes 52 minutes from the potatoes hitting the pot to the scones sitting on the table, of which 30 minutes are pure preparation.
The most important discovery was the cooling time. The 10 minutes where the mashed potato is left to cool are not wasted time – they are what decides the texture. Warm mash soaks up flour like a sponge, and you end up kneading too much of it in, which gives you a chewy scone. Cold mash has already set its starch and needs markedly less flour.
The dough only needs to just barely come away from your fingers. A touch sticky is better than a gram of flour too much – excess flour is the fastest route to a chewy scone.
Tips and tricks from the author: Morten Jensen
The typical mistakes and how to avoid them
The first mistake is impatience with the mash. If you bring the dough together while the potatoes are still steaming, it turns sticky, you compensate with flour, and the result is heavy – let the mash cool completely before the flour goes in. The second mistake is too much flour from the start; a tattie scone is potato with a little flour, not the other way round, so add the flour gradually and stop as soon as the dough comes together. The third mistake is rolling the dough too thick. Thicker pieces look more generous, but the middle never finishes baking in the 12 minutes, and you are left with a raw, floury centre. Roll them thin, and lay them out in a single layer in the basket with air between them.
How to serve tattie scones
Tattie scones are meant as part of a larger meal, but they hold their own perfectly well with a little butter. Try them like this:
- As part of a full Scottish breakfast with fried eggs, bacon and fried tomatoes
- Warm with a thick layer of butter and a scattering of flaky sea salt, straight from the basket
- With smoked salmon, crème fraîche and freshly ground pepper as a light lunch
- As bread with a thick vegetable soup instead of rye bread
- Topped with grated cheese and quickly toasted again, for a fast snack
Storage and reheating
Cooled tattie scones keep for two to three days in an airtight container in the fridge, and they freeze surprisingly well – lay baking paper between the layers so they do not freeze together into one lump. Reheat them at 180 °C in the air fryer until they are heated through and the surface has got its crispness back; they then taste almost freshly baked. Avoid the microwave, which turns them limp and rubbery.
Tattie scones are one of those bakes that reward simplicity. Good potatoes, as little flour as possible and an air fryer that is not packed full – and you have a morning bread with a flavour all of its own.
Frequently asked questions
Yes, and it is actually the best version. Cold, firm mashed potato binds less flour than freshly boiled mash and gives you a lighter scone. Do avoid mash that has been beaten with large amounts of milk or cream, though, as it turns too wet to roll out.
Almost always too much flour. It usually happens because the mash was too warm and soaked up the flour while you were kneading. Let the mash cool for 10 minutes, add the flour a little at a time, and stop as soon as the dough just barely comes together.
Yes. Freeze them fully baked and completely cooled, with baking paper between the layers. They can be warmed straight from frozen in the air fryer at 180 °C, until they are heated through and crisp again.

Recipe
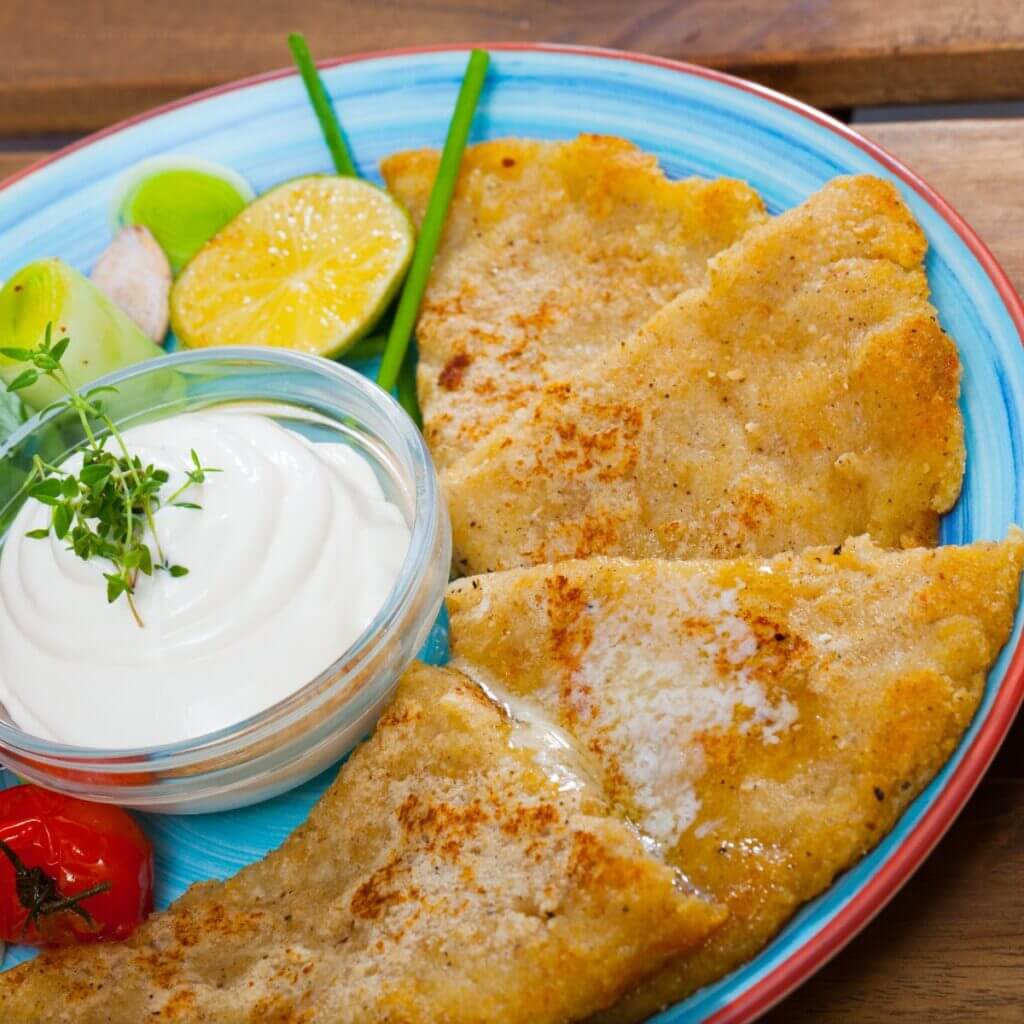
Tattie scone in the Air Fryer
Cooking Guide
Keep the screen on and follow the recipe step by step while you cook.
Step 1:
Avoid the screen turning off while you cook.
Step 2:
Start the guide and follow the recipe one step at a time.
Cost of the dish
Prices may vary depending on where you shop.
Our estimate is based on average food prices for the current year 2026.
Estimated price for the whole dish:
Airfryer size
All our recipes are tested in a Philips Airfryer 2000 Series NA230/00 – 6.2 L
Does the recipe fit my Airfryer?
If you’re unsure, you can always reduce by one serving in the recipe, or click the 0.5x button.
You can also Ask the AI Chef
It’s easy! Just press the Ask the AI Chef button you see at the bottom.
Recommended equipment
- 1 Air fryer
- 1 Pot
- 1 Potato masher
- 1 Mixing bowl
- 1 Rolling pin
- 1 Knife
- 1 Bagepapir (til airfryer)
- 1 Brush
Shopping list
Ingredients

How to make it
Preparation
- Peel 600 g floury potatoes and cut them into large, even chunks.
- Boil the potatoes until tender in lightly salted water for 15-18 minutes. Drain them, and let them steam dry completely in the pot for 2 minutes — dry mash makes the best scones.
- Mash the potatoes until completely smooth together with 30 g butter and 1 tsp salt. Leave the mash to cool for about 10 minutes, until it is warm to the touch.
- Knead 120 g plain flour into the mash a little at a time, until the dough just barely comes together. Do not knead any longer than necessary, or the scones will turn chewy.
- Scatter 2 tbsp plain flour over the worktop, divide the dough in two, and roll each piece out into a round about 5 mm thick.
- Cut each round into four triangles, so you have eight scones in all, and prick them lightly with a fork.
Cooking in the air fryer
- Preheat the air fryer to 180 °C on the fan setting.
- Line the basket with air fryer baking paper, and lay the scones out in a single layer, without overlapping.
- Bake the scones at 180 °C for 12 minutes. Turn them over after 6 minutes, so both sides turn golden with crisp edges.
- Brush the hot scones with 15 g butter as soon as they come out of the basket.
Serving
- Serve the scones warm — either just as they are, or as part of a Scottish breakfast with bacon, eggs and fried tomatoes.
Our notes for the recipe
Use floury potatoes such as baking potatoes, and let them steam dry thoroughly. Wet mash needs more flour, and too much flour makes the scones heavy and dry. Variation:
Stir a tablespoon of finely chopped chives or a pinch of garlic powder into the dough for a more flavourful version at lunch. Serving:
Serve them warm with a generous layer of butter, or as part of a Scottish breakfast with bacon, eggs and fried tomatoes. Portion size:
If your air fryer is on the smaller side, you can bake the scones in two batches.
Your notes for the recipe
Nutrition per serving (Guideline)
Important about shelf life and nutrition
Nutrition per serving (guideline): Calculations are based on data from the United States Department of Agriculture (USDA). Shelf life (guideline): Shelf life data is provided, as far as possible, by public institutions, including national food authorities. Our information is therefore only indicative, and it is your responsibility to obtain and calculate accurate information about shelf life and nutrition for all recipes on airfryerkogebogen.dk
Easily share the recipe with others:
Via email or on Facebook
Open the recipe on your phone
Scan the QR code with your phone and get the recipe directly on your mobile while you cook.

Author
Airfryerkogebogen.dk