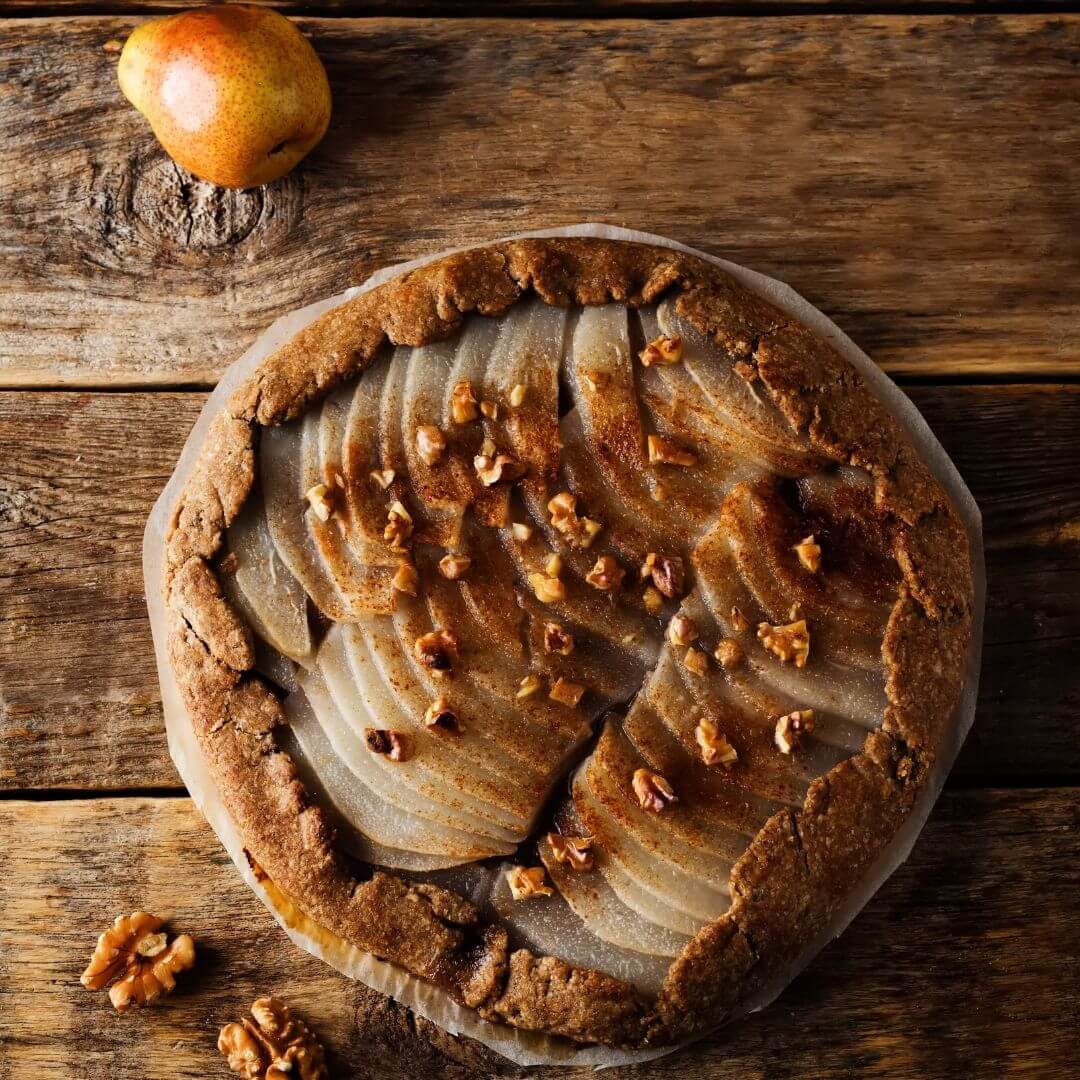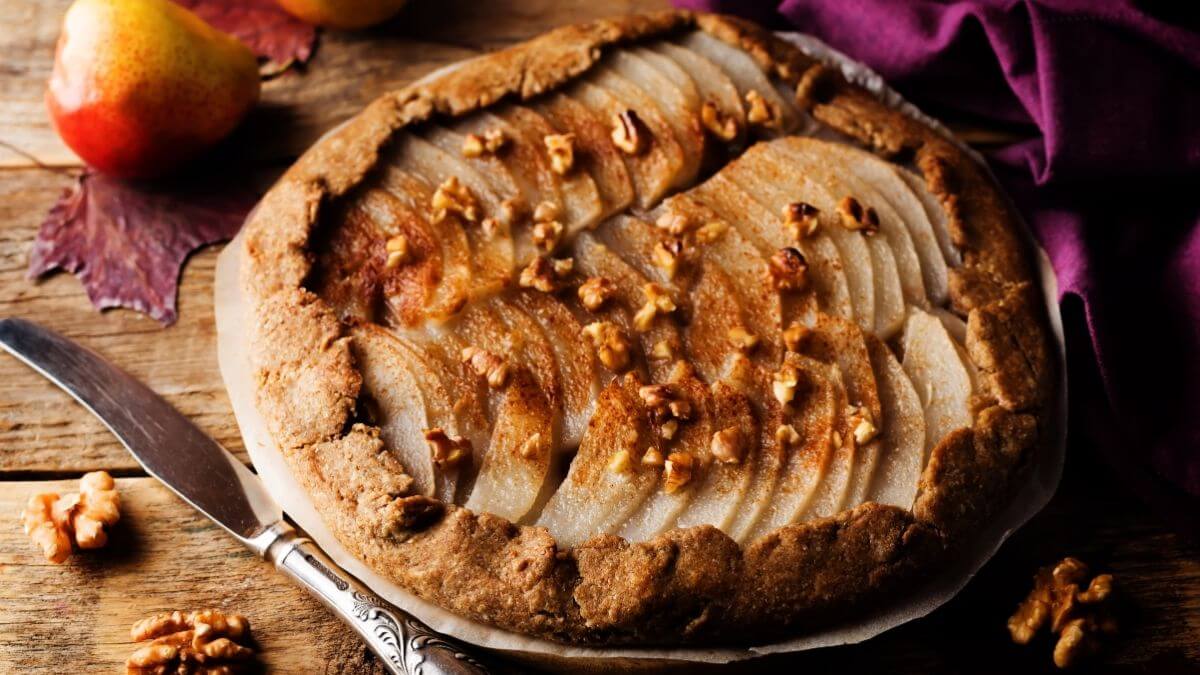
There's something special about a tart where the fruit gets to do the work. Ripe pears turn soft and almost caramel-like during baking, and when they meet chopped walnuts and cinnamon, the tart gains a depth that an ordinary fruit tart rarely reaches. Baking it in the air fryer might sound like a shortcut, but it’s actually an advantage: the compact basket and circulating heat give you a crust that bakes through and turns crispy at the edge, without the top burning.

Advertisement: The page displays ads and contains advertising links (affiliate links). See our advertisers here.
The pears are cut into thin slices and arranged in fans, the walnuts are sprinkled on top, and then the air fryer handles the rest at 160 °C. From the moment you start until the tart is ready, about 85 minutes pass — but for most of that time, you’re not actually doing anything.
Estimated reading time: 6 minutes
Table of Contents:
Why I love pear and walnut tart in the air fryer
The air fryer has an advantage the oven doesn't have for small tarts: it's small. The heat hits quickly and evenly all the way around the tin, and because there’s no need to heat up an entire oven cavity, the tart is basically baking from the second you put it in. At 160 °C it takes 30 minutes — and you haven’t had an oven running for half an hour just to bake one tart.
Then there are the pears. They release liquid during baking, and in the air fryer that liquid evaporates faster because the air is constantly moving. The result is slices that hold their shape and pick up color at the edges instead of collapsing. The walnuts on top toast along with them and turn crunchy — that’s the contrast that makes the tart.
Why pears behave differently than apples
Pears contain more water than apples and turn soft at a lower temperature. That’s why the tart bakes at 160 °C rather than the 180-200 °C often used for apple tart. Choose pears that are ripe but still firm. If you can press gently on the neck without your finger sinking in, they’re ready — an overripe pear falls apart when sliced and gives you a sweet but mushy tart.
My kitchen test of pear and walnut tart
I’ve baked this tart in my Philips XXL, and the recipe ended up at 160 °C for 30 minutes. The first time, I used more heat because I was thinking like apple tart — the walnuts turned dark and bitter long before the middle was done. At 160 °C, everything falls into place together: the crust bakes through, the pears soften, and the nuts toast without burning.
The actual work takes around 25 minutes, and then the dough needs to chill for half an hour before it goes into the tin. The 30 minutes of chilling time is non-negotiable — I’ve tried skipping it, and the crust turns chewy instead of crispy. In total, the tart comes in at around 85 minutes from start to finish.
Use the chilling time to cut the pears into really thin slices. The thinner the slices, the nicer the fan — and the more certain you can be that they’ll be tender after 30 minutes.
Tips and tricks from the author: Morten Jensen
The typical mistakes and how to avoid them
The mistake I see most often is pear slices that are too thick. Over half a centimeter and they won’t get tender in time, and the tart tastes of raw fruit right in the middle — cut them to two-three millimeters with a sharp knife rather than a mandoline, which crushes the soft fruit. The next one is chopping the walnuts too finely: turned into crumbs, they burn on the surface long before the tart is done, while coarser pieces toast nicely all the way through. And then there’s the temperature. Many people turn it up to save time, but the heat hits the top first — go above 160 °C and you’ll get dark nuts and a tart that’s still wet in the middle.
How to serve pear and walnut tart
The tart is best served warm, about fifteen minutes after it comes out, when the pears still have warmth but have settled down. These combinations work best:
- Lightly whipped cream without sugar — the sweet pear doesn’t need extra sweetness
- Vanilla ice cream, if the tart is served as dessert after a light main course
- Crème fraîche stirred with a little grated lemon zest
- Greek yogurt or buttermilk with afternoon coffee
- An extra sprinkle of toasted walnuts and cinnamon directly on the plate
Storage and reheating
The tart keeps for three days under a kitchen towel at room temperature — not in the fridge, where the crust draws moisture from the pears and turns soft. If you need to store it longer, it can be frozen in slices. The air fryer handles reheating in five minutes at 150 °C, and it’s better than the microwave: the nuts turn crispy again, and the crust gets its crunchy edge back.
A pear and walnut tart is the kind of bake that looks more advanced than it is. If you have ripe pears lying around that need to be used, this is the way. Below you’ll find the recipe with all measurements and steps.
FAQ
You can, but the result will be wetter. Frozen pears release liquid as they thaw, and that liquid ends up in the crust. Let them thaw completely and drain in a sieve for at least half an hour before placing them on the dough.

Recipe
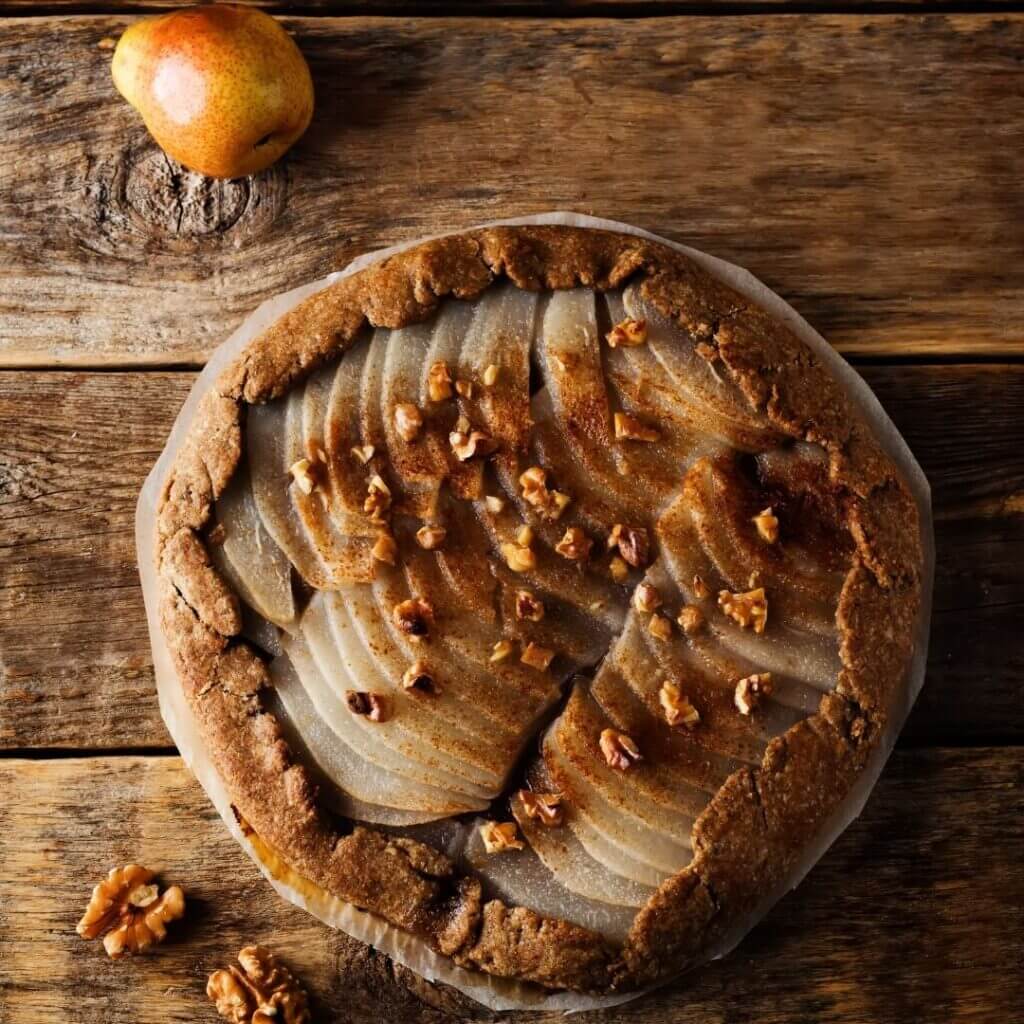
Pear and walnut tart in the air fryer
Cooking Guide
Keep the screen on and follow the recipe step by step while you cook.
Step 1:
Avoid the screen turning off while you cook.
Step 2:
Start the guide and follow the recipe one step at a time.
Cost of the dish
Prices may vary depending on where you shop.
Our estimate is based on average food prices for the current year 2026.
Estimated price for the whole dish:
Airfryer size
All our recipes are tested in a Philips Airfryer 2000 Series NA230/00 – 6.2 L
Does the recipe fit my Airfryer?
If you’re unsure, you can always reduce by one serving in the recipe, or click the 0.5x button.
You can also Ask the AI Chef
It’s easy! Just press the Ask the AI Chef button you see at the bottom.
Recommended equipment
- 1 Air fryer
- 1 Tart pan - About 20 cm, must fit in the air fryer basket
- 1 Rolling pin
- 1 Cutting board
- 1 Knife
- 1 Mixing bowl
- 1 Parchment paper - For blind baking
Shopping list
Ingredients
Shortcrust pastry
- 150 g plain flour
- 90 g butter (Cold, cut into small cubes)
- 30 g icing sugar
- 1 pcs egg yolk
- 1 tbsp cold water
Pear filling
- 3 pcs pears (Firm, e.g. Conference)
- 1 tbsp lemon juice
- 50 g cane sugar
- 1 tsp cinnamon
- 1 tbsp cornflour
- 1 tsp vanilla sugar
Walnut topping
- 75 g walnuts (Roughly chopped)
- 20 g butter (Melted)
- 1 tbsp cane sugar
- 1 tsp cinnamon
How to make it
Shortcrust pastry
- Rub 150 g plain flour, 30 g icing sugar and 90 g butter together between your fingers until the mixture resembles coarse breadcrumbs.
- Add 1 pcs egg yolk and 1 tbsp cold water, and quickly bring the dough together. Knead only until it just holds together, or the base will turn out tough.
- Press the dough flat, wrap it in cling film and place it in the fridge for 30 minutes.
Preparation
- Roll the dough out between two sheets of baking paper and line a tart tin about 20 cm across that fits in your air fryer basket. Press the dough well up the sides and trim off the excess edge.
- Prick the base with a fork, line the tin with a piece of baking paper and fill with dried beans or rice as baking weights.
- Cut 3 pcs pears into thin slices and toss them with 1 tbsp lemon juice, 50 g cane sugar, 1 tsp cinnamon, 1 tbsp cornflour and 1 tsp vanilla sugar.
- Roughly chop 75 g walnuts and mix them with 20 g butter, 1 tbsp cane sugar and 1 tsp cinnamon.
Cooking in the air fryer
- Preheat the air fryer to 160 °C.
- Blind bake the tart base for 10 minutes at 160 °C. Then remove the baking weights and paper, and bake for a further 3 minutes, until the base is dry and lightly golden.
- Fill the pre-baked base with the pear mixture and arrange the top slices in a fan shape, so the tart has an even height.
- Sprinkle the walnut mixture evenly over the tart and bake for the final 5 minutes at 160 °C, until the nuts smell toasted and the top is golden brown.
Serving
- Let the tart cool in the tin for at least 15 minutes, so the filling sets, before releasing it.
- Serve the tart warm in wedges with whipped cream, crème fraîche or a scoop of vanilla ice cream.
Our notes for the recipe
Keep everything cold while you make the pastry — cold butter and a well-chilled dough give the crispest base. Never skip blind baking in the air fryer, as the juicy pear filling can easily make the base soggy. Variation:
Swap the walnuts for pecans or hazelnuts, and grate a little lemon zest into the pear filling for a fresher taste. A couple of tablespoons of grated marzipan sprinkled over the base before the filling makes the tart even richer. Serving:
Serve the tart warm with whipped cream, crème fraîche or vanilla ice cream. A little soft brown sugar sprinkled over just before serving adds an extra caramel note. Portion size:
If your air fryer is smaller, you can bake the tart in two small tins in two batches.
Your notes for the recipe
Nutrition per serving (Guideline)
Important about shelf life and nutrition
Nutrition per serving (guideline): Calculations are based on data from the United States Department of Agriculture (USDA). Shelf life (guideline): Shelf life data is provided, as far as possible, by public institutions, including national food authorities. Our information is therefore only indicative, and it is your responsibility to obtain and calculate accurate information about shelf life and nutrition for all recipes on airfryerkogebogen.dk
Easily share the recipe with others:
Via email or on Facebook
Open the recipe on your phone
Scan the QR code with your phone and get the recipe directly on your mobile while you cook.

Author
Airfryerkogebogen.dk