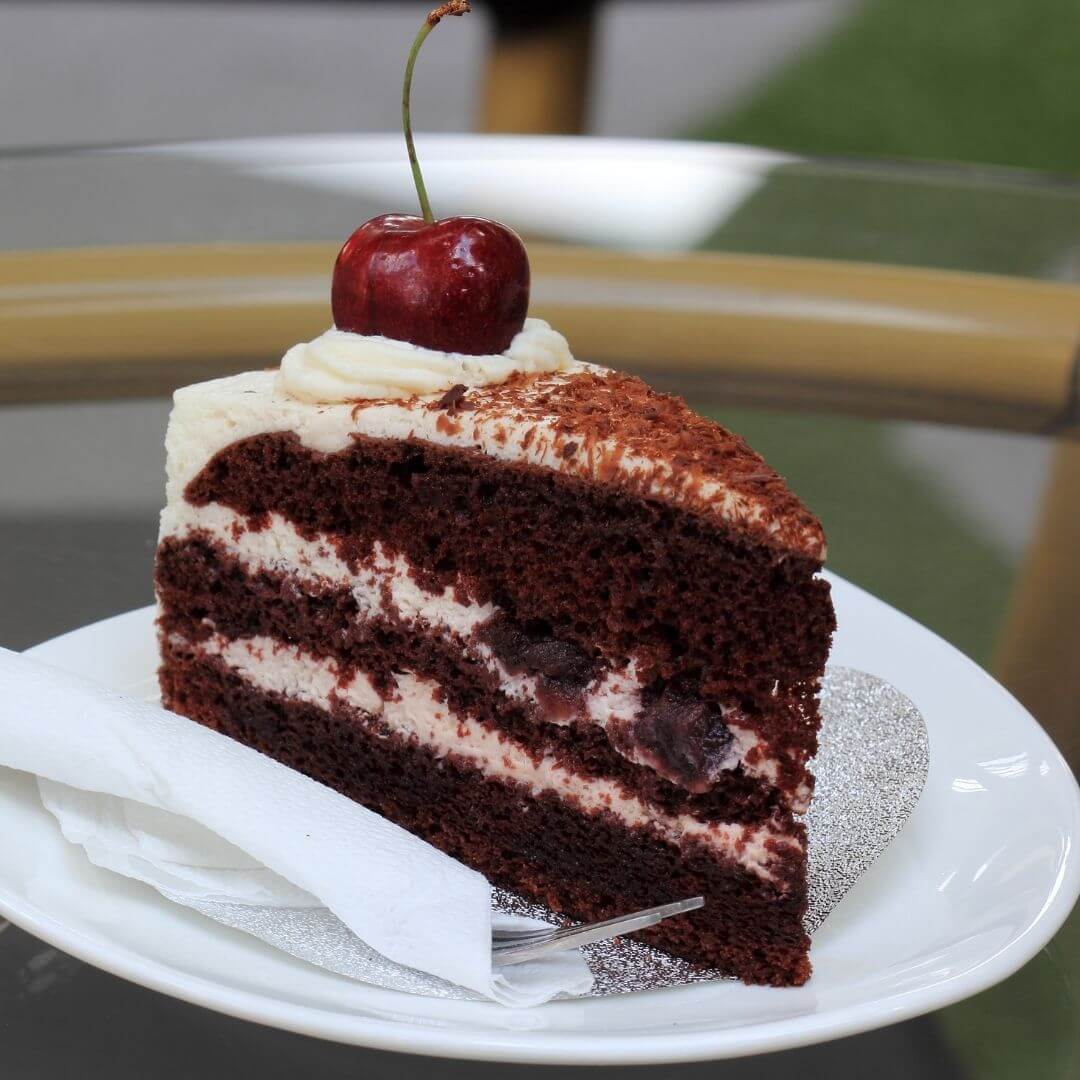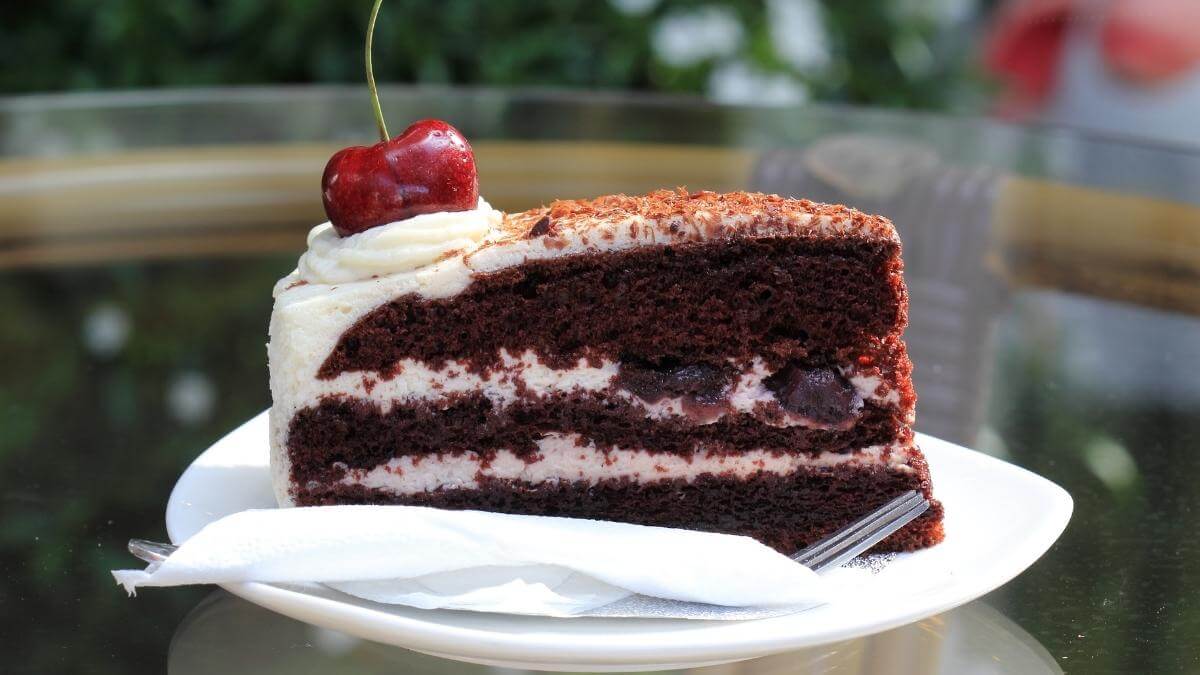
Black Forest cake is the German classic that has stood the test of time since the 1930s: dark cocoa sponge, tart cherries, a hint of kirsch and a mountain of light whipped cream, crowned with grated dark chocolate. It looks lavish on the plate, but it’s really more an exercise in patience than in technique.

Advertisement: The page displays ads and contains advertising links (affiliate links). See our advertisers here.
And yes, it bakes perfectly well in the air fryer. The circulating heat gives you an even, moist cocoa sponge, without having to heat up the whole oven for a single cake. You bake one sponge at 160°C and slice it horizontally into layers – or bake several sponges one after another if your basket is small. From mixing the batter to a cooled cake ready to assemble takes about two hours, of which the last hour is pure chilling time.
Estimated reading time: 6 minutes
Table of Contents:
Why I love Black Forest cake in the air fryer
A classic Black Forest cake is baked in a large springform tin and takes over the whole oven. In the air fryer, I work with a smaller tin, and that changes the cake’s character for the better: the sponge turns out tall and firm enough to slice into layers without crumbling, and the edges get that slightly chewy surface that the kirsch soaks right into.
The big win is the heat. An air fryer reaches temperature quickly, and the fan distributes the heat evenly around the tin. At 160°C the cocoa sponge rises steadily instead of shooting up into a peak in the middle, which makes it far easier to slice horizontally afterwards.
The difference between air fryer and oven
An oven heats mainly from the elements, and the air stays fairly still. The air fryer circulates air, which means the surface sets faster. For a cocoa sponge that’s an advantage, as long as the temperature stays low – hence the 160°C. Turn it up, and you’ll get a dark crust long before the middle is baked through, and a sponge with a dry edge and a raw core can’t be saved by kirsch or whipped cream.
My kitchen test of Black Forest cake
I baked the cake in my Philips XXL, where the basket is deep enough for a tin with plenty of clearance from the heating element. 160°C and 30 minutes of baking is what works: the sponge has risen fully, the surface springs back lightly, and a cake tester comes out with a few moist crumbs – not wet batter. Prep took me half an hour: mixing the batter, pitting the cherries and whipping the cream.
The most important number, though, is the chilling time. The sponge needs to sit for an hour before it’s sliced and layered. I’ve tried rushing it, and the result is predictable: the whipped cream melts into the still-warm sponge, the layers slide, and the cake ends up as a heap. With the full chilling time, the layers hold their shape sharply, and the kirsch has time to soak into the sponge instead of evaporating.
Drizzle the kirsch onto the sponge while it’s still warm, but wait to add the whipped cream until it’s completely cold. Half of the timing is about flavor, the other half is about whether the cake stays standing at all.
Tips and tricks from the author: Morten Jensen
The common mistakes and how to avoid them
The first mistake is turning up the heat to save time. The cocoa sponge burns on top long before the middle is done, and there’s no going back – stick to 160°C, even when it feels slow. The second is wet cherries: straight from the jar, the liquid seeps into the sponge and makes it gummy. Drain them thoroughly, and let them drip dry on paper towel while the sponge cools. The third mistake is impatience with the layering. A sponge with even a little warmth left in it melts the whipped cream, and the cake slides out at the sides. Feel the middle of the sponge with your palm – if it’s warm at all, it isn’t ready.
How to serve Black Forest cake
The cake is rich enough to stand alone, but a few things lift it from cake table to dessert:
- Black coffee or an espresso that cuts through the whipped cream
- A small glass of kirsch or cherry liqueur for the adults
- Extra fresh cherries and a sprinkling of grated dark chocolate on the plate
- A spoonful of lightly whipped, unsweetened cream on the side as a counterweight
Storage and reheating
The cake needs to go in the fridge as soon as it’s assembled, and it keeps for a couple of days under a cake dome or in a cake tin. Don’t reheat it – the whipped cream won’t survive it – but take it out of the fridge in good time before serving, so the sponge softens up again and the chocolate doesn’t taste of cold. If you have leftover sponge, it can be wrapped tightly and frozen unassembled; the whipped cream and cherries only go on after thawing.
Black Forest cake in the air fryer isn’t a quick cake, but it is a manageable one. The sponge looks after itself for those 30 minutes, the chilling time does the work for you, and the rest is pure assembly. Give it the hour it asks for, and you’ll get a cake with crisp layers and flavor from chocolate, tart cherries and kirsch alike.
FAQ
Yes. The kirsch can be replaced with the juice from the cherries or with pure cherry juice if the cake needs to be alcohol-free. The flavor will be milder and sweeter, so use a little less liquid and taste as you go.
160°C and about 30 minutes of baking. The sponge is done when the surface springs back lightly and a cake tester comes out with a few moist crumbs.
It depends on your basket. If there’s room for a tin with enough height, bake one sponge and slice it horizontally into layers. If the basket is low, bake two or three thinner sponges one after another instead and stack them.

Recipe
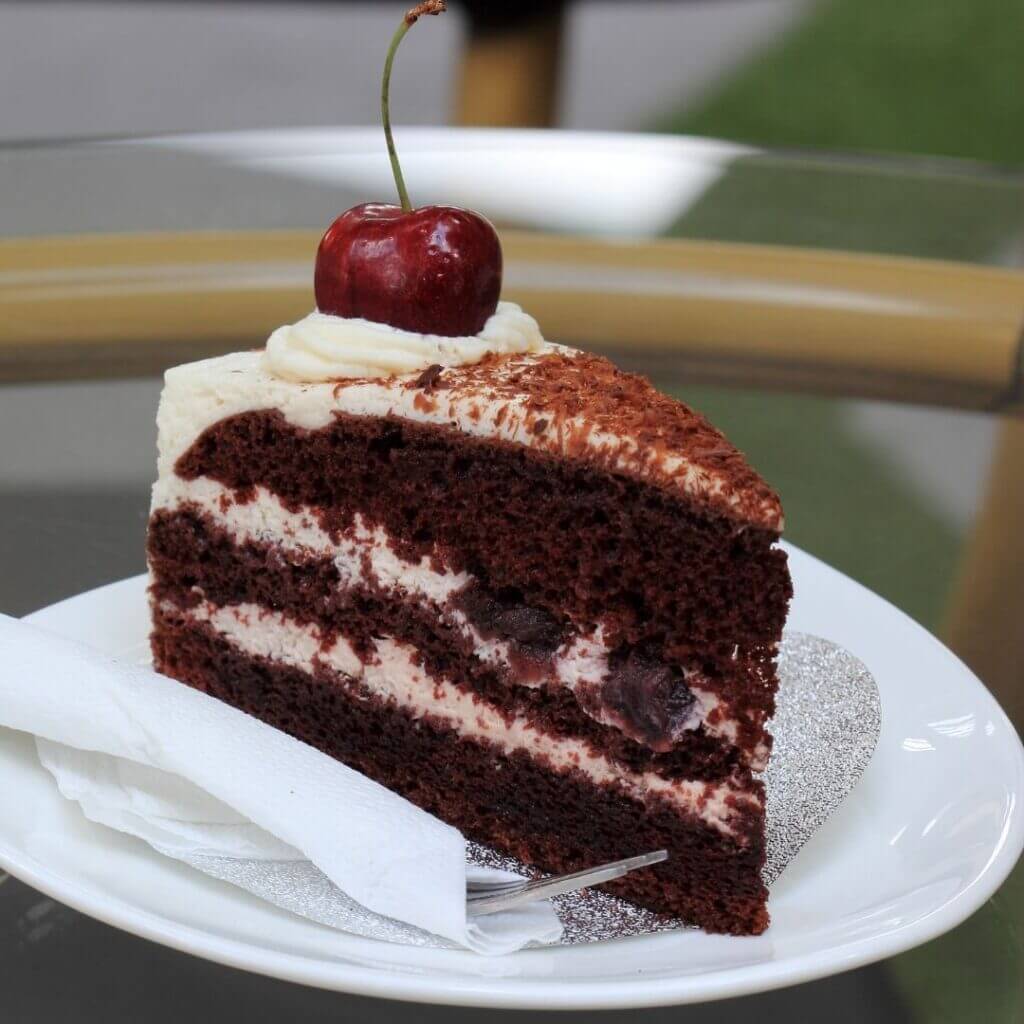
Black Forest cake in the air fryer
Cooking Guide
Keep the screen on and follow the recipe step by step while you cook.
Step 1:
Avoid the screen turning off while you cook.
Step 2:
Start the guide and follow the recipe one step at a time.
Cost of the dish
Prices may vary depending on where you shop.
Our estimate is based on average food prices for the current year 2026.
Estimated price for the whole dish:
Airfryer size
All our recipes are tested in a Philips Airfryer 2000 Series NA230/00 – 6.2 L
Does the recipe fit my Airfryer?
If you’re unsure, you can always reduce by one serving in the recipe, or click the 0.5x button.
You can also Ask the AI Chef
It’s easy! Just press the Ask the AI Chef button you see at the bottom.
Recommended equipment
- 1 Air fryer
- 1 Springform pan (18 cm)
- 1 Parchment paper (for air fryer)
- 2 Mixing bowl
- 1 Electric mixer
- 1 Bread knife - For slicing the sponge horizontally
- 1 Grater - For the chocolate
- 1 Grill rack - For cooling
Shopping list
Ingredients
Cocoa sponge

Cherries and kirsch
- 350 g fresh cherries (Pitted)
- 2 tbsp sugar (For the cherries)
- 3 tbsp kirsch (Cherry brandy)


Whipped cream and garnish
- 400 ml double cream (Well chilled)
- 2 tbsp icing sugar
- 1 tsp vanilla sugar
- 50 g dark chocolate (For grating)
How to make it
Preparation
- Preheat the air fryer to 160°C on the hot air setting.
- Line the bottom of an 18 cm springform tin with baking paper, and lightly grease the sides. The tin needs to stand freely in the basket with air all the way round so the heat can circulate.
- Rinse the 350 g fresh cherries, pit them and halve about two-thirds of them. Toss the halved cherries with the 2 tbsp sugar, and leave them to macerate while you make the batter. Keep the rest of the cherries whole for garnish.
- Melt the 75 g butter, and let it cool until just lukewarm.
Cocoa sponge
- Whisk the 3 eggs and 150 g sugar with an electric whisk for 4-5 minutes until pale and fluffy. The mixture is ready when it forms a thick ribbon that slowly sinks back in.
- Add the lukewarm butter and 50 ml whole milk, and fold in just until the batter is smooth. Pour the batter into the tin, and smooth out the surface.
Cooking in the air fryer
- Place the tin in the air fryer basket, and bake the cake at 160°C for 28-30 minutes. Loosely lay a piece of baking paper over the top after 15 minutes if the surface is browning too much.
- Check the cake with a toothpick in the centre: it should come out clean. If the batter is still wet, bake for another 3-5 minutes at 160°C.
- Let the cake cool in the tin for 10 minutes. Then loosen the sides, and turn the sponge out onto a wire rack. Let it cool completely for at least 45 minutes before slicing.
Assembling and serving
- Slice the completely cooled cocoa sponge horizontally into two layers with a bread knife. If the sponge is tall enough, you can cut three thin layers instead.
- Brush both layers with the 3 tbsp kirsch so the sponge becomes nice and moist, and leave it to soak for 5 minutes.
- Whip the 400 ml double cream to soft peaks together with the 2 tbsp icing sugar and 1 tsp vanilla sugar. Stop while the cream is still light, as it will firm up further once you spread it.
- Fill the bottom layer with a thick layer of whipped cream, and spread the sugared cherries on top. Place the top layer on, and press down lightly so the cake settles.
- Cover the top with the rest of the whipped cream. Grate the 50 g dark chocolate over the cake, and garnish with the whole cherries.
- Chill the cake for at least 15 minutes so the layers settle, and serve it cold.
Our notes for the recipe
Use a springform tin that can stand freely in the basket with at least one and a half centimetres of air all the way round, otherwise the base will bake unevenly. Open the air fryer as little as possible during the first 15 minutes, so the airy cocoa sponge doesn’t sink. Bake two layers instead:
If you have two identical tins, you can split the batter and bake two thin layers at 160°C for 15-18 minutes each. That way you avoid having to slice the sponge in half. Variation:
Without alcohol, brush the layers with cherry juice mixed with a drop of almond essence. If cherries aren’t in season, you can use thawed frozen cherries, but drain them thoroughly first so the whipped cream doesn’t turn watery. Serving:
Serve the cake cold straight from the fridge with a cup of black coffee. The cake serves 6-8 smaller slices, even though it’s designed as 4 servings. Portion size:
If your air fryer is smaller, you can make the dish in two batches.
Your notes for the recipe
Nutrition per serving (Guideline)
Important about shelf life and nutrition
Nutrition per serving (guideline): Calculations are based on data from the United States Department of Agriculture (USDA). Shelf life (guideline): Shelf life data is provided, as far as possible, by public institutions, including national food authorities. Our information is therefore only indicative, and it is your responsibility to obtain and calculate accurate information about shelf life and nutrition for all recipes on airfryerkogebogen.dk
Easily share the recipe with others:
Via email or on Facebook
Open the recipe on your phone
Scan the QR code with your phone and get the recipe directly on your mobile while you cook.

Author
Airfryerkogebogen.dk