

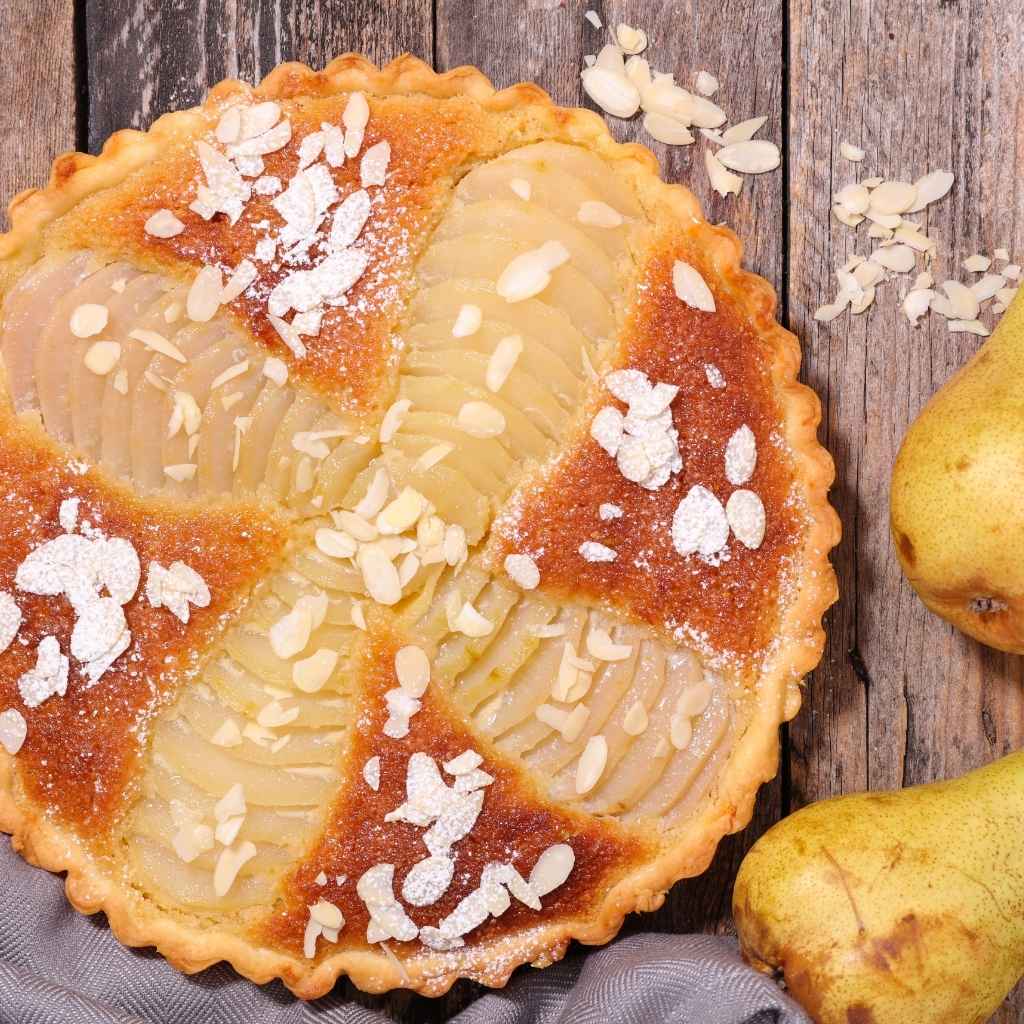
Pear tart in the air fryer. Autumn has always been my favourite time of year. The air turns crisper, the leaves change colour into beautiful shades of red and gold, and it’s the season when Danish pears are at their very best. There’s something truly special about taking a walk to the local market and filling your basket with the season’s fresh produce. When I get home, the first thing on my mind is baking a delicious pear tart. The scent of a freshly baked tart filling the house creates a feeling of hygge and warmth that only autumn can bring.

Advertisement: The page displays ads and contains advertising links (affiliate links). See our advertisers here.
Estimated reading time: 6 minutes
Table of Contents:
History and cultural significance
Origin and development
The history of pear tart stretches far back in time. In medieval Europe, tarts were used as a practical way to preserve fruit, and pears were a favourite thanks to their sweetness and keeping qualities. In Denmark, pear tart has been part of our culinary traditions for centuries. Many families have their own recipes, passed down through generations, each with its own unique twist.
I clearly remember how my grandmother always used Clara Frijs pears from her own garden to make her famous pear tart. She always said it was the juiciness and sweetness of the pears that made the tart so special. I’ve tried to carry on this tradition, and I love experimenting with different Danish pear varieties.
I recommend this medium-roast coffee for our pear tart
With a warm pear tart, there’s almost nothing better than a freshly brewed cup of coffee. I can warmly recommend Freehand Gently coffee beans – their mild, balanced character pairs perfectly with the sweet pear.
Symbolism and traditions
Pear tart in the air fryer is not just a dessert; it’s part of our cultural heritage and symbolises togetherness and abundance. In many Danish homes, it’s a tradition to gather round a slice of warm pear tart after a long day in the autumn chill. The tart brings people together and creates memories that last a lifetime. For me, it’s also a way of celebrating the season’s produce and appreciating what nature has to offer.
Flavours and variations
Pear tart in the Air Fryer: a culinary delight
The classic Danish pear tart is a true delight for the taste buds. The combination of a crisp base and juicy pieces of pear creates a perfect balance of texture and flavour. I prefer to use Danish pear varieties like Conference, Clara Frijs and Grev Moltke. Clara Frijs is known for its juicy, sweet flavour, while the Conference pear adds a subtly spiced note. Grev Moltke has slightly firmer flesh and gives the tart a lovely texture.
When it comes to spices, I love adding a touch of vanilla and cinnamon to bring out the pear’s natural sweetness. Sometimes I experiment with cardamom or a sprinkle of ginger to give the tart an extra kick. The possibilities are endless, and that’s exactly what makes baking so exciting.
Pear “tarte”: a French delicacy
Although I’m a big fan of Danish pear tart, I can’t help but admire the French pear tarte. This delicacy is known for its elegant presentation, with thin slices of pear arranged in beautiful patterns on a light puff pastry. It focuses on bringing out the pear’s natural flavour without too many additives. It’s a simple yet sophisticated dessert that shows how the pear can be the star of any dish.
Modern adaptations of pear tart in the Air Fryer
In today’s global kitchen, we see how traditional dishes like pear tart are being reinvented and adapted to new tastes and dietary needs. Gluten-free versions with almond flour or buckwheat flour have become popular, and vegan variations use coconut oil instead of butter. I’ve tried making a pear tart with a touch of dark chocolate and nuts myself, which gave it a deeper flavour profile.
Technology has also played a role in modernising the pear tart. Recently, I experimented with the recipe here myself, baking a pear tart in the air fryer. It was surprisingly easy and resulted in a crisp, delicious tart in less time than in a traditional oven. It’s fantastic how we can combine old recipes with new methods and still keep that authentic flavour.
Brush the tart base with a thin layer of melted dark chocolate before adding the pears. The chocolate forms a barrier that stops the base from turning soggy from the pears’ juice, while also adding a lovely depth and luxurious flavour to the tart.
Tips and tricks from the author: Morten Jensen
Danish pear varieties for your tart
When it comes to choosing pears for your tart, Danish varieties are an excellent choice. Besides Clara Frijs, Conference and Grev Moltke, there are also pears like Belle de Boskoop and Williams. Belle de Boskoop is slightly more tangy and works well if you want a tart with a bit more bite. The Williams pear is juicy and aromatic, perfect for a sweet dessert.
Using local pears not only supports Danish fruit growers, but also ensures you get the freshest and most flavourful ingredients. It’s a way of connecting with the season and enjoying the fruit when it’s at its best.
What to serve with pear tart in the Air Fryer?
A pear tart in the air fryer can stand on its own, but it only gets better with the right accompaniment. Traditionally, it’s served with a dollop of crème fraîche, whose tanginess complements the tart’s sweetness. If you prefer things sweeter, a scoop of vanilla ice cream is an excellent choice, especially when the tart is warm. Whipped cream with a touch of vanilla can also be delicious.
For an extra dimension, you can sprinkle a few chopped nuts on top or serve it with a caramel or chocolate sauce. Personally, I love serving my pear tart with a cup of hot tea or coffee, which rounds off the cosy autumn experience.
Conclusion: pear tart in the Air Fryer
Pear tart in the air fryer is more than just a dessert; it’s part of our Danish culture and a celebration of autumn’s abundance. It holds a story that connects us with earlier generations, and gives us the chance to create new memories with the people we hold dear. By using Danish pear varieties and experimenting with serving ideas, we can make this classic dish our own.
So next time you’re holding a bag of fresh Danish pears, why not take the time to bake a pear tart? Not only will you enjoy a delicious dessert, but you’ll also be part of a long tradition that celebrates hygge, togetherness and the simple joys of life.

Recipe
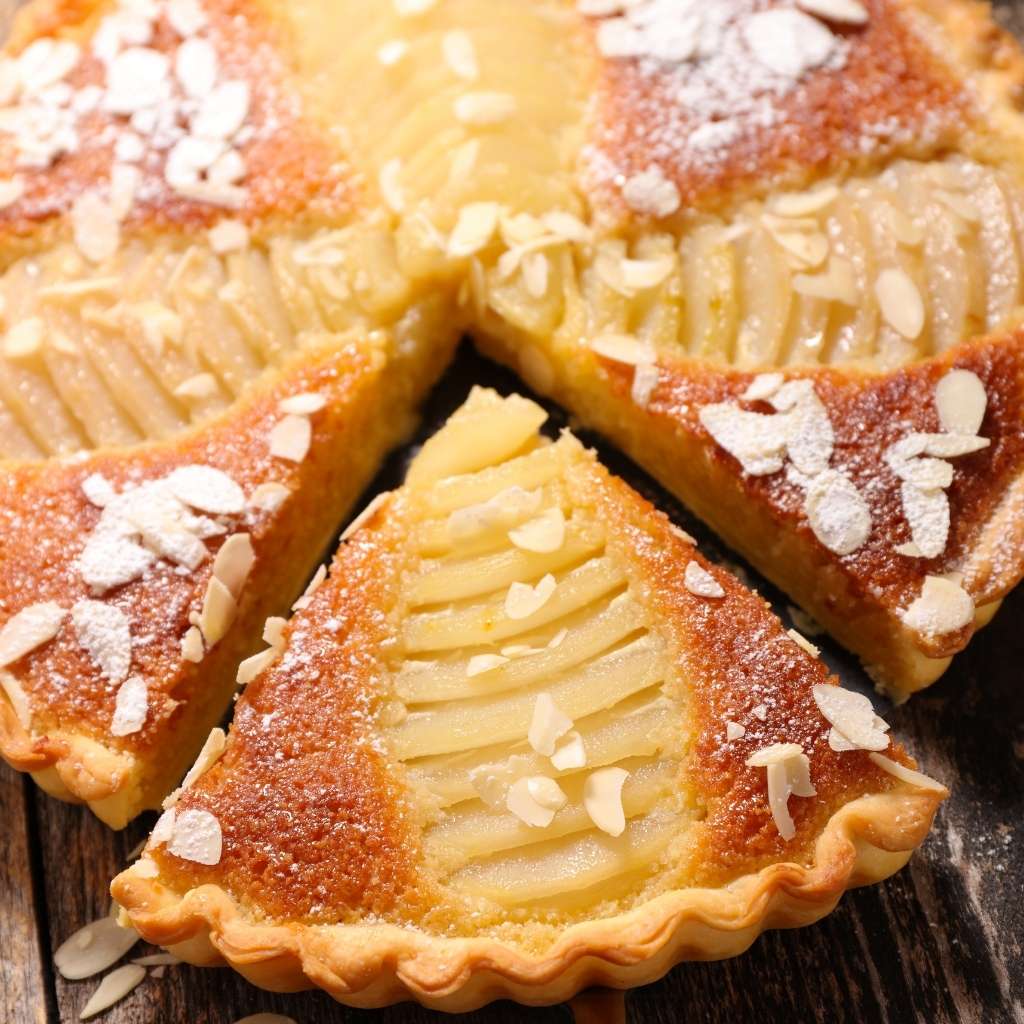
Pear tart in the Air Fryer
Cooking Guide
Keep the screen on and follow the recipe step by step while you cook.
Step 1:
Avoid the screen turning off while you cook.
Step 2:
Start the guide and follow the recipe one step at a time.
Cost of the dish
Prices may vary depending on where you shop.
Our estimate is based on average food prices for the current year 2026.
Estimated price for the whole dish:
Airfryer size
All our recipes are tested in a Philips Airfryer 2000 Series NA230/00 – 6.2 L
Does the recipe fit my Airfryer?
If you’re unsure, you can always reduce by one serving in the recipe, or click the 0.5x button.
You can also Ask the AI Chef
It’s easy! Just press the Ask the AI Chef button you see at the bottom.
Shopping list
Ingredients

How to make it
- Peel the ripe 4 pcs pears, remove the cores, and cut them into thin slices.
- Whisk soft 100 g butter and 100 g sugar together until light and fluffy.
- Add the 2 pcs eggs one at a time, whisking well after each egg.
- Fold the dry ingredients into the wet ingredients, and stir until the batter is smooth.
- Pour the batter into the tart tin, and arrange the pear slices on top.
- Bake in the air fryer at 160°C for 25-30 minutes, until the tart is golden and cooked through.Start onlinekøkken uret her
- Let the tart cool for 5 minutes before serving.
- Dust with 1 tbsp icing sugar if you like.
Our notes for the recipe
Your notes for the recipe
Nutrition per serving (Guideline)
Important about shelf life and nutrition
Nutrition per serving (guideline): Calculations are based on data from the United States Department of Agriculture (USDA). Shelf life (guideline): Shelf life data is provided, as far as possible, by public institutions, including national food authorities. Our information is therefore only indicative, and it is your responsibility to obtain and calculate accurate information about shelf life and nutrition for all recipes on airfryerkogebogen.dk
Easily share the recipe with others:
Via email or on Facebook
Open the recipe on your phone
Scan the QR code with your phone and get the recipe directly on your mobile while you cook.

Author
Airfryerkogebogen.dk
