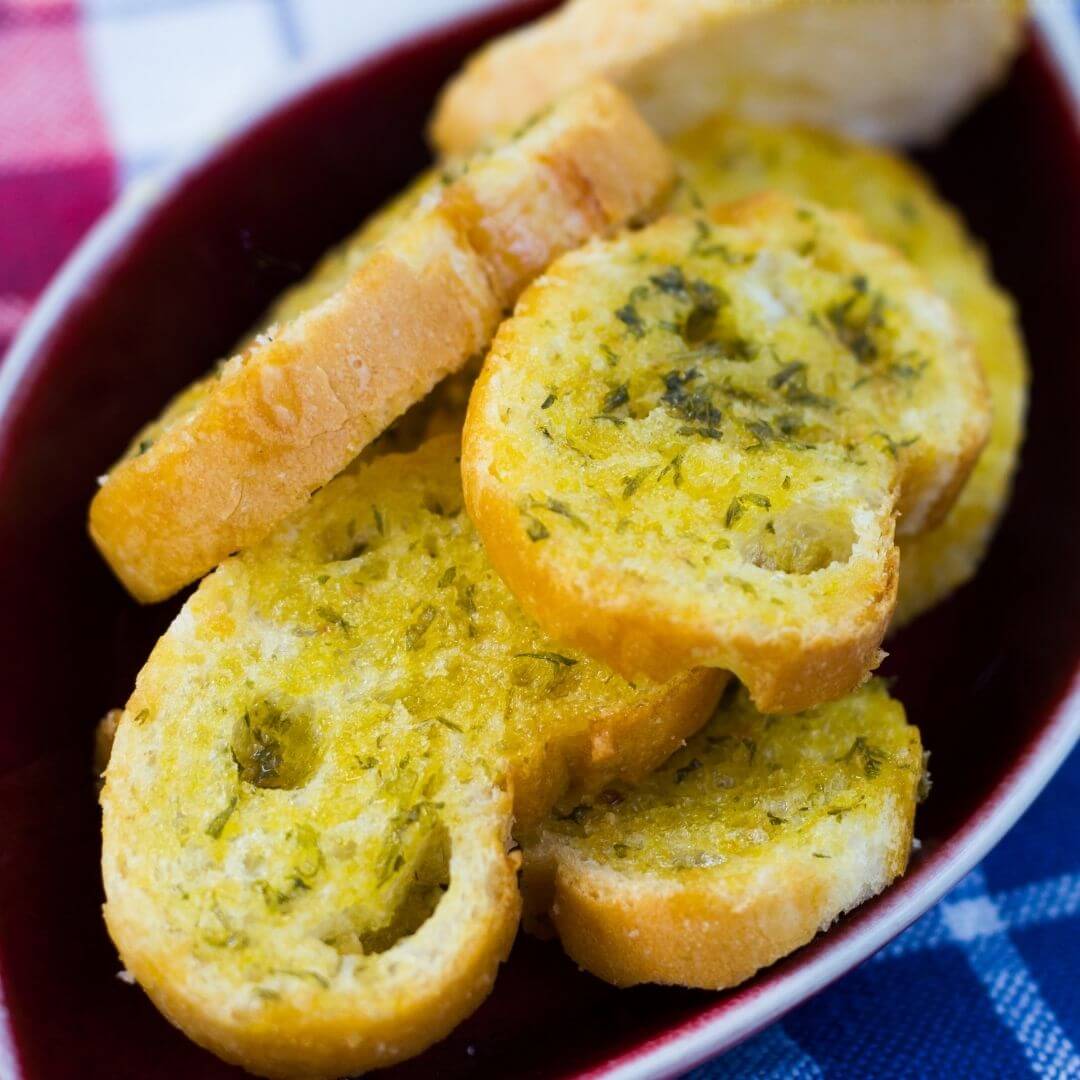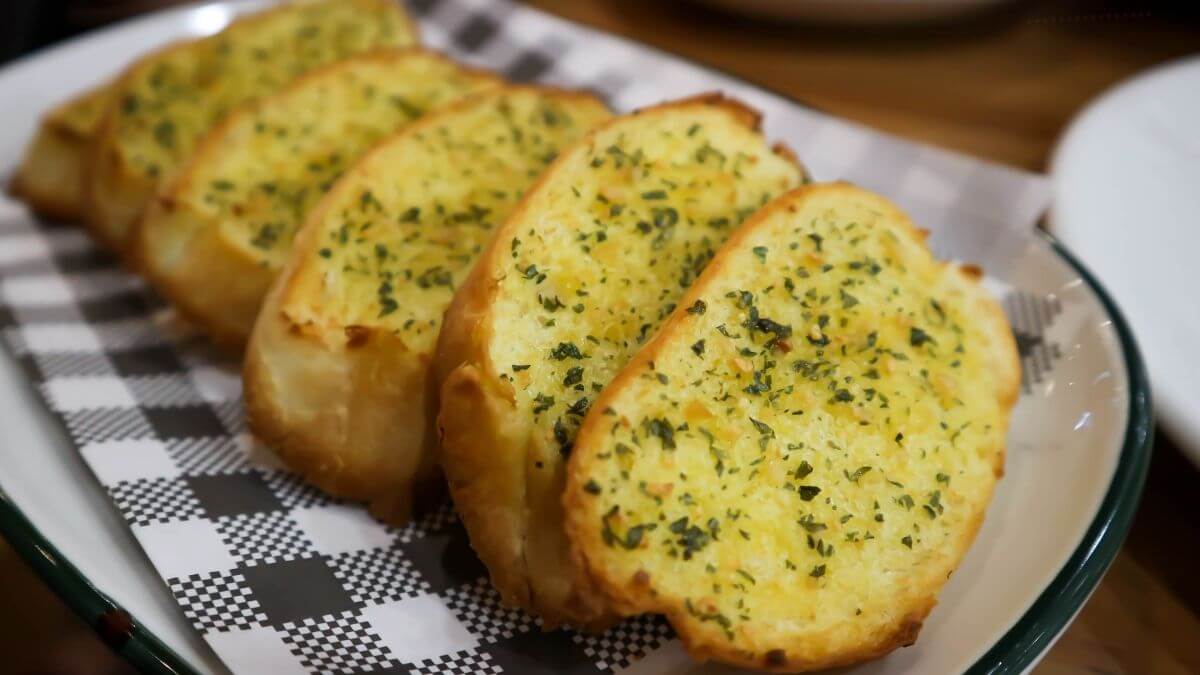
Garlic bread belongs to the kind of side dish that disappears from the plate long before the main course is finished. The classic version needs dough, rising time and an oven that has to heat up properly — but you can skip that detour with a clear conscience. With a store-bought baguette, soft garlic butter mixed with oregano and an airfryer, you’ll have crispy bread on the table 18 minutes after you start.

Advertisement: The page displays ads and contains advertising links (affiliate links). See our advertisers here.
The result is slices with a golden-brown, crunchy edge and a soft, butter-soaked centre, where the garlic smells fragrant instead of burnt. It’s the shortcut I reach for on a busy weekday when pasta needs something on the side — and it holds up perfectly well for guests too.
Estimated reading time: 6 minutes
Table of Contents:
Why I love garlic bread in the airfryer
The airfryer blows hot air all the way around the slices, and that’s exactly what bread needs. The edges dry out and turn crispy, while the centre has time to get warm and soft from the butter. A regular oven first needs a long time to reach temperature, and you’re heating up an entire oven compartment for a handful of bread slices.
The other advantage is control. The basket is small enough that you can check on the bread along the way without losing all the heat, and you bake exactly the amount you need. If you need more, you just run another batch.
Store-bought baguette is the shortcut
A baguette from the day before is actually better than a completely fresh one. It’s slightly drier, absorbs the garlic butter without turning gummy, and the slices hold their shape when you turn them. Cut slices about as thick as your thumb and butter them generously right out to the edge — that’s the edge that turns crispy first. No dough, no rising time, no flour on the counter.
My kitchen test of garlic bread in the airfryer
I’ve run this shortcut many times in my Cosori Dual Blaze, and 180°C for 8 minutes is where the bread turns out best: golden, crunchy edge and soft centre. If you turn the temperature up higher, the garlic burns long before the bread is crispy — that’s the trap most people fall into.
Preparation takes 10 minutes to mix the butter and cut the baguette, so you’re done 18 minutes after you start. I’ve also tested it in a Philips XXL, where the whole portion fits in one batch, while the smaller basket needs two rounds. The time per batch is the same. Compared to the oven, you typically save 20-30 percent of the time, and most of that is the preheating you skip.
Stir the butter completely soft before the garlic goes in. Cold butter tears the bread apart and sits in clumps that scorch on the surface instead of soaking into the crumb.
Tips and tricks from the author: Morten Jensen
The typical mistakes and how to avoid them
The first mistake is the garlic. Coarsely chopped pieces sit on top of the bread in the dry air and turn dark and bitter long before the slices are done — grate or press the garlic completely fine, and stir it thoroughly into the butter. The second is an overcrowded basket: if you stack the slices on top of each other, they steam each other soft, and you end up with greasy bread instead of crispy. Lay them in a single layer with air between them, and run two batches instead. The third is walking away from the airfryer. Bread goes from golden to burnt in no time, so stay in the kitchen and check on the slices toward the end — especially the first time you run the recipe in your particular machine.
How to serve the garlic bread
Garlic bread is a side dish, but it’s rarely just a side dish. Here’s how I use it most often:
- With pasta and meat sauce, lasagna or a creamy mushroom pasta
- Alongside a tomato soup, for dipping the slices
- As a side to grilled or fried meat with a crisp green salad
- Cut into smaller pieces as a starter with aioli, tzatziki or tomato salsa
- On the tapas table together with olives, salami and a couple of good cheeses
Storage and reheating
Garlic bread is best straight from the basket, where the contrast between crispy edge and soft centre is at its greatest. If you have slices left over, store them in an airtight container at room temperature until the next day — not in the fridge, where the bread quickly turns chewy. When reheating, give them a couple of minutes at 180°C in the airfryer, and the crispness comes back. The microwave does exactly the opposite.
The road to crispy, fragrant garlic bread doesn’t get any faster than a baguette and an airfryer. Mix the garlic butter together while the main course takes care of itself, so the bread is ready at the same time as the rest of the food.
FAQ
Count on 18 minutes in total: 10 minutes of preparation to mix the garlic butter and cut the baguette, and 8 minutes of cooking at 180°C. If you need to run more batches, add 8 minutes per batch.
Yes. A frozen baguette needs to thaw completely first, otherwise the centre stays cold while the edge scorches. A part-baked baguette you finish baking according to the instructions on the bag and let it cool slightly before slicing it and spreading on the garlic butter.
Yes, and dried oregano actually works fine here, because the flavour is more concentrated. Use a bit less than you would fresh, and stir it into the butter a while before baking so it has time to infuse. Fresh oregano you can instead sprinkle on at the end, once the bread has come out of the basket.

Recipe
Garlic bread quick recipe in the air fryer
Cooking Guide
Keep the screen on and follow the recipe step by step while you cook.
Step 1:
Avoid the screen turning off while you cook.
Step 2:
Start the guide and follow the recipe one step at a time.
Cost of the dish
Prices may vary depending on where you shop.
Our estimate is based on average food prices for the current year 2026.
Estimated price for the whole dish:
Airfryer size
All our recipes are tested in a Philips Airfryer 2000 Series NA230/00 – 6.2 L
Does the recipe fit my Airfryer?
If you’re unsure, you can always reduce by one serving in the recipe, or click the 0.5x button.
You can also Ask the AI Chef
It’s easy! Just press the Ask the AI Chef button you see at the bottom.
Shopping list
Ingredients
Garlic butter
- 100 g butter (Softened, room temperature)
- 4 clove garlic (Pressed or finely chopped)
- 1 tsp dried oregano
- 2 tbsp parsley (Freshly chopped)
- 0.5 tsp salt

- 1 pinch black pepper (Freshly ground)

Bread
- 1 pcs baguette (Pre-baked, approx. 250 g)
- 1 tbsp olive oil (For brushing)

How to make it
Preparation
- Put 100 g butter in a bowl and mash it smooth with a fork. Stir in 4 clove garlic, 1 tsp dried oregano, 2 tbsp parsley, 0.5 tsp salt and 1 pinch black pepper until the garlic butter is well combined.
- Cut 1 pcs baguette into slices about 2 cm thick. If you want to serve the bread whole as a fan, cut only three-quarters of the way through the baguette instead of all the way through.
- Spread the garlic butter generously on both sides of each slice. Brush the crust with 1 tbsp olive oil to make it extra crispy.
Cooking in the air fryer
- Preheat the air fryer to 180°C for 3 minutes.
- Place the slices in a single layer in the basket, butter-side up, without overlapping. Bake for 6-8 minutes at 180°C, until the edges are golden and crisp. Keep an eye on it during the last couple of minutes, as store-bought baguette browns quickly.
Our notes for the recipe
Use softened butter — cold butter tears up the crumb when you spread the slices. Always place the slices in a single layer with space between them; overlapping slices steam each other soft instead of turning crisp. Extra crispy:
Brush the crust with olive oil and turn the heat up to 190°C for the last 1-2 minutes. Keep an eye on the bread as you go — store-bought baguette goes from golden to burnt in under a minute. Variation:
Sprinkle 40 g finely grated parmesan over the slices for the last 2 minutes, or swap the oregano for thyme and a pinch of chili flakes. Serving:
Serve with pasta, soup or grilled food, or as a snack with a bowl of tomato salsa for dipping. Batch size:
If your air fryer is smaller, you can bake the slices in two batches and keep the first batch warm under a piece of foil.
Your notes for the recipe
Nutrition per serving (Guideline)
Important about shelf life and nutrition
Nutrition per serving (guideline): Calculations are based on data from the United States Department of Agriculture (USDA). Shelf life (guideline): Shelf life data is provided, as far as possible, by public institutions, including national food authorities. Our information is therefore only indicative, and it is your responsibility to obtain and calculate accurate information about shelf life and nutrition for all recipes on airfryerkogebogen.dk
Easily share the recipe with others:
Via email or on Facebook
Open the recipe on your phone
Scan the QR code with your phone and get the recipe directly on your mobile while you cook.

Author
Airfryerkogebogen.dk