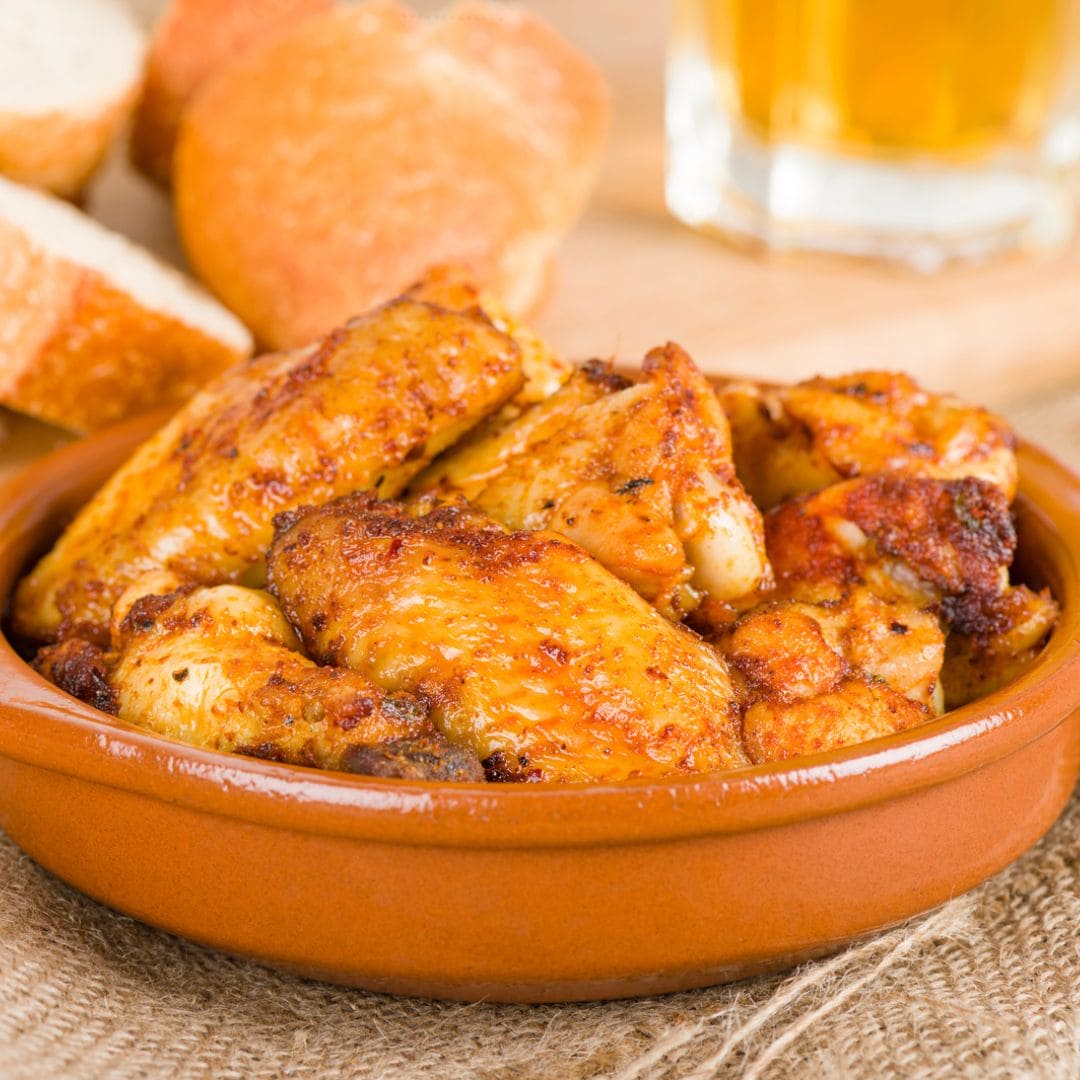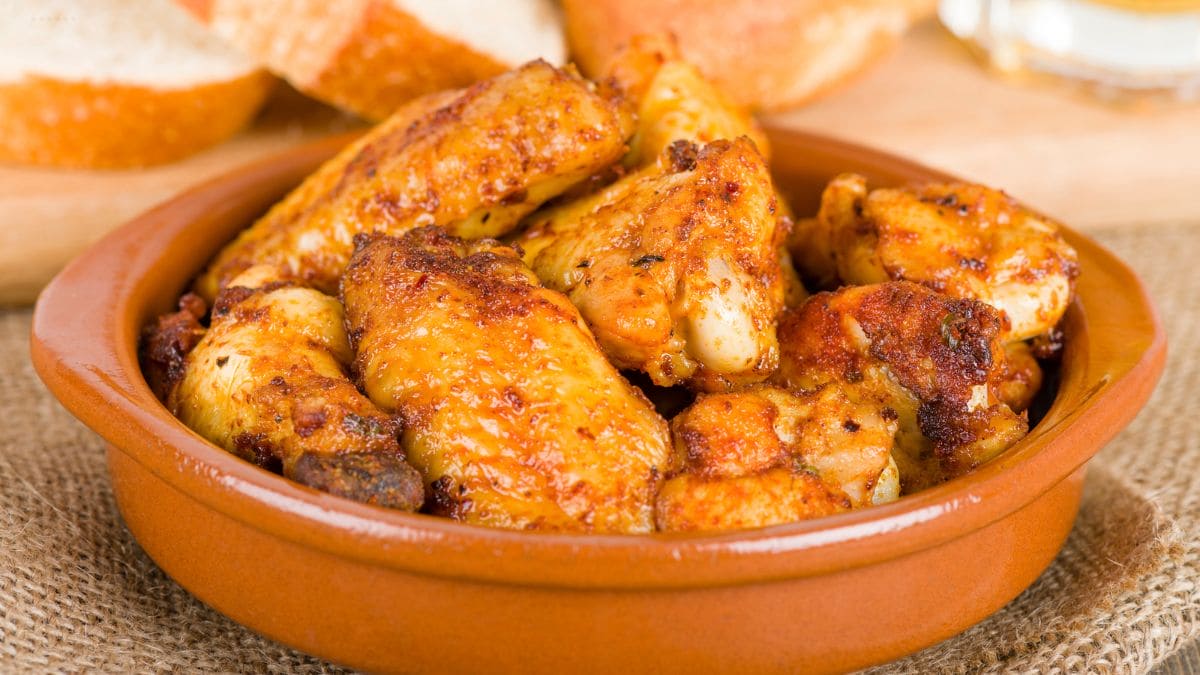
Pollo al ajillo is a classic of Spanish cooking: bone-in chicken pieces that are browned first and then simmered in olive oil, whole garlic cloves, bay leaves and dry white wine. Garlic chicken in the air fryer gives you the same dish without a spitting pan. The chicken is browned directly in the basket, and the rest happens in an ovenproof dish, where the wine reduces to a glossy, fragrant sauce.

Advertisement: The page displays ads and contains advertising links (affiliate links). See our advertisers here.
Unlike marinated chicken legs, it is the sauce that carries this dish. The garlic only goes into the dish once the meat has browned, so the cloves turn soft and sweet instead of catching and burning. Preparation takes 10 minutes, and after 49 minutes in total you have juicy chicken legs with crispy skin on the table. Make sure to have good bread ready for the sauce.
Estimated reading time: 4 minutes
Table of Contents
Why I love garlic chicken in the air fryer
I love dishes where a few ingredients do all the work. Here the chicken, olive oil, garlic, bay leaves and dry white wine carry all of the flavour, and the rest is salt, pepper and a little parsley. The 10 garlic cloves sound like a lot, but they go into the dish whole with the skins on and are only pressed lightly, just enough to crack them. That makes them mild and buttery soft, and afterwards they can be squeezed out of their skins and mashed into the sauce.
I use both chicken thighs and drumsticks with the bone and skin on. The bone keeps the meat juicy, and the skin sits clear of the liquid throughout the simmering, so it stays crisp while the underside of the meat draws flavour from the oil and wine.
The difference between an air fryer and a pan
In the classic version the chicken is fried in a pan with plenty of oil, and it spatters. In the air fryer the browning happens in the basket at 200 °C, where the fat drips away, and afterwards the dish collects all the flavour. The hot air hits the skin from above while the dish simmers at 180 °C, so you get crispy skin and a reduced sauce in one go.
My kitchen test of garlic chicken
I tested the dish in my Cosori Dual Blaze, which has heating elements both above and below in the same basket. The chicken got an even, golden colour in the first 12 minutes at 200 °C, and I still turned the pieces halfway, as the recipe says. Then I turned the heat down to 180 °C for the oil, garlic and wine. The total cooking time in the air fryer is 34 minutes.
The most important thing is to measure rather than guess. The meat thermometer should show a core temperature of at least 75 °C in the thickest part of a thigh, without the tip touching the bone. Finally, the chicken rests for 5 minutes while I mash 3-4 of the soft garlic cloves into the dish and stir the oil and wine together into a sauce.
Pour off the rendered fat from the bottom of the drawer before you put the dish in the basket. That way it does not smoke while the oil and garlic heat up.
Tips and tricks from the author: Morten Jensen
Common mistakes and how to avoid them
The first mistake is adding the garlic too early. In the direct heat of the basket it catches and turns bitter, so wait until the chicken has browned, and put the cloves in the oil in the dish with the skins on. The second mistake is wet chicken. Moisture on the surface makes the skin steam instead of brown, so pat the pieces completely dry with kitchen paper before seasoning them. The third mistake is a thin sauce where the wine has not reduced enough. If that happens, take the meat out and give the dish 3-5 more minutes at 200 °C, until the sauce is glossy.
How to serve garlic chicken
The sauce is half of the dish, so choose sides that can soak it up. The recipe makes 4 servings, and these suggestions go well with it:
- Good bread for dipping in the sauce, ideally with a soft garlic clove spread on top
- Fried potatoes, which can be tossed in the oil from the dish
- Rice, which soaks up the white wine sauce
- A green salad, which adds freshness to the rich sauce
Storage and reheating
Store leftovers covered in the fridge for up to 3-4 days. Reheat the chicken together with the sauce in an ovenproof dish in the air fryer at 170 °C for 10-12 minutes, until the meat is heated through. The dish can also be frozen for up to 3 months. Thaw it in the fridge overnight before you reheat it.
Garlic chicken in the air fryer is an everyday Spanish dish with few ingredients and a simple method. Find an ovenproof dish that fits in your basket, and let the garlic, oil and wine do the rest.
FAQ
Yes. If you want to avoid alcohol, you can replace the wine with chicken stock with 1 tbsp white wine vinegar added. Dry sherry is also a good alternative and gives a nuttier flavour.
No. The cloves are pressed lightly with the flat side of a chef’s knife so that they crack, but the skin stays on. It protects the garlic from the heat, and the soft cloves can be squeezed out at the table.
The recipe suits an air fryer of 5.5 litres or larger and an ovenproof dish of 20-22 cm with a high rim. If your air fryer is smaller, you can make the dish in two batches with half of the ingredients each time.

Recipe
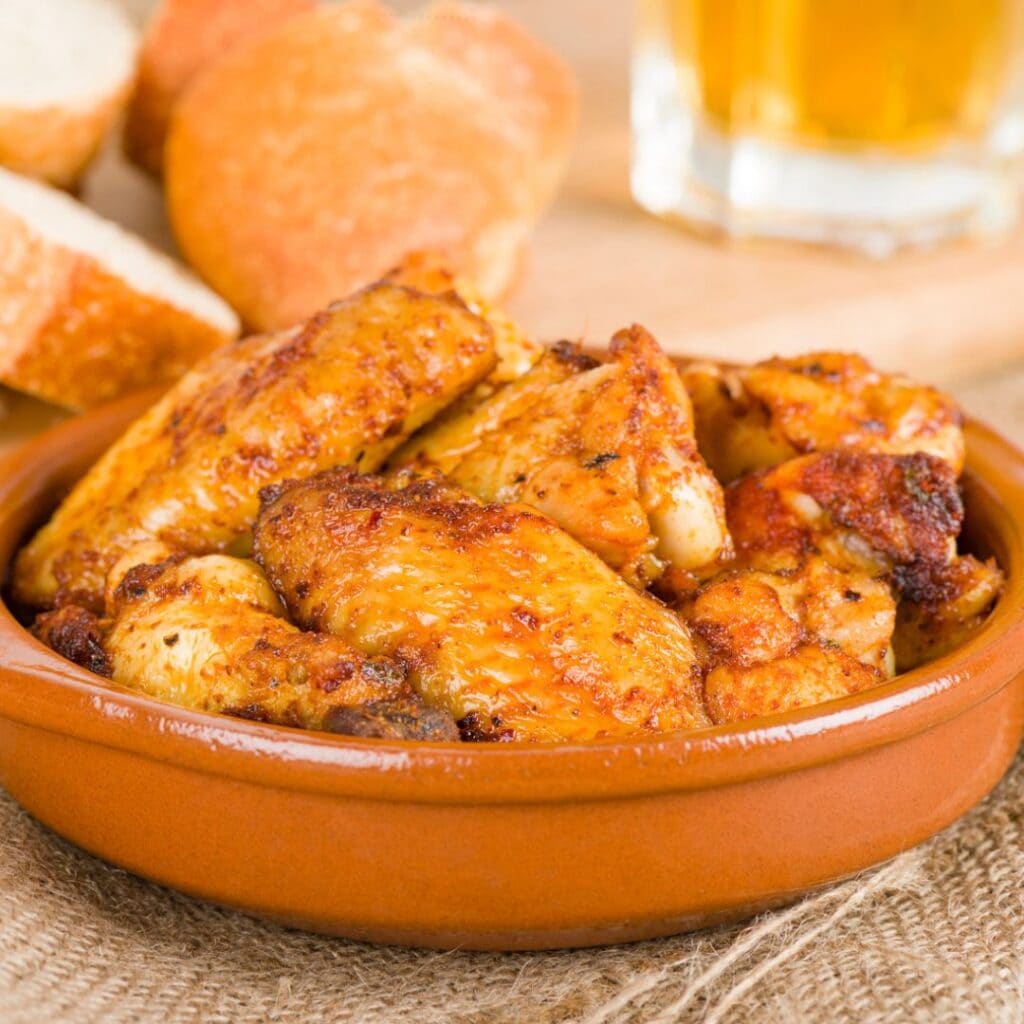
Garlic chicken in the Air Fryer
Cooking Guide
Keep the screen on and follow the recipe step by step while you cook.
Step 1:
Avoid the screen turning off while you cook.
Step 2:
Start the guide and follow the recipe one step at a time.
Cost of the dish
Prices may vary depending on where you shop.
Our estimate is based on average food prices for the current year 2026.
Estimated price for the whole dish:
Airfryer size
All our recipes are tested in a Philips Airfryer 2000 Series NA230/00 – 6.2 L
Does the recipe fit my Airfryer?
If you’re unsure, you can always reduce by one serving in the recipe, or click the 0.5x button.
You can also Ask the AI Chef
It’s easy! Just press the Ask the AI Chef button you see at the bottom.
Recommended equipment
- 1 Air fryer
- 1 Oven-safe dish - 20-22 cm with a high rim, has to fit in the basket
- 1 Cutting board
- 1 Chefs knife
- 1 Paper towel
- 1 Tongs
- 1 Plate
- 1 Spoon
- 1 Meat thermometer
- 1 Serving platter
Shopping list
Ingredients
- 600 g chicken thighs (Bone-in with skin, about 4 pieces)
- 400 g chicken drumsticks (About 4 pieces)
- 1.5 tsp salt

- 0.5 tsp black pepper (Freshly ground)
- 1 tbsp olive oil (For browning)


Garlic sauce
- 1 dl olive oil (Preferably extra virgin)
- 10 clove garlic (Whole cloves with skin on, lightly crushed)
- 2 pcs bay leaves
- 1.5 dl dry white wine
- 2 tbsp fresh parsley (Finely chopped, for serving)


How to make it
Preparation
- Pat 600 g chicken thighs and 400 g chicken drumsticks completely dry with kitchen paper.
- Toss the chicken pieces in 1 tbsp olive oil and season them on all sides with 1.5 tsp salt and 0.5 tsp black pepper.
- Place 10 clove garlic on a chopping board and press each clove lightly with the flat side of a chef’s knife so that it cracks but still holds together. Leave the skin on.
- Finely chop 2 tbsp fresh parsley and set it aside for serving.
Cooking in the air fryer
- Preheat the air fryer to 200 °C fan.
- Place the chicken pieces in the basket in a single layer, skin side down, and brown them at 200 °C for 6 minutes.
- Turn the pieces with tongs so the skin side faces up, and brown them at 200 °C for 6 more minutes, until the skin is golden.
- Lift the chicken onto a plate and turn the air fryer down to 180 °C.
- Place an ovenproof dish in the basket. Add 1 dl olive oil, the crushed garlic cloves and 2 pcs bay leaves to the dish, and heat it at 180 °C for 4 minutes, until the oil is hot and the garlic is fragrant.
- Carefully pour 1.5 dl dry white wine into the dish, and put the chicken back skin side up together with the juices from the plate. The skin should sit clear of the liquid so that it stays crisp.
- Let the garlic chicken simmer at 180 °C for 18 minutes. Turn the garlic cloves in the sauce after 9 minutes, and spoon a little of it over the chicken. It is ready when the wine has reduced to a glossy sauce.
- Check with a meat thermometer that the core temperature is at least 75 °C in the thickest part of a thigh, without touching the bone. If not, give the chicken 3-5 more minutes at 180 °C.
Serving
- Lift the chicken onto a serving dish and let it rest for 5 minutes while you finish the sauce.
- Squeeze 3-4 of the soft garlic cloves out of their skins and into the dish, mash them with a spoon and stir well, so the garlic binds the oil and wine together into a sauce. Season to taste with salt.
- Spoon the sauce and the rest of the garlic cloves over the chicken, sprinkle with the parsley and serve immediately.
Our notes for the recipe
Pat the chicken completely dry before seasoning it, so the skin browns faster in the basket. The garlic only goes into the dish together with the oil once the chicken has browned. That way it turns soft and sweet instead of catching and burning in the direct heat, and the skins protect the cloves even more. If the sauce is too thin when the chicken is done, take the meat out and give the dish 3-5 more minutes at 200 °C. Feel free to pour off the rendered fat from the bottom of the drawer before the dish goes in, so it does not smoke. Variation:
Swap the white wine for dry sherry for a nuttier flavour, or add a sprig of thyme or a small dried chilli to the dish along with the bay leaves. If you want to avoid alcohol, you can use chicken stock with 1 tbsp white wine vinegar added. Serving:
Serve with good bread for dipping in the sauce, fried potatoes or rice and a green salad. The soft garlic cloves can be squeezed out of their skins and spread on the bread. Portion size:
The recipe suits an air fryer of 5.5 litres or larger and a dish of 20-22 cm. If your air fryer is smaller, you can make the dish in two batches with half of the ingredients each time.
Your notes for the recipe
Nutrition per serving (Guideline)
Important about shelf life and nutrition
Nutrition per serving (guideline): Calculations are based on data from the United States Department of Agriculture (USDA). Shelf life (guideline): Shelf life data is provided, as far as possible, by public institutions, including national food authorities. Our information is therefore only indicative, and it is your responsibility to obtain and calculate accurate information about shelf life and nutrition for all recipes on airfryerkogebogen.dk
Easily share the recipe with others:
Via email or on Facebook
Open the recipe on your phone
Scan the QR code with your phone and get the recipe directly on your mobile while you cook.

Author
Airfryerkogebogen.dk