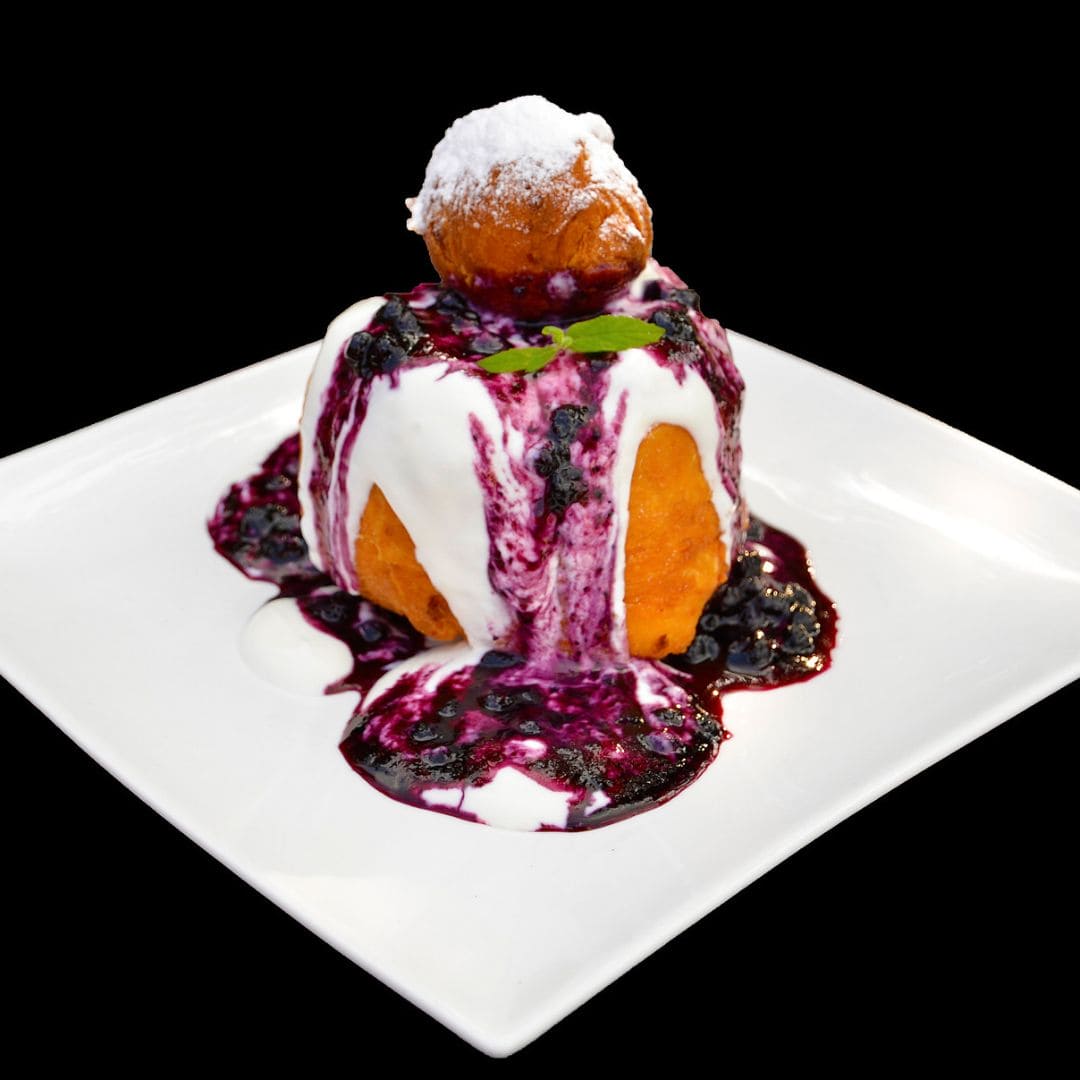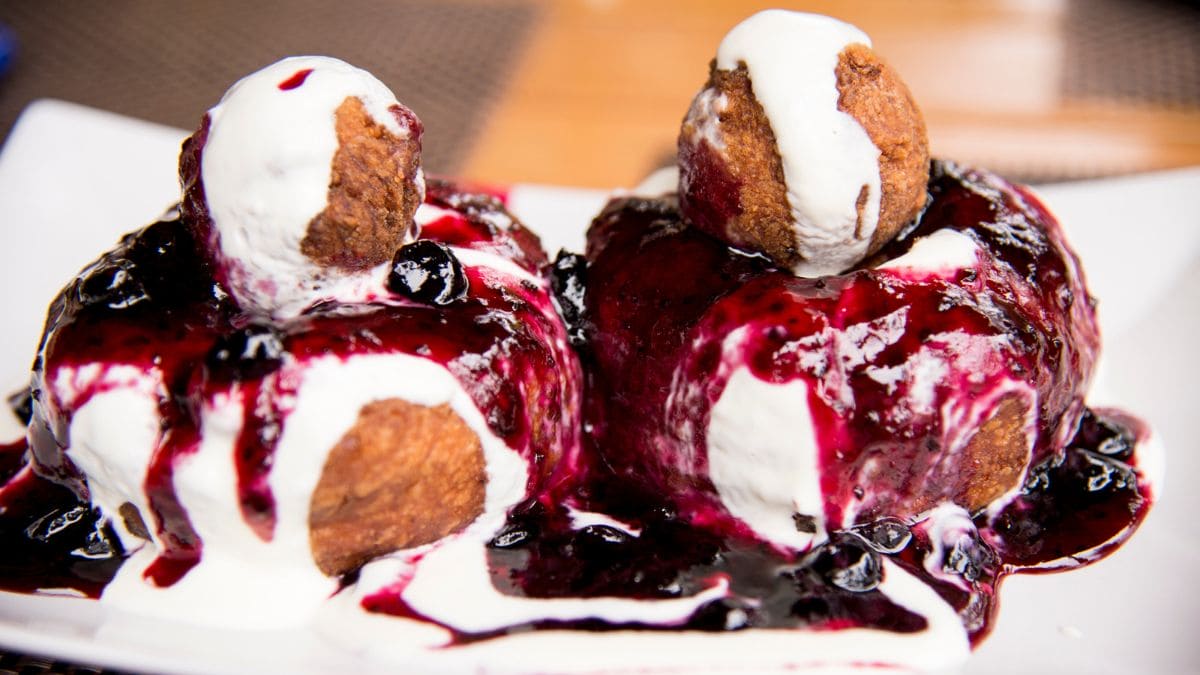
Papanasi is Romania’s most beloved dessert: a soft cheese doughnut shaped like a ring with a small ball on top, drowned in cool crème fraîche and tangy sour cherry jam. At restaurants in Bucharest they arrive deep-fried and steaming hot. At home I’ve moved them into the air fryer, and they come surprisingly close to the original — golden surface, airy and almost creamy centre — just without a pot of boiling oil on the stove.

Advertisement: The page displays ads and contains advertising links (affiliate links). See our advertisers here.
The secret is in the cheese. In Romania they use brânză de vaci, a dry fresh cheese, and at home you’ll get closest with thoroughly drained cottage cheese or quark. If the cheese is too wet, the rings will spread out flat in the basket, no matter how carefully you shape them.
Estimated reading time: 4 minutes
Table of Contents
Why I love Papanasi in the air fryer
The deep-fried original is fantastic, but it costs a litre of oil, a greasy stove and a kitchen smell that lingers until the next day. The air fryer gives you most of the experience for a fraction of the hassle, and the dough doesn’t soak up fat along the way. The result is a lighter dessert that you can easily eat a whole portion of.
The second benefit is control. At 175°C hot air, the surface turns evenly golden all the way around, and you don’t have to watch the oil temperature between batches.
The difference between deep frying and the air fryer
The deep fryer heats from the outside in with oil as the medium, so papanasi puff up immediately and get their characteristic blistered surface. The air fryer works with dry, circulating heat, and that changes two things: the dough rises more slowly and in a more controlled way, and the colour doesn’t come by itself. You need to brush them with melted butter, or the rings will stay pale. In return, they don’t fall apart.
My kitchen test with Papanasi
I’ve made papanasi in my Cosori Dual Blaze several times, and 175°C for 12-14 minutes is the sweet spot: golden on the outside and still so soft that the crème fraîche melts slightly into the surface. Flipping them once after 7 minutes gives an even colour on both sides.
I learned two things the hard way. The first time, I skipped the chilling time because the dough felt firm enough in the bowl — it wasn’t, and the rings pressed themselves flat against the bottom of the basket. The 20 minutes in the fridge isn’t a polite suggestion, it’s necessary. The second time, I took the rings and balls out at the same time, and the balls ended up a couple of minutes over; they’re smaller and need to come out 2-3 minutes before the rings. In total that’s 20 minutes of preparation, 20 of resting and 14 of baking, so 54 minutes altogether.
The dough should feel soft and slightly sticky, not like something you can knead. If you can roll it between floured hands without it sticking, it’s ready for the basket.
Tips and tricks from the author: Morten Jensen
The typical mistakes and how to avoid them
The mistake that most often ruins papanasi is cheese that’s too wet. Cottage cheese contains far more liquid than Romanian brânză de vaci, so it needs to go into a sieve and be pressed with the back of a spoon until no more liquid comes out. If you use quark or dry fresh cheese, you can skip the draining. The next mistake is too much flour: it’s tempting to add more when the dough feels soft, but the flour makes papanasi chewy and dry instead of creamy. Stick to the 150 grams, and use a little flour on your hands instead. The third mistake is an overcrowded basket — the rings will bake together if they touch, and the hot air can’t circulate around them. Better two batches than one sticky mess.
How to serve Papanasi
Papanasi should be served warm, while the dough is still steaming, and the topping should be cold — the contrast is the whole point. Place the ring on the plate, spread crème fraîche and jam over it, and set the ball on top like a lid.
- Cool 18% crème fraîche and tangy sour cherry jam — the classic Romanian combination
- Blueberry, blackcurrant or elderberry jam, if you want a milder sweetness
- A scoop of vanilla ice cream on the side, when papanasi is meant to be a more elaborate dessert
- Coarsely chopped walnuts sprinkled on top for a bit of crunch against the softness
- Strong black coffee or espresso alongside, like at the Romanian restaurants
Storage and reheating
Papanasi is best on the day it’s made, while the surface still has some bite. If you have rings left over, store them covered in the fridge without topping for up to two days. Reheat them in the air fryer at 160°C for 3-4 minutes, and only add the crème fraîche and jam afterwards. They can also be frozen without topping for up to two months: thaw them at room temperature, and warm them briefly in the air fryer.
Papanasi looks far more complicated than it is. Once you’ve drained the cheese properly and given the dough its resting time, the air fryer takes care of the rest. Serve them warm with plenty of jam, and eat them with a spoon while the crème fraîche is still sliding down the edge.
FAQ
Yes, but it needs to be drained thoroughly. Put the cottage cheese in a sieve over a bowl, and press the liquid out with the back of a spoon until no more comes out. Cheese that’s too wet gives a sticky dough that spreads out in the basket. Quark and dry fresh cheese can be used directly without draining.
The 20 minutes in the fridge makes the dough firmer and much easier to shape, and cold dough holds its ring shape better during baking. If you skip the resting time, the rings press themselves flat against the bottom of the basket.
12-14 minutes at 175°C hot air. Turn them carefully after 7 minutes, and take the balls out 2-3 minutes before the rings, as they’re smaller and finish first. They’re ready when golden and easily release from the baking paper.

Recipe
Papanasi in the Air Fryer
Cooking Guide
Keep the screen on and follow the recipe step by step while you cook.
Step 1:
Avoid the screen turning off while you cook.
Step 2:
Start the guide and follow the recipe one step at a time.
Cost of the dish
Prices may vary depending on where you shop.
Our estimate is based on average food prices for the current year 2026.
Estimated price for the whole dish:
Airfryer size
All our recipes are tested in a Philips Airfryer 2000 Series NA230/00 – 6.2 L
Does the recipe fit my Airfryer?
If you’re unsure, you can always reduce by one serving in the recipe, or click the 0.5x button.
You can also Ask the AI Chef
It’s easy! Just press the Ask the AI Chef button you see at the bottom.
Recommended equipment
- 1 Air fryer
- 1 Mixing bowl
- 1 Sieve - For draining the cheese
- 1 Grater - For lemon zest
- 1 Bagepapir (til airfryer)
- 1 Brush
Shopping list
Ingredients
- 500 g cottage cheese (Thoroughly drained. Can be replaced with quark or dry curd cheese (brânză de vaci))
- 2 pcs eggs

- 150 g wheat flour (Plus a little extra for your hands)
- 2 tbsp sugar
- 1 tsp baking powder
- 2 tsp vanilla sugar
- 1 pcs lemon (Just the grated zest)
- 1 pinch salt


For brushing
- 2 tbsp butter (Melted)

Topping
- 2 dl crème fraîche (18%)
- 150 g sour cherry jam (Or blueberry jam)
- 1 tbsp icing sugar (For dusting)

How to make it
Preparation
- Put 500 g cottage cheese in a sieve over a bowl, and press out the liquid with the back of a spoon. The cheese needs to be as dry as possible, or the dough will be too soft to shape.
- Put the drained cheese in a mixing bowl with 2 pcs eggs, 2 tbsp sugar, 2 tsp vanilla sugar and 1 pinch salt. Stir together into a smooth, lump-free mixture.
- Finely grate the zest from 1 pcs lemon, and stir it into the cheese mixture. Only use the outer yellow part of the peel, so the dough doesn’t turn bitter.
- Sift 150 g wheat flour and 1 tsp baking powder into the bowl, and fold it in gently. The dough should be soft, but just firm enough to roll in your hands.
- Cover the bowl, and place the dough in the fridge for 20 minutes. The chilled dough holds its shape far better in the air fryer than the freshly mixed one.
- Divide the dough into four equal pieces. Take a small piece from each one, and roll it into a ball about the size of a walnut. Shape the rest into a ring roughly 10 cm in diameter with a clear hole in the middle. Use a little flour on your hands as you go.
Cooking in the Air Fryer
- Preheat the air fryer to 175°C.
- Line the basket with baking paper, and arrange the rings and balls with plenty of space between them. Brush them with 2 tbsp butter, so they turn golden with a crisp surface.
- Bake for 12-14 minutes at 175°C. Turn them carefully after 7 minutes, and take the balls out 2-3 minutes before the rings, as they finish faster. They’re ready when golden and easily lift off the baking paper.
Serving
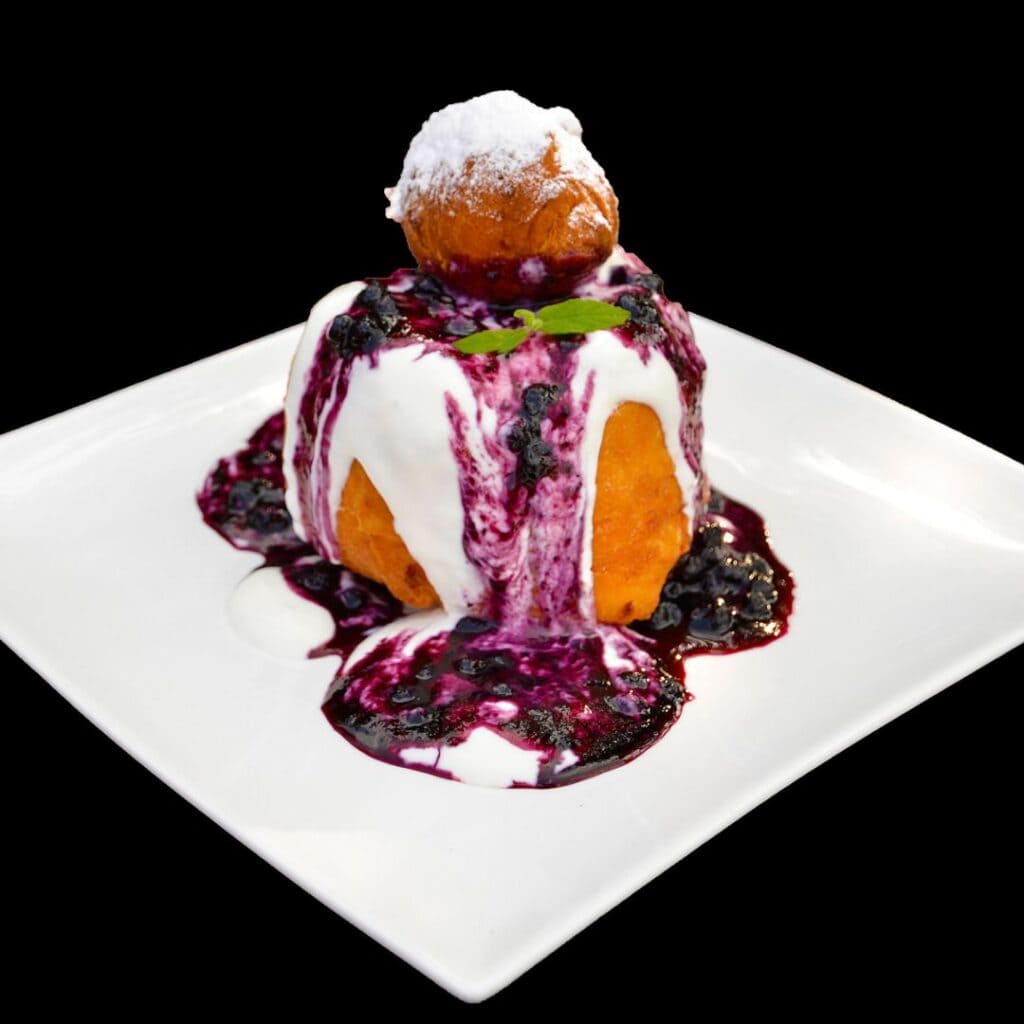
- Place a warm ring on each plate, and spoon 2 dl crème fraîche and 150 g sour cherry jam on top. Add a ball on top, dust with 1 tbsp icing sugar, and serve immediately while still warm.
Our notes for the recipe
The cheese needs to be thoroughly drained. Too much liquid makes the dough sticky, and the rings will collapse in the basket. If you’re using quark or dry curd cheese, it can go straight into the bowl without draining. The air fryer version turns out lighter than the deep-fried original, but more evenly golden. Variation:
Swap the sour cherry jam for blueberry, blackcurrant or elderberry jam. A little grated orange zest in the dough gives a rounder sweetness, and a tablespoon of coarsely chopped walnuts on top adds crunch. Serving:
Serve them warm as a dessert with strong coffee. Add a scoop of vanilla ice cream on the side for a more generous dessert. Portion size:
If your air fryer is smaller, you can make the dish in two batches. The rings need space between them, or they’ll bake together.
Your notes for the recipe
Nutrition per serving (Guideline)
Important about shelf life and nutrition
Nutrition per serving (guideline): Calculations are based on data from the United States Department of Agriculture (USDA). Shelf life (guideline): Shelf life data is provided, as far as possible, by public institutions, including national food authorities. Our information is therefore only indicative, and it is your responsibility to obtain and calculate accurate information about shelf life and nutrition for all recipes on airfryerkogebogen.dk
Easily share the recipe with others:
Via email or on Facebook
Open the recipe on your phone
Scan the QR code with your phone and get the recipe directly on your mobile while you cook.

Author
Airfryerkogebogen.dk