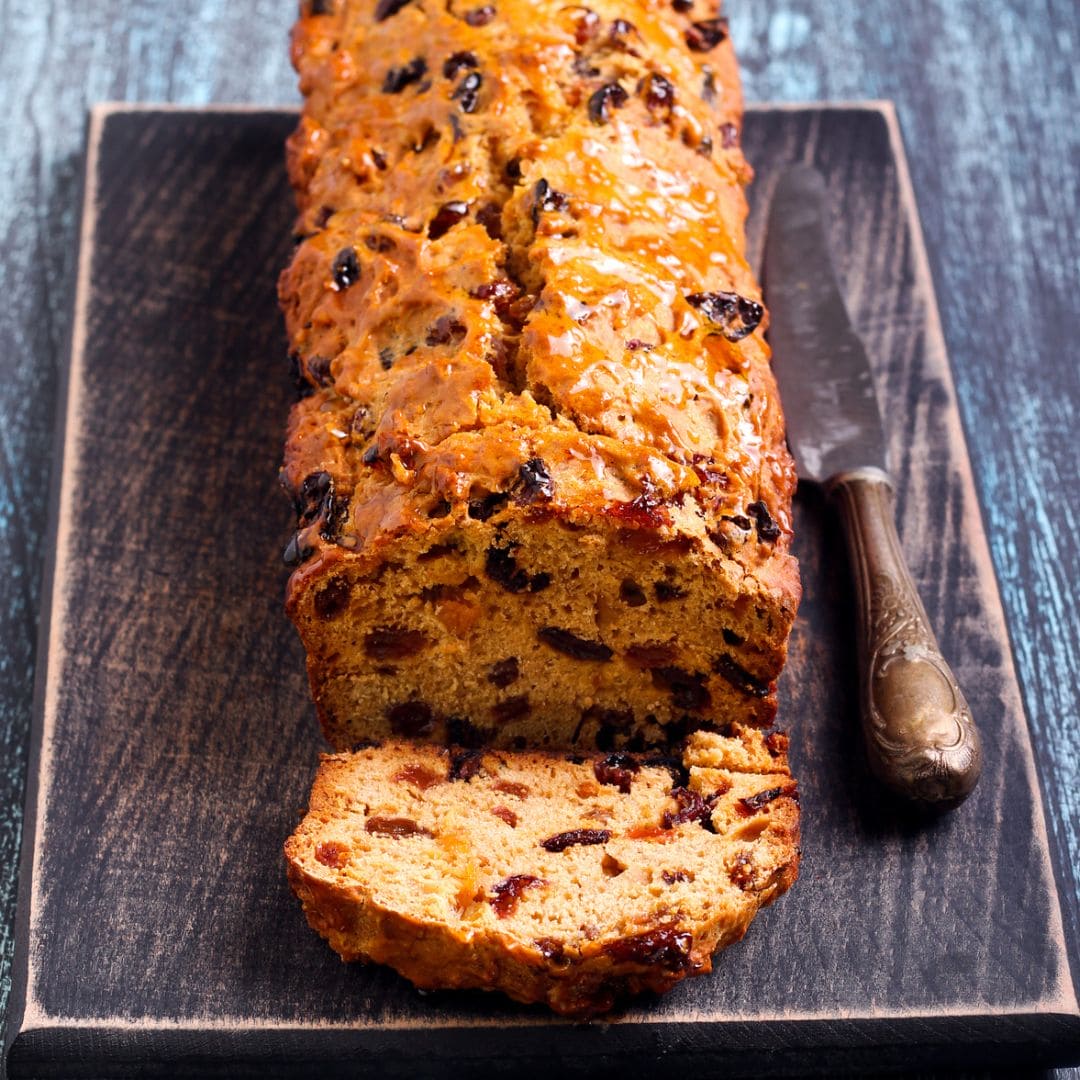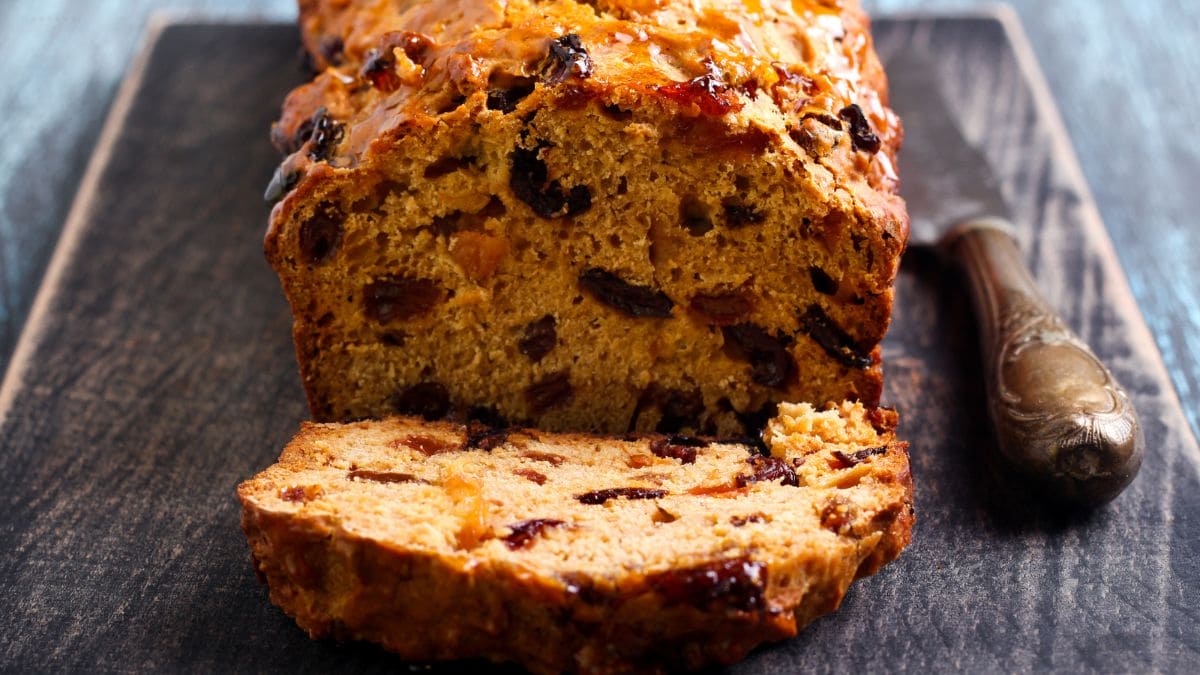
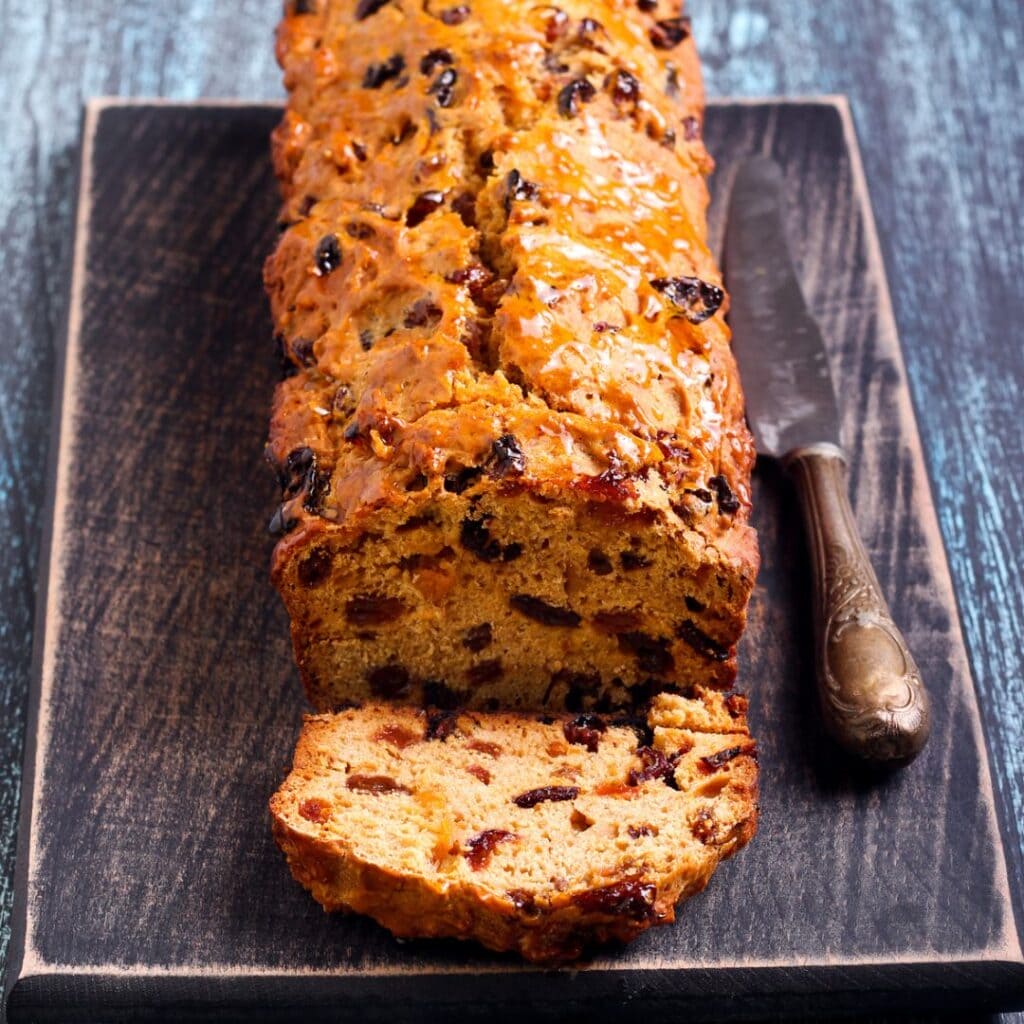
Bara brith, the Welsh tea bread, is the kind of baking that almost takes care of itself. The name means speckled bread in Welsh, and it makes sense from the very first slice: the crumb is studded with raisins, sultanas and currants that have turned soft and juicy from soaking in strong black tea with brown sugar.

Advertisement: The page displays ads and contains advertising links (affiliate links). See our advertisers here.
Here I bake the tea bread version, which manages without yeast and without butter in the batter. The fruit and tea are stirred together with egg, plain flour, baking powder and a little cinnamon, nutmeg and allspice, and the loaf bakes in a small loaf tin directly in the air fryer basket. Cut it into slices, give them a generous layer of salted butter and put the kettle on.
Estimated reading time: 4 minutes
Table of Contents
Why I love bara brith in the air fryer
I’m fond of recipes where time does most of the work. While the fruit soaks overnight, it absorbs most of the liquid, and the black tea gives a deep, slightly bitter note that balances the sweetness of the brown sugar. That’s why the batter needs neither butter nor oil, and yet the loaf gets a soft, juicy crumb.
The air fryer is perfect for a small loaf like this, because you don’t have to heat up the big oven for a single loaf tin. The only thing you need to keep an eye on is the surface, because the heat comes close to the top of the loaf. A piece of aluminium foil solves that, and you’ll find the trick further down.
Bara brith – from yeast bread to tea bread
The speckles in the name are the fruit. The original bara brith is a yeast bread with butter in the dough, while the tea bread version is raised with baking powder and gets its moistness from the tea. It’s easier to make, because there’s no kneading and nothing needs to rise. Traditionally the loaf is spiced with the British spice blend mixed spice, but cinnamon, nutmeg and allspice give a similar warm aroma, and most people already have them in the cupboard.
My kitchen test of bara brith
I baked the bara brith in my Philips XXL, where a small loaf tin of about 18 x 9 cm has plenty of room in the basket. The preparation took only 15 minutes, and the fruit soaked overnight for 8 hours. At 150 °C the loaf baked for 20 minutes without foil, until the surface was golden brown. Then I laid aluminium foil over it, turned the tin half a turn and baked on for 25 minutes. After the 45 minutes of baking, the metal skewer came out of the middle dry, and the crumb was moist all the way through.
All in all, the bara brith takes 9 hours from start to finish, but for most of that time it takes care of itself. My best tip: pour the steaming hot tea over the fruit, so the sugar dissolves completely.
Lay the aluminium foil over the tin as soon as the surface is golden brown, and tuck it tightly around the edges. That way the fruit on top won’t burn while the middle finishes baking, and the foil can’t blow up against the heating element.
Tips and tricks from the author: Morten Jensen
Common mistakes and how to avoid them
The first mistake is to pour off the tea once the fruit has soaked. It goes into the batter, so leave it in the bowl when you stir in the egg. The second mistake is to forget about the loaf in the air fryer. The heat sits close to the top, and the raisins on top quickly get too dark before the middle is baked, so check on the loaf after 20 minutes and lay the foil on in good time. The third mistake is to trust a metal skewer that has hit a raisin. Sticky fruit on the skewer looks like raw batter, so insert it in a new spot before you bake on.
How to serve bara brith
Leave the loaf to cool completely on a wire rack before you slice it with a bread knife. That gives 8-10 slices, and here are my favourites:
- Thick slices with a generous layer of salted butter, alongside a cup of strong tea
- Warm slices from the air fryer, so the butter melts into the crumb
- A slice of mature cheese on the side for a sweet and salty contrast
- On an afternoon tea table with scones and jam
Storage and reheating
Wrap the cooled loaf in baking paper and store it in an airtight container at room temperature for up to 5 days. It actually tastes even better the day after. Bara brith can also be frozen for up to 3 months, preferably sliced, so you only take out what you need and let it thaw at room temperature. If you want warm slices, give them 2-3 minutes in the air fryer at 160 °C.
Bara brith shows that good baking doesn’t have to be complicated. Set the fruit to soak in tea in the evening, and the next day you have a moist, spiced loaf that is ready for butter and a cup of tea.
FAQ
The fruit needs to soak for at least 8 hours to plump up and absorb most of the tea. That liquid is what makes the loaf moist without butter or oil in the batter.
Yes. If a loaf tin doesn’t fit in your air fryer, use a round baking tin about 16 cm across instead. The loaf will be lower and is typically done 5-10 minutes sooner, so check it earlier with a metal skewer.

Recipe
Bara brith in the Air Fryer
Cooking Guide
Keep the screen on and follow the recipe step by step while you cook.
Step 1:
Avoid the screen turning off while you cook.
Step 2:
Start the guide and follow the recipe one step at a time.
Cost of the dish
Prices may vary depending on where you shop.
Our estimate is based on average food prices for the current year 2026.
Estimated price for the whole dish:
Airfryer size
All our recipes are tested in a Philips Airfryer 2000 Series NA230/00 – 6.2 L
Does the recipe fit my Airfryer?
If you’re unsure, you can always reduce by one serving in the recipe, or click the 0.5x button.
You can also Ask the AI Chef
It’s easy! Just press the Ask the AI Chef button you see at the bottom.
Recommended equipment
- 1 Air fryer
- 1 Small loaf pan - approx. 18 x 9 cm (0.8 l)
- Parchment paper
- 1 Mixing bowl
- Plastic wrap
- 1 Sifter
- 1 Dough scraper
- Aluminum foil
- 1 Metal skewer
- 1 Cooling rack
- 1 Bread knife
Shopping list
Ingredients


For serving
- 40 g salted butter
How to make it
The night before
Preparation
- Line a small loaf tin, about 18 x 9 cm, with baking paper. First check that the tin fits in the air fryer basket, and trim the paper so that it does not stick up above the edge.
- Spoon the batter into the tin and smooth the surface with the dough scraper.
Baking in the air fryer
- Preheat the air fryer to 150 °C fan.
- Place the tin in the basket and bake the loaf at 150 °C for 20 minutes, until the surface is golden brown.
- Lay a piece of aluminium foil over the tin and tuck it tightly around the edges so that it cannot blow up against the heating element. Turn the tin half a turn and continue baking at 150 °C for 25 minutes.
- Insert a metal skewer into the middle of the loaf. If it comes out dry, the loaf is done. If sticky batter clings to the skewer, bake on at 150 °C for 5 minutes at a time.
Our notes for the recipe
The heat from the air fryer comes close to the top of the loaf, so check on it after 20 minutes. Lay the foil on as soon as the surface is golden brown, otherwise the fruit on top will burn before the middle is baked through. If the skewer hits a raisin, insert it in a different spot, as the sticky fruit can be misleading. Variation:
Replace part of the fruit with chopped dried apricots or cranberries, or stir the grated zest of an orange into the batter. Earl Grey instead of ordinary black tea gives a light scent of bergamot. Serving:
The loaf makes 8-10 slices, so allow for 2 slices per serving. Serve them with a generous layer of salted butter alongside a cup of tea. The tea bread tastes even better the next day, after it has been left wrapped in baking paper. About bara brith:
Bara brith means speckled bread in Welsh. The original version is a yeast bread with butter in the dough, while this tea bread version manages without yeast and butter and is raised with baking powder. The moistness comes from the fruit, which has soaked in tea. Tin size:
If a loaf tin does not fit in your air fryer, bake the batter in a round baking tin about 16 cm across instead. The loaf will be lower and is typically done 5-10 minutes sooner.
Your notes for the recipe
Nutrition per serving (Guideline)
Important about shelf life and nutrition
Nutrition per serving (guideline): Calculations are based on data from the United States Department of Agriculture (USDA). Shelf life (guideline): Shelf life data is provided, as far as possible, by public institutions, including national food authorities. Our information is therefore only indicative, and it is your responsibility to obtain and calculate accurate information about shelf life and nutrition for all recipes on airfryerkogebogen.dk
Easily share the recipe with others:
Via email or on Facebook
Open the recipe on your phone
Scan the QR code with your phone and get the recipe directly on your mobile while you cook.

Author
Airfryerkogebogen.dk